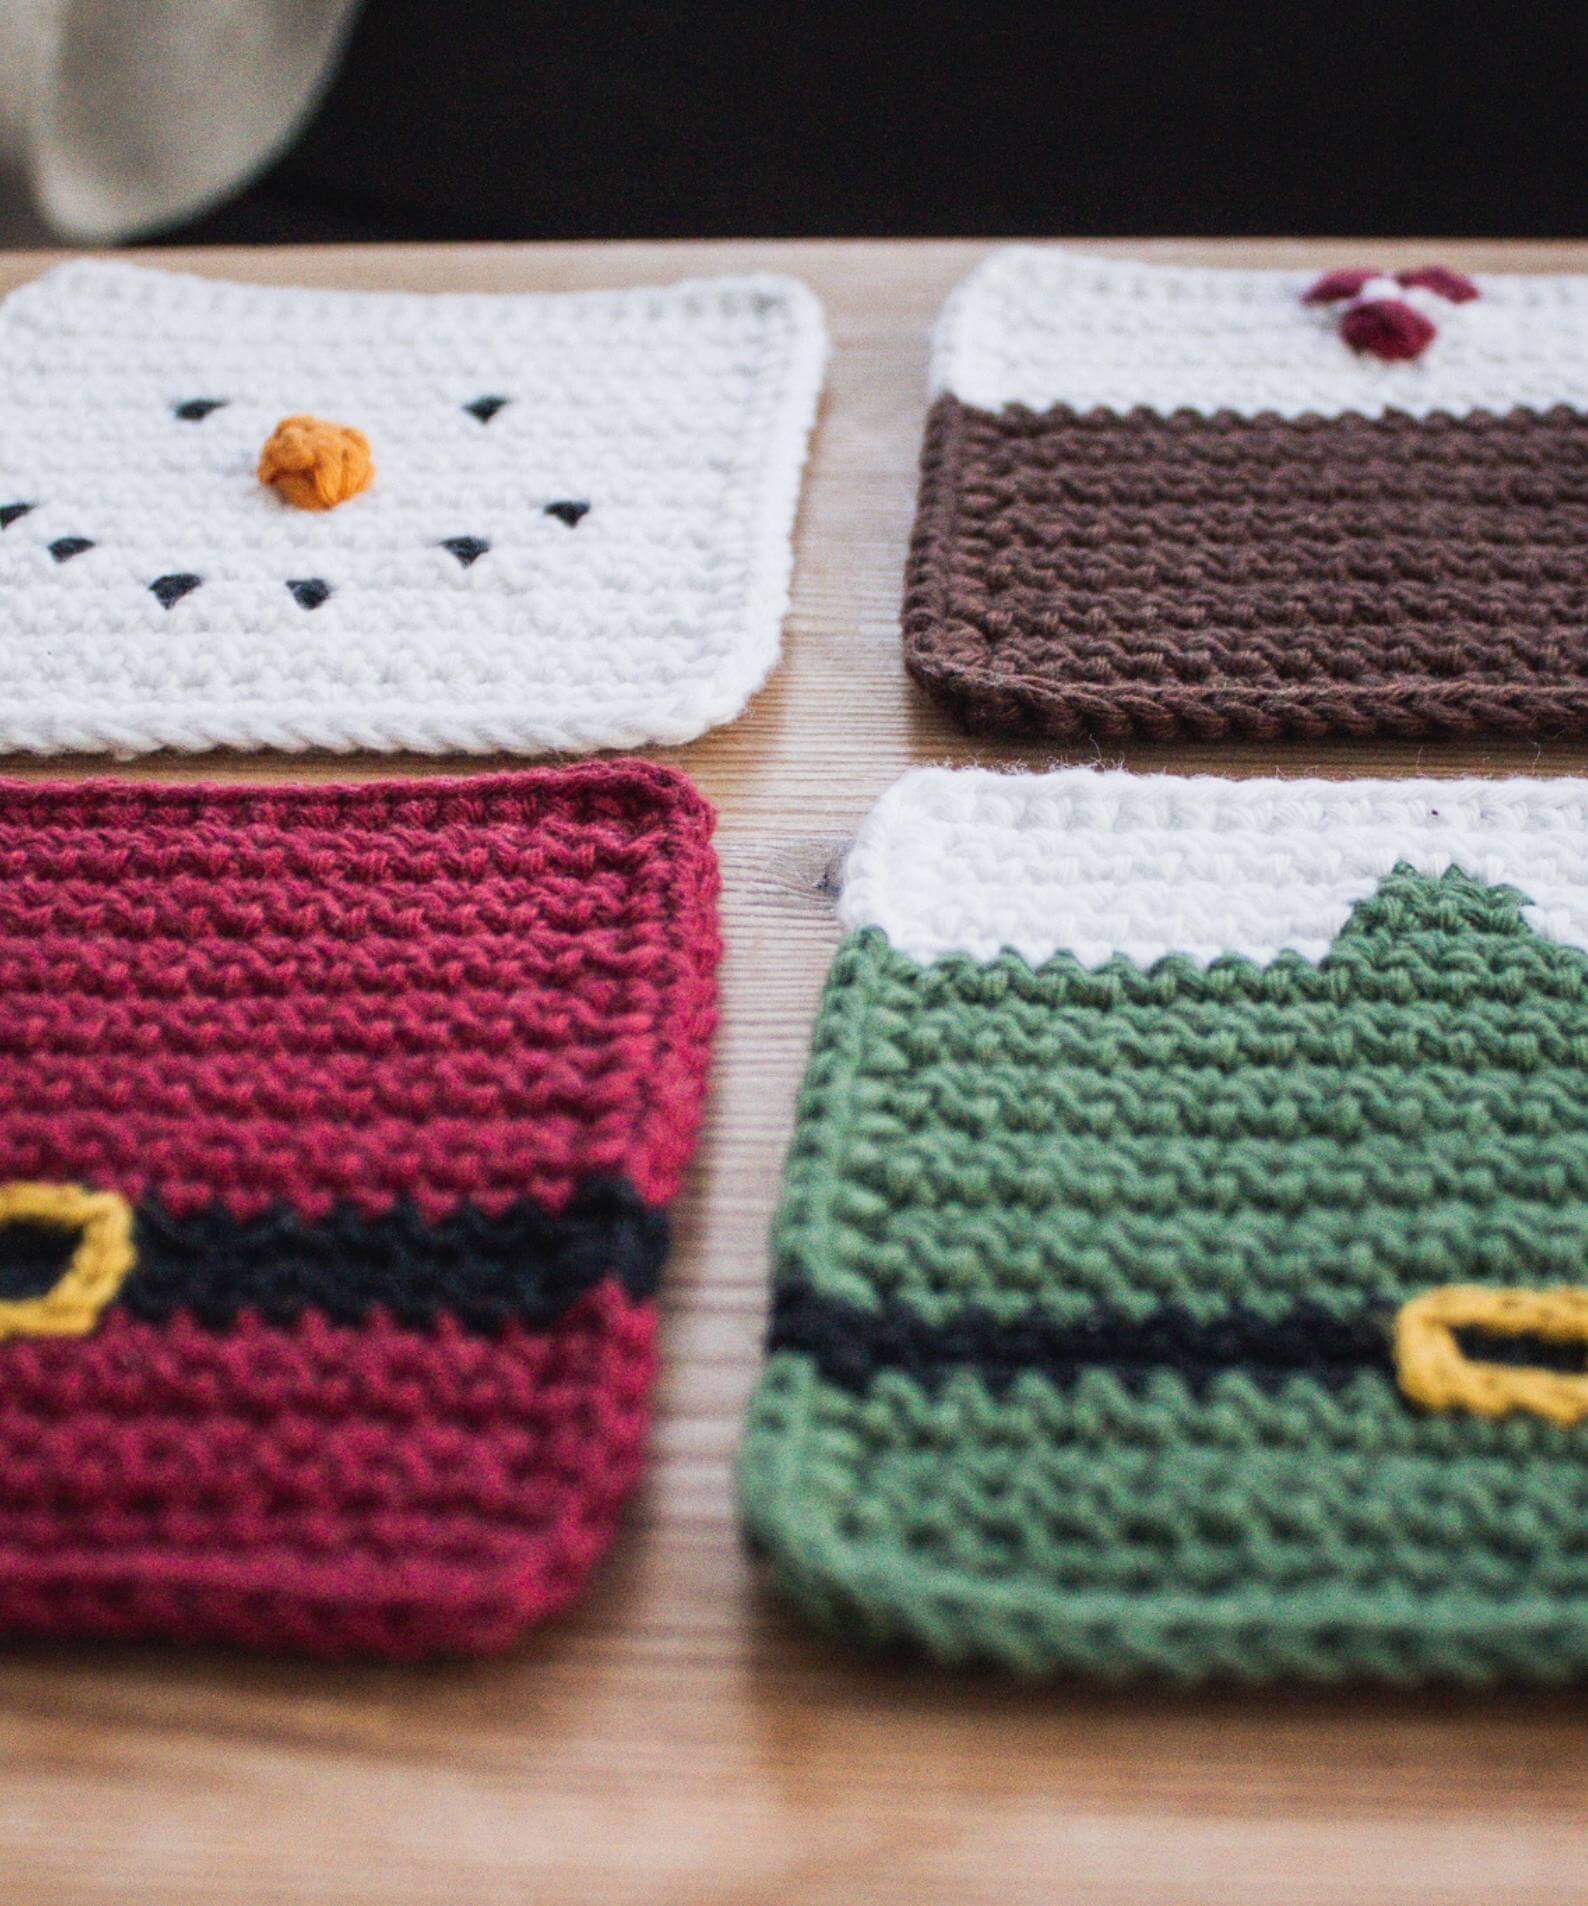
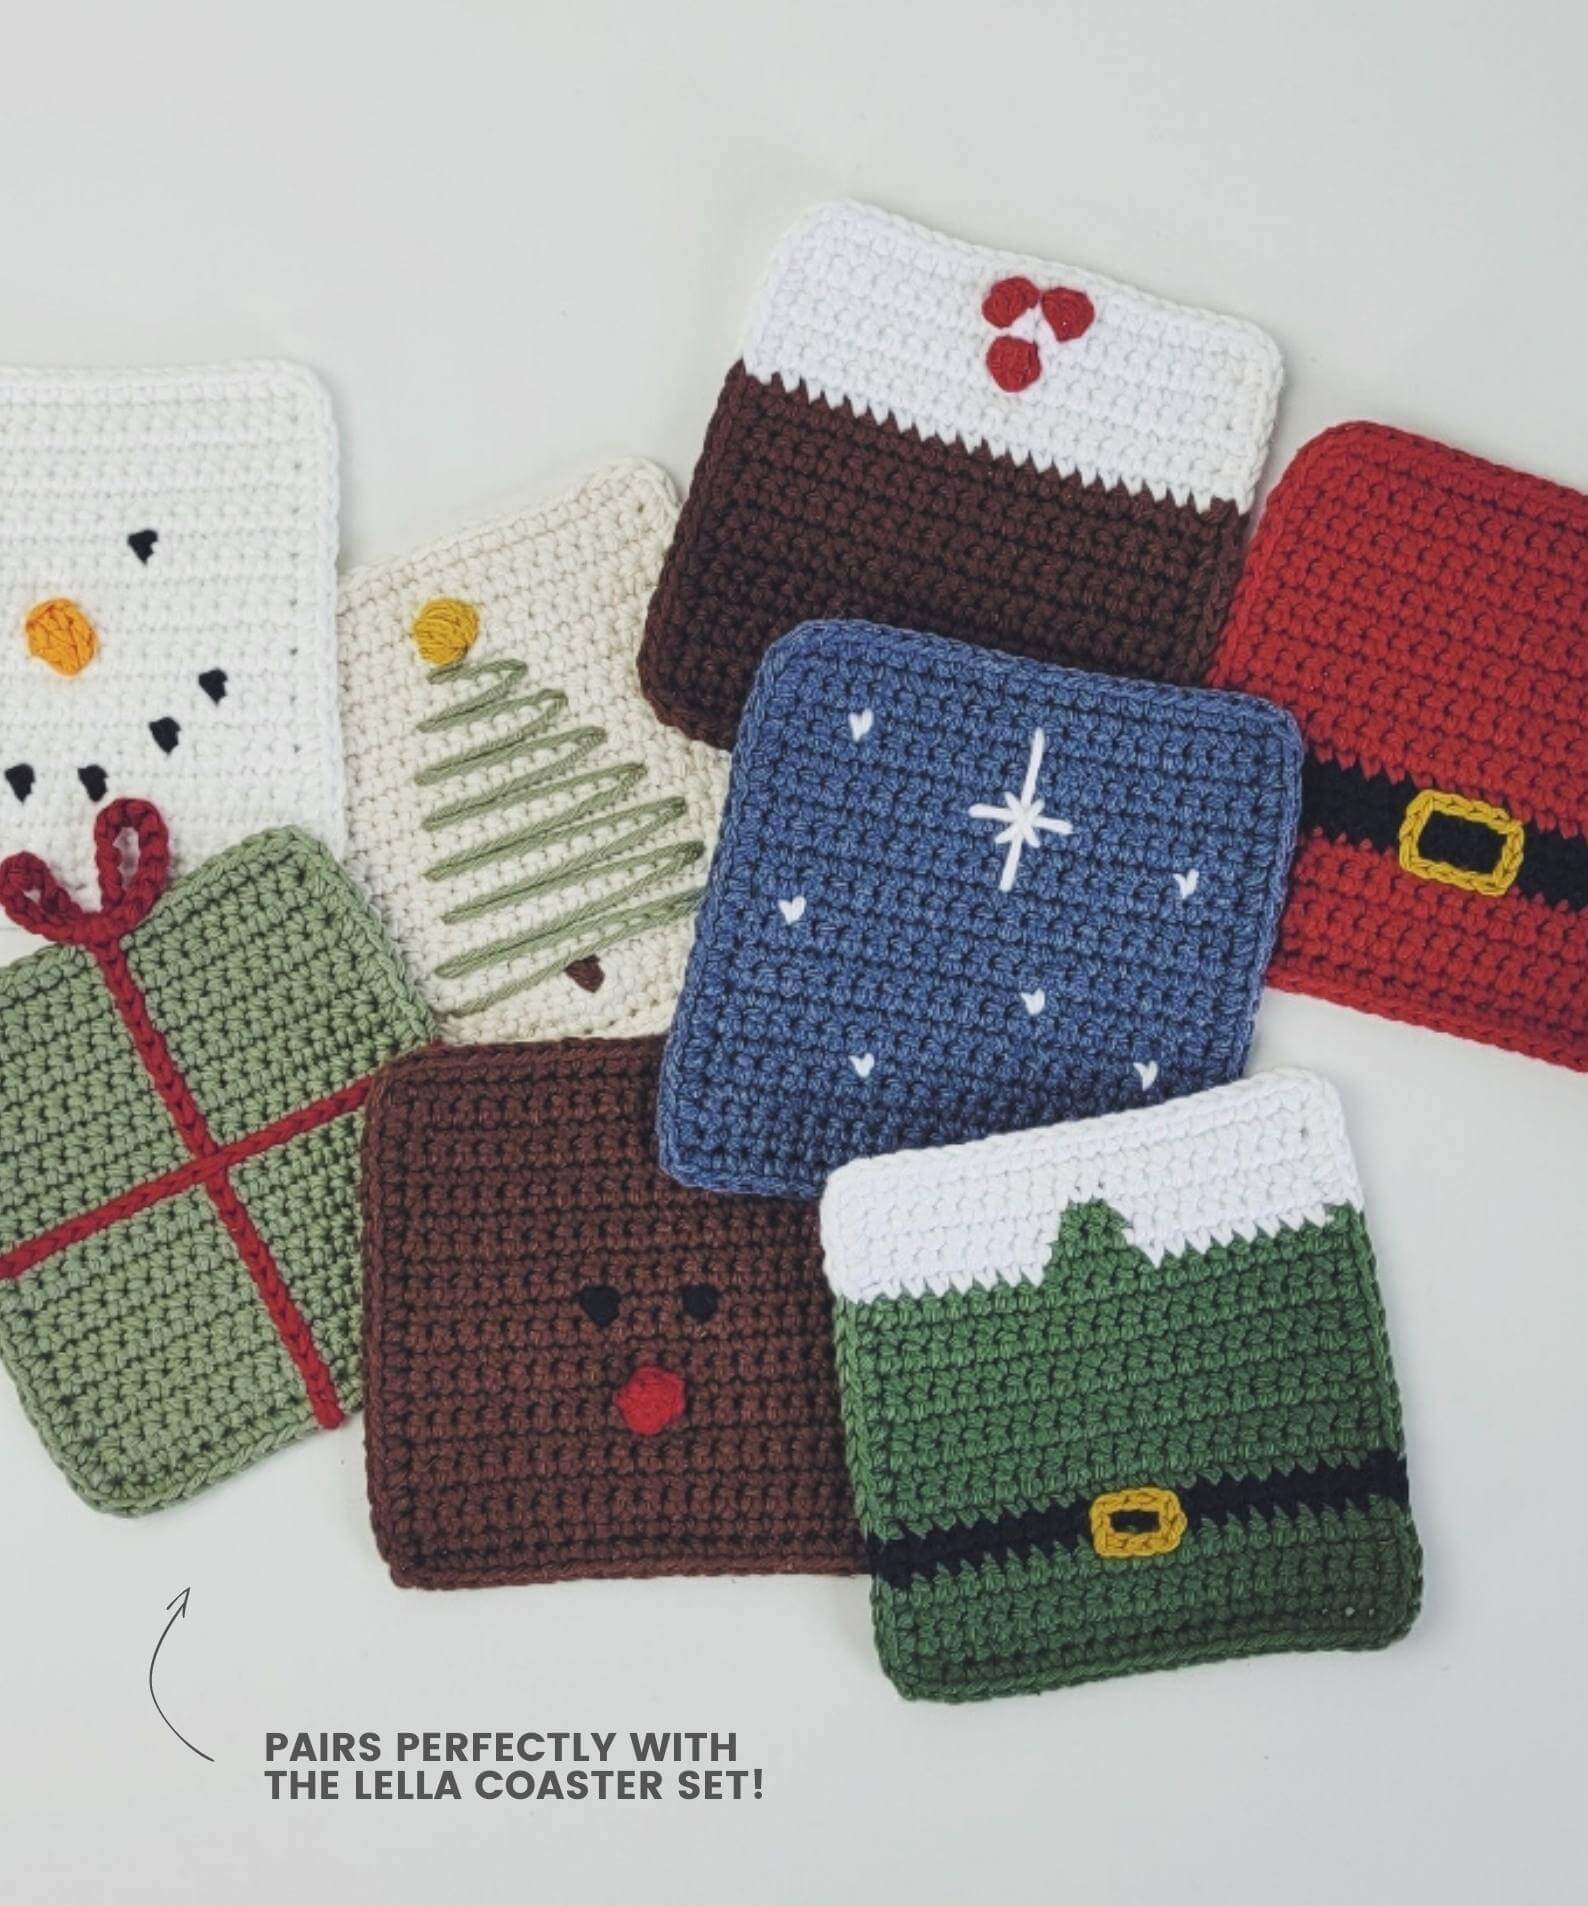
A very merry Christmas to you, you absolute cracker! Thanks to you, the Lella Christmas Coasters have been a runaway success, meaning deciding what festive pattern to give you this year was a piece of Christmas cake. MORE fun family coasters!
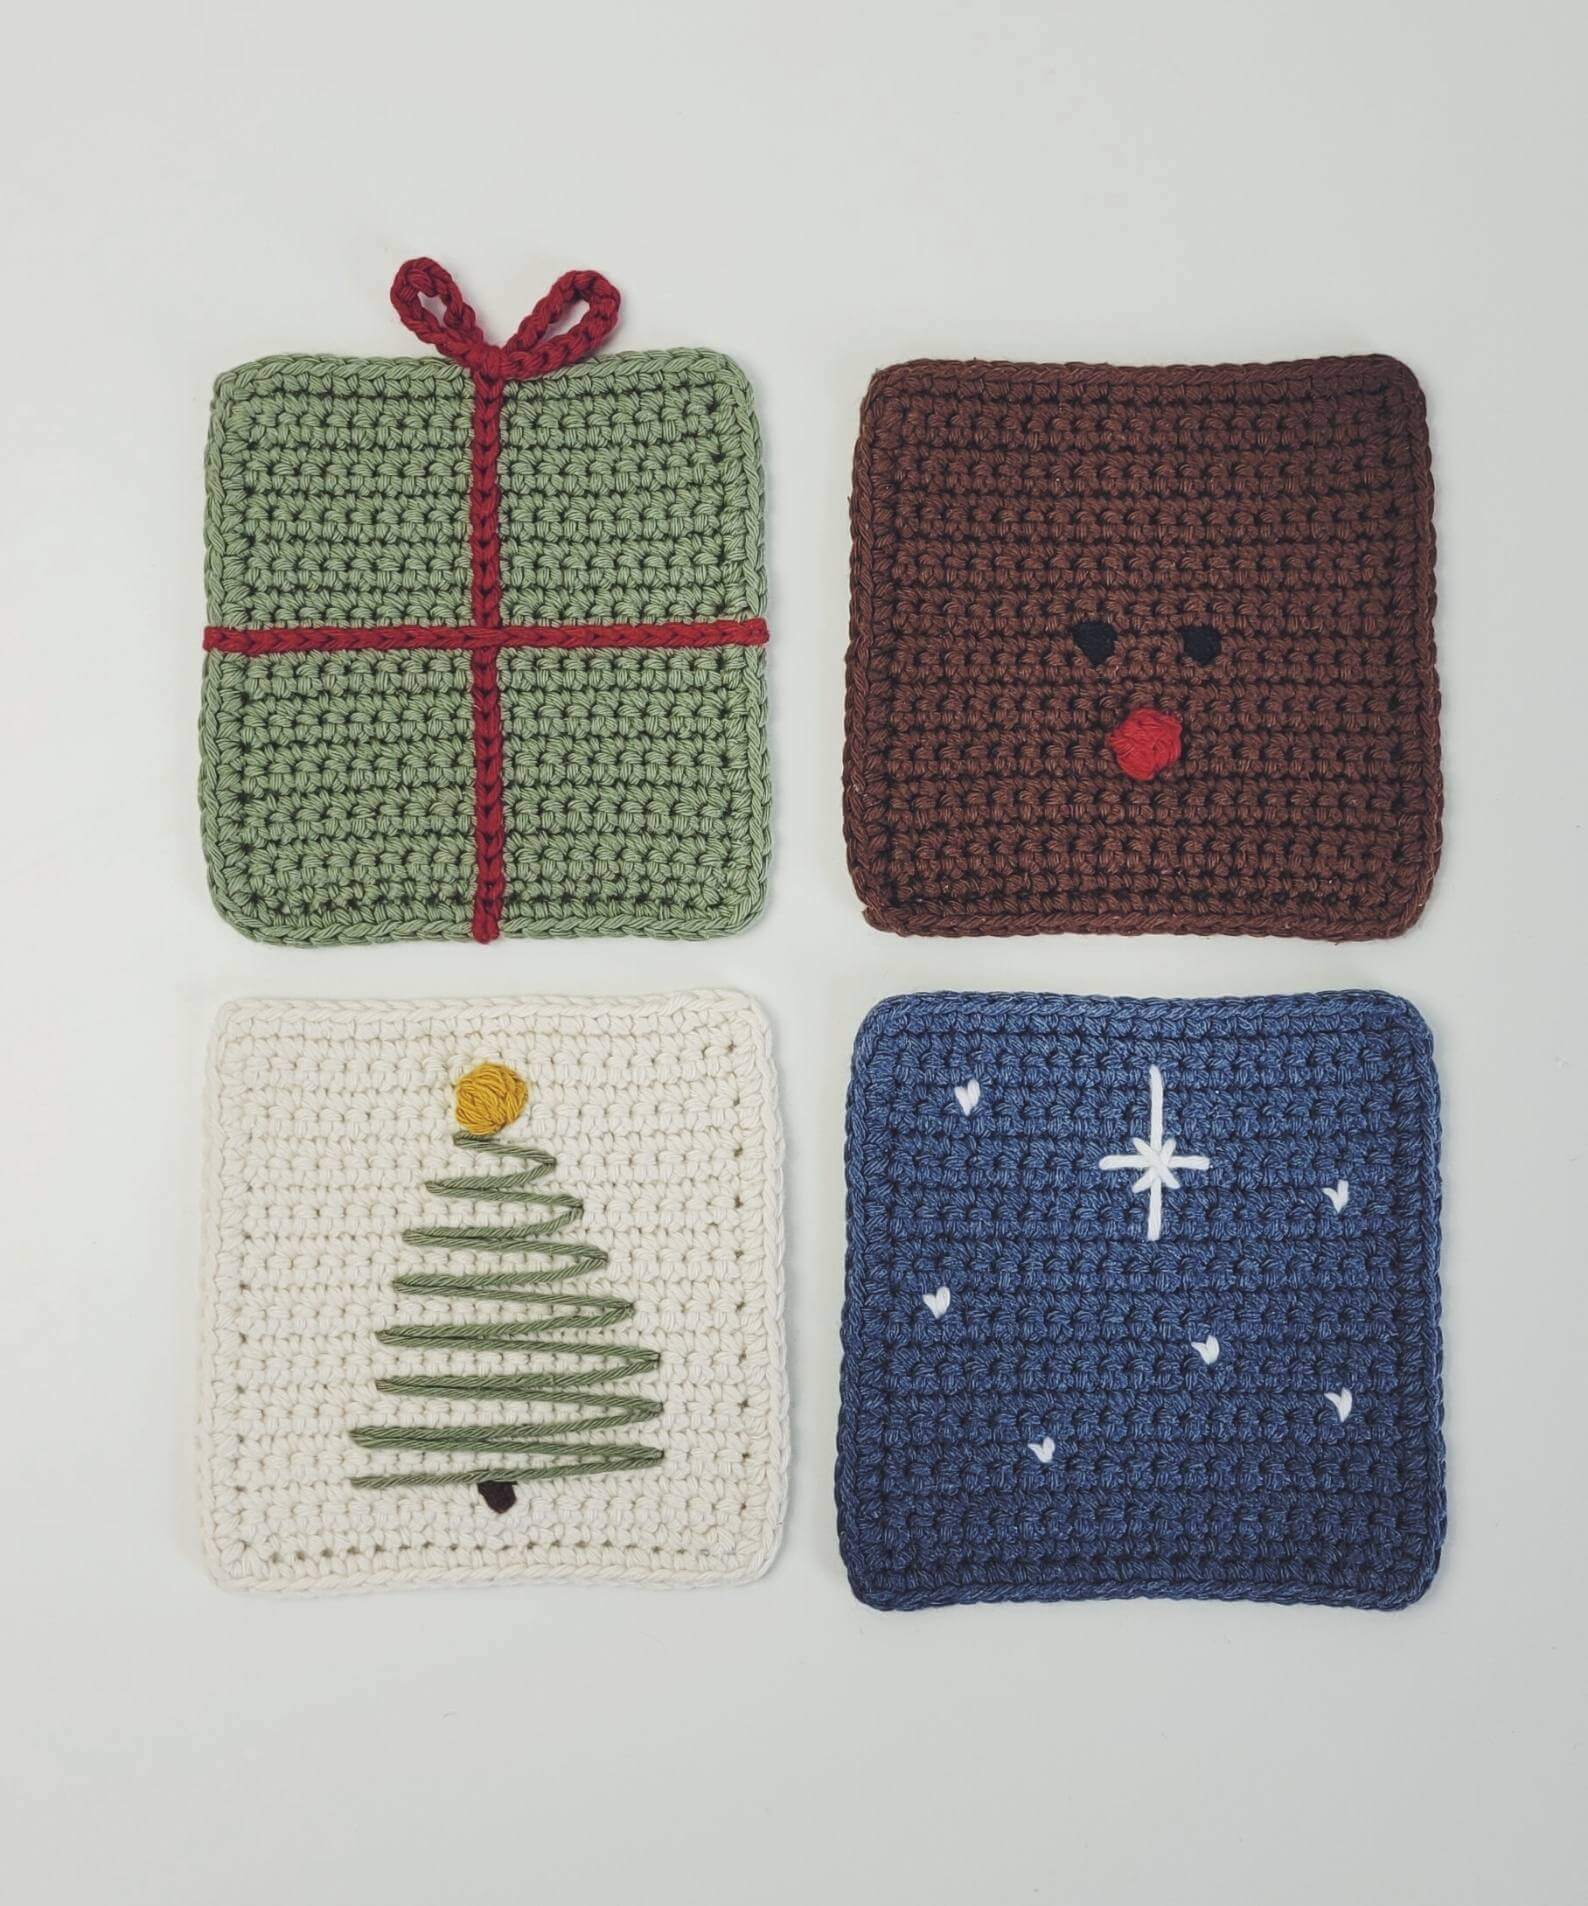
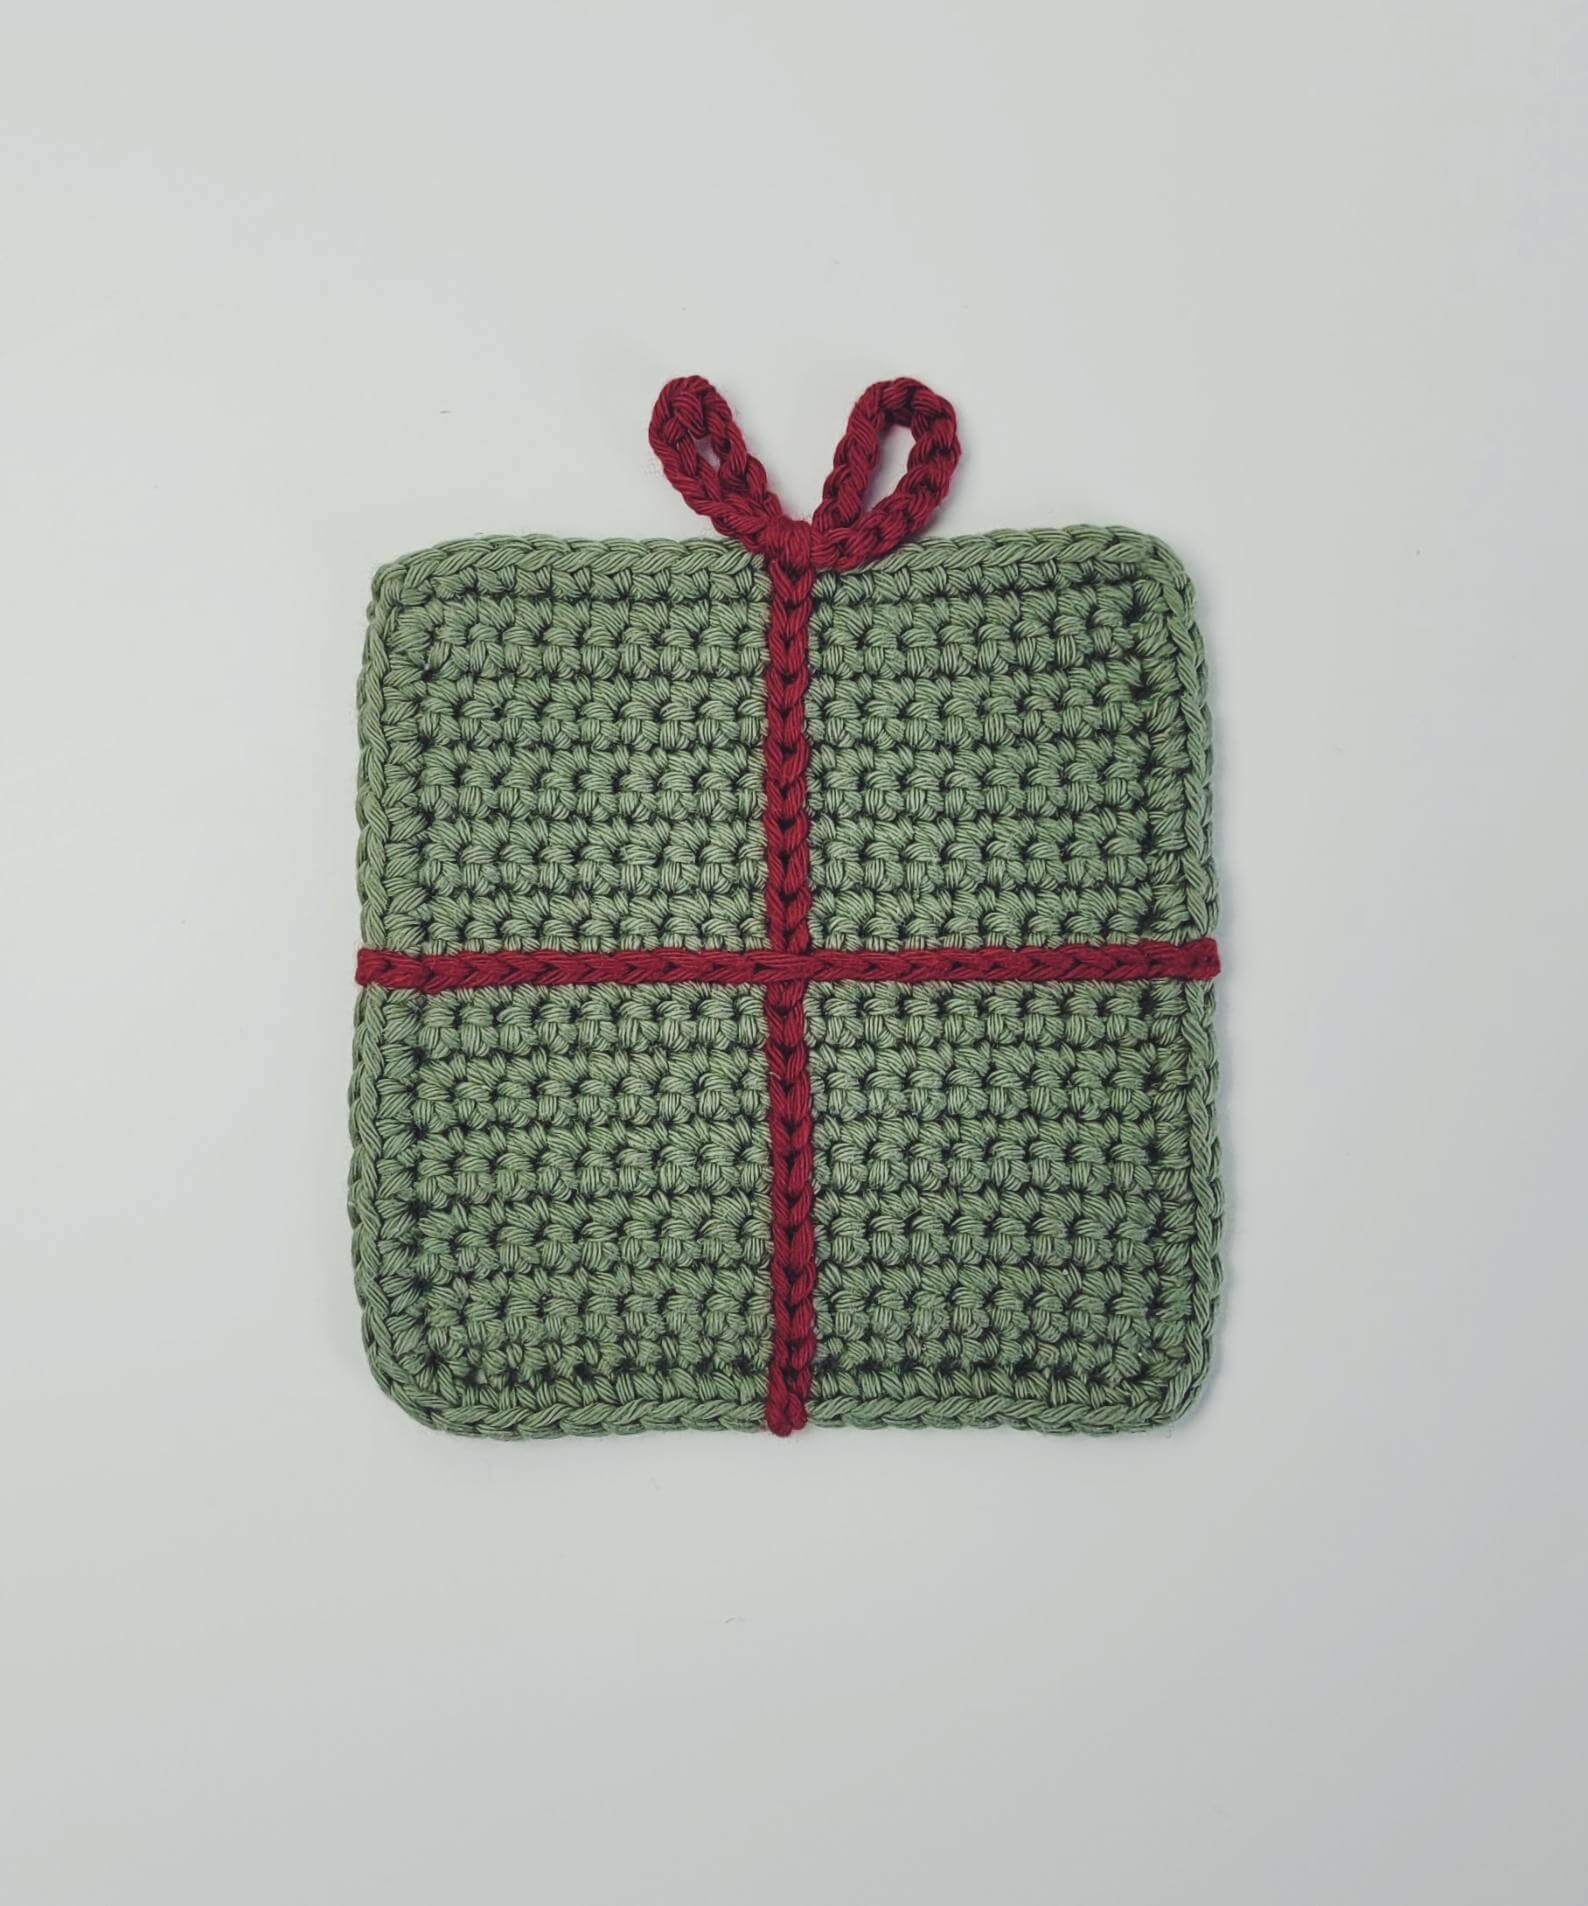
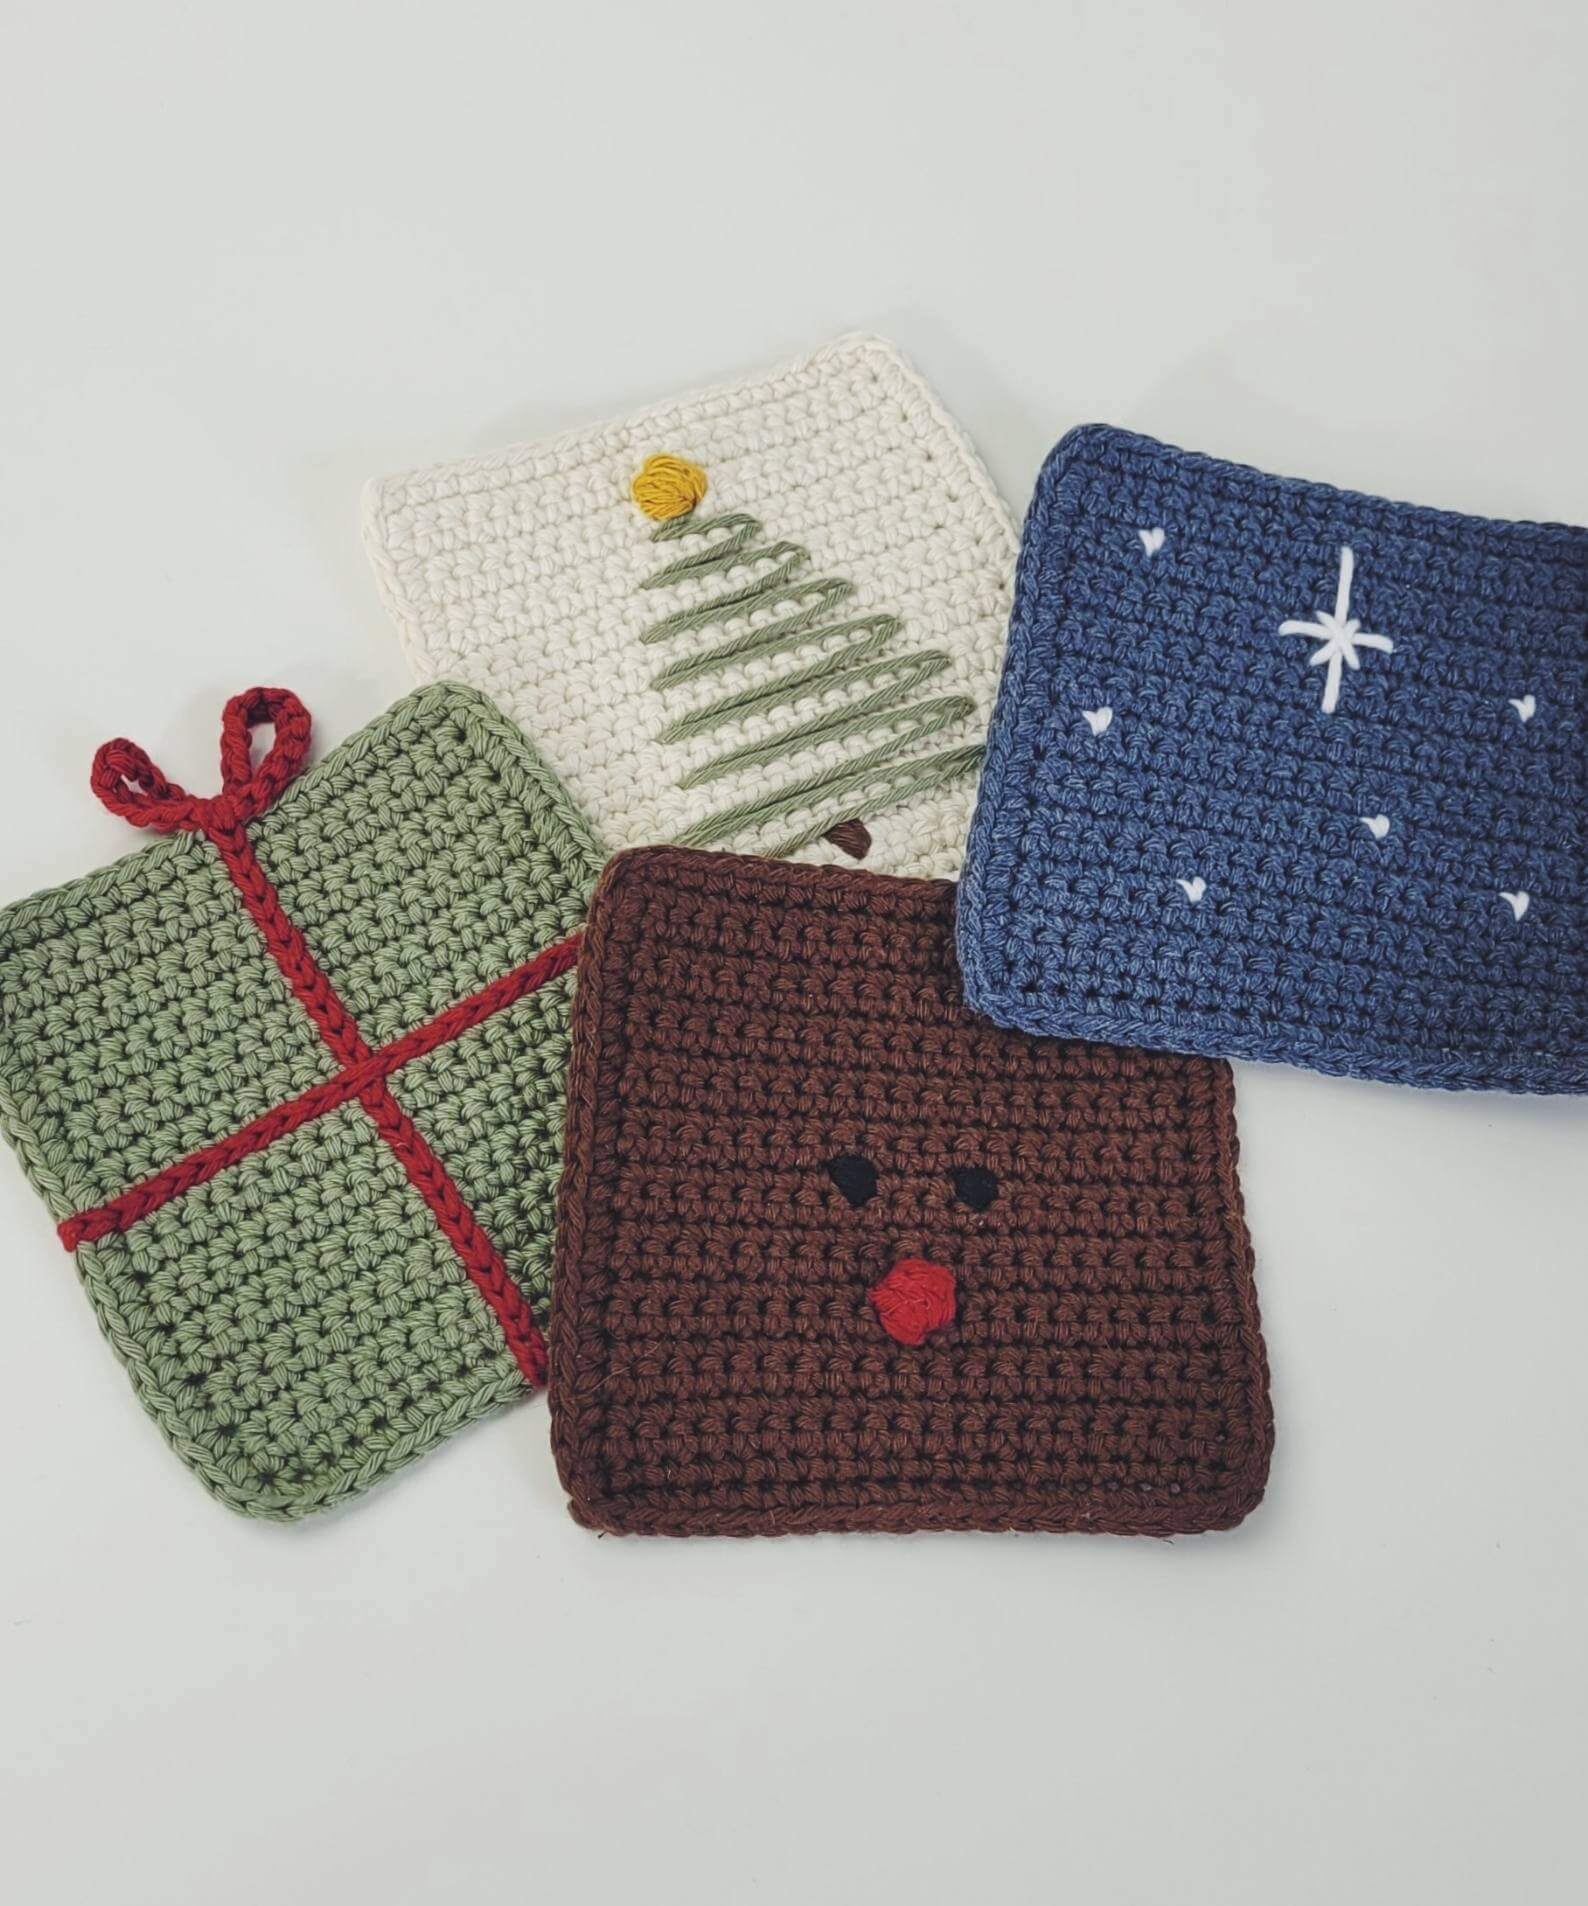
The complete set – the Jalla Christmas Coasters – includes: a Gift, Rudolf the Reindeer, the North Star and a Christmas Tree. My gift to you is the Gift! The free pattern below is a humongous and heartfelt thank you for all your support this year. We’re set to share a wonderful donation with World at Play over the festive period and it’s all thanks to you and your pattern purchases.
So when you’re using your coasters this Christmas, please raise your glass and think of the many children experiencing joy and play thanks to you and your great choices. You’re brilliant and I adore you.
Enough of the mushies, to business
As with the Lella pattern, I urge you to use 100% cotton yarn and a smaller hook to make your Christmas coasters. Cotton for durability, washability, absorbency and affordability as well as a large suite of colour options. And a smaller hook to make your work compact and your coaster more effective at protecting your tabletop from drips.
My go-to cotton yarns are Sugar ‘N Cream and Drops Paris. I love how many colours they both offer and how smooth the yarn is to work with! And you know by now that I work (almost) exclusively with KnitPro aluminium hooks – they’re style AND substance as well as affordable.
Shopping links:
To make the Gift crochet coaster you will need:
- 4mm crochet hook (or correct size for your preference/gauge)
- Tapestry needle
- Scissors
- 30g green cotton yarn
- 5g red cotton yarn
The Crochet Stitches + Techniques You’ll Need
The pattern below uses UK crochet terminology. Sincere apologies to US stitch followers, I know this makes it confusing for you and I really really wish we could have a global crochet language. I do take time to translate the PDF patterns to US terms, so you can click here to grab yourself a copy.
To make these coasters you’ll need to be able to (links open video tutorial in a new tab):
- ch – chain : yarn over, pull through a loop
- dc – double crochet (US single crochet) : insert the hook, yarn over and pull through a loop. You’ll have two loops on your hook. Yarn over and pull through both loops.
- Traverse slip stitch : Used to add detail on top of crochet items. With right side facing you, insert your hook where you’d like to begin the embellishment, and pull through a loop. Insert your hook again, one stitch in any direction, and pull a loop through the work, and through the loop on your hook. Repeat until you reach the desired finish point.
Some notes before you begin making your coaster
This free pattern here on the Sarling Studio blog is a sample of the full PDF pattern available here. The full pattern;
- can be downloaded in UK or US crochet terms
- includes step by step pictures
- has links to additional video tutorials
On top of all those delicious bonuses, every purchase not only makes my heart jump for joy but also gives a gift of joy to children in need! Download the PDF in your preferred crochet terms here.
Additional Useful Pattern Info
- Just in case you missed it above, this blog pattern is written in UK crochet terminology.
- If you size down your hook, your coasters should measure 12cm x 12cm.
- In the pattern, the number is brackets is the number of stitches each row should have.
- Turning chains are not included in the stitch count.
- Odd rows will be the right side of your work.
The pattern uses shorthand, where “2 dc” means to work a double crochet in each of the next 2 stitches and “dc2” means to work 2 double crochets in the next stitch.
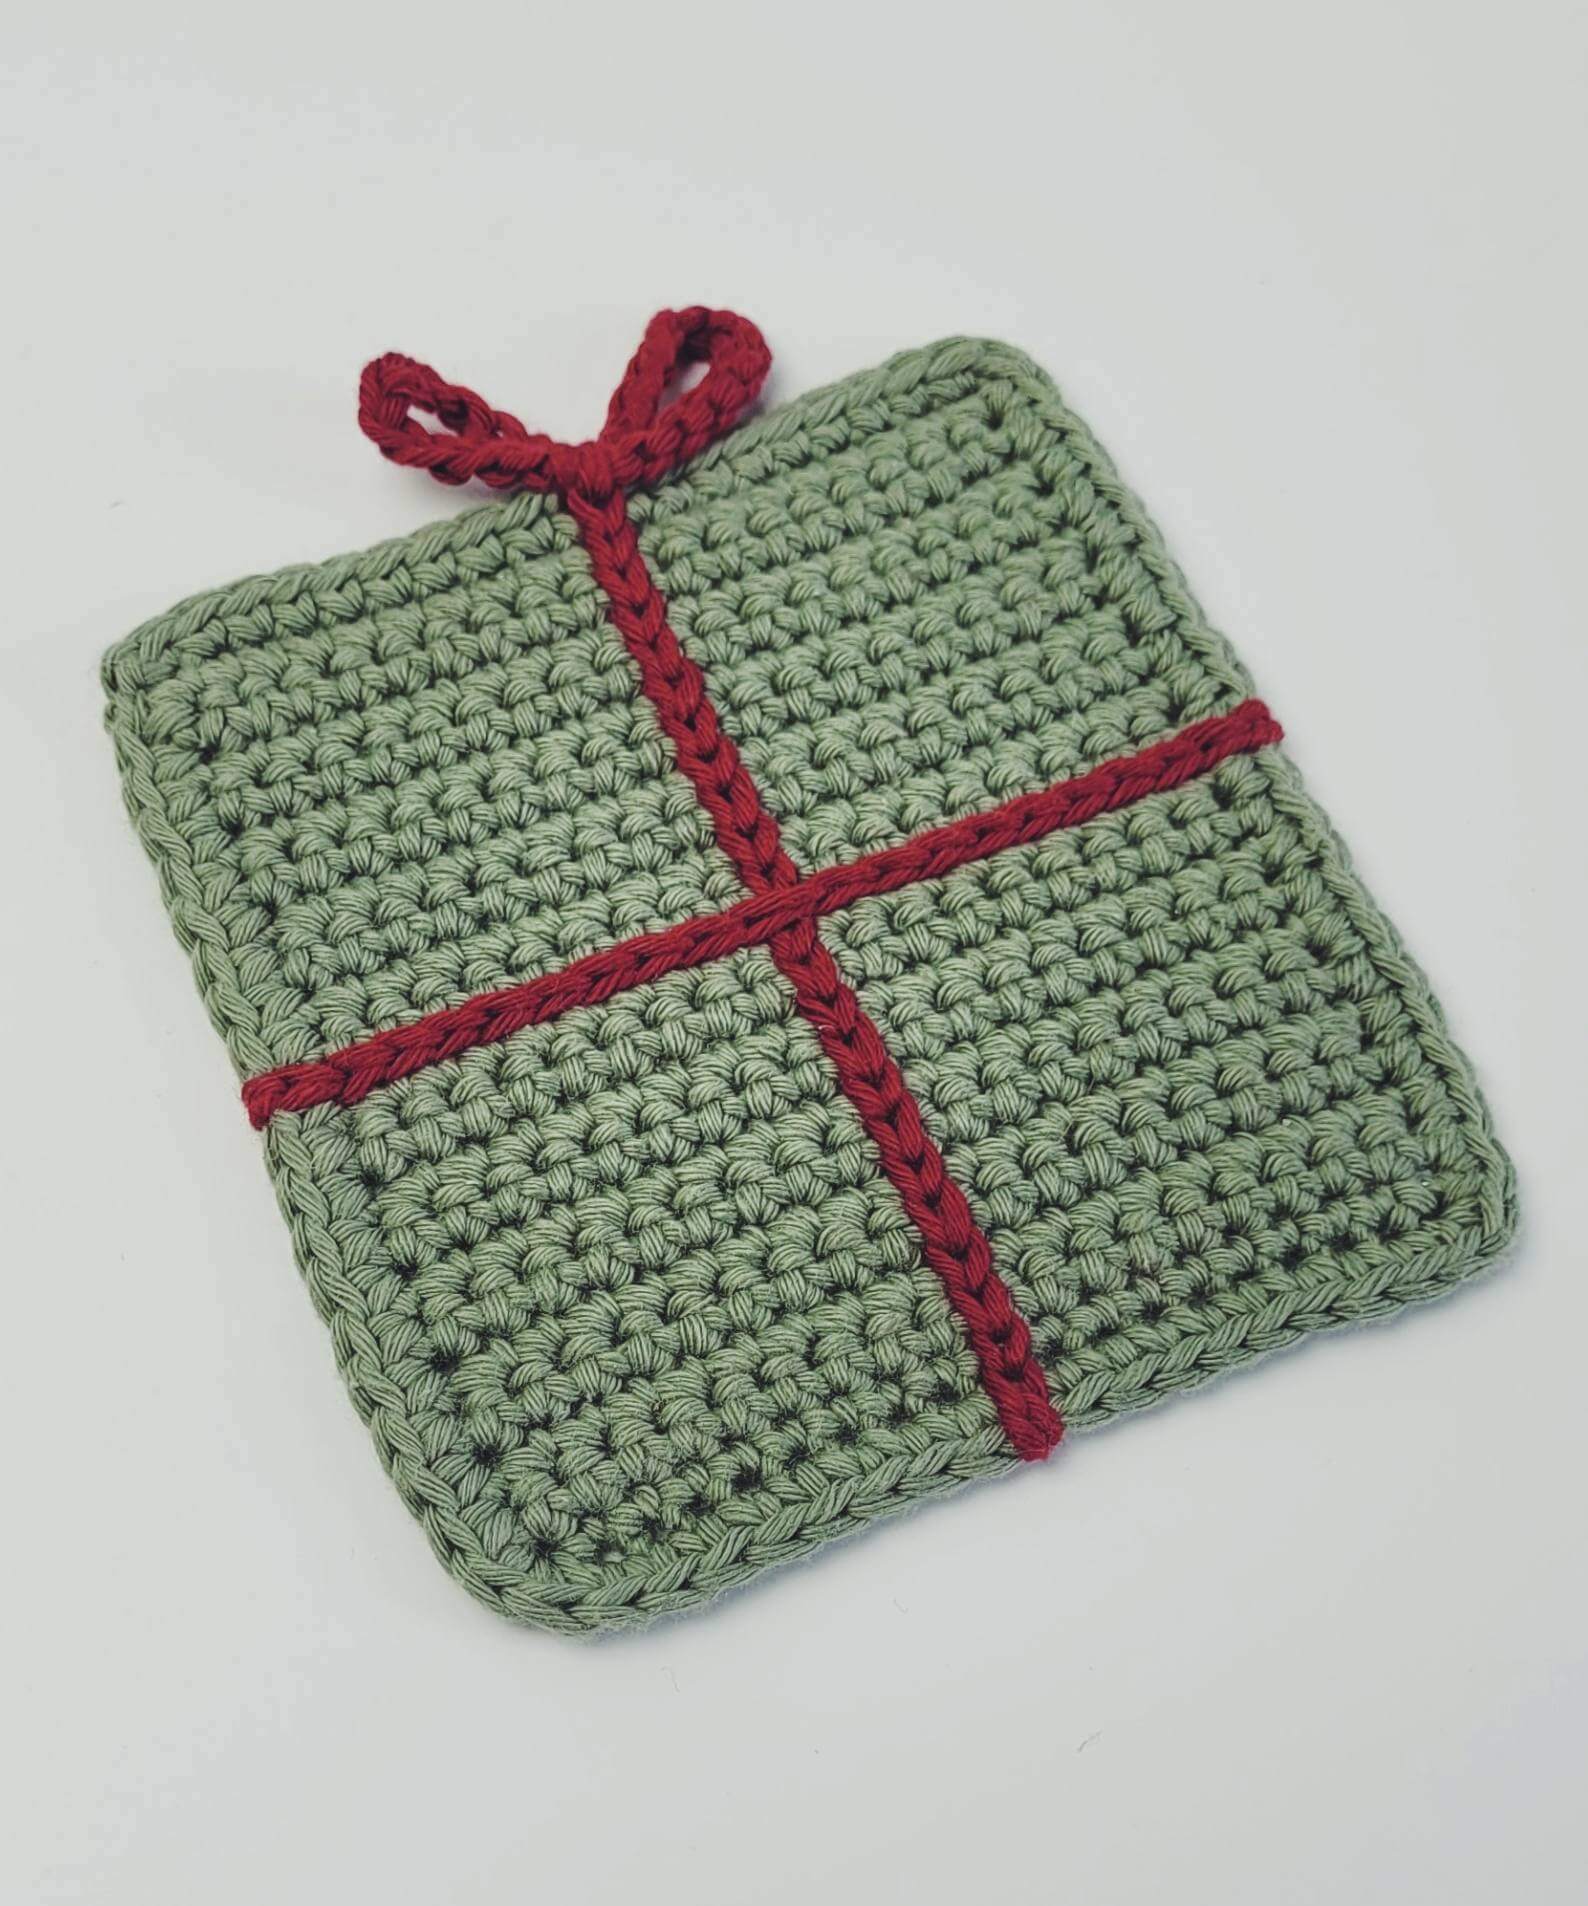
Gift Coaster Crochet Pattern
If you skipped straight here, I applaud your confidence and feel I should let you know this pattern is written in UK crochet terms.
–
Foundation: Working in green yarn, begin with a chain of 21. (21)
Row 1: Dc into second ch from hook and each stitch across. Ch1 turn. (20)
Row 2 – 20: Dc into each stitch across. Ch1 turn. (20)
Row 21: 19 dc, dc2 into the final stitch.
Border: Turn the work 90° clockwise + dc into the side of each row along the left side, dc2 into the corner. Turn the work 90° clockwise again + dc along the bottom, dc2 into the corner. Turn 90° clockwise and dc along the right side, dc2 into last corner then dc along the top. Work an invisible finish.
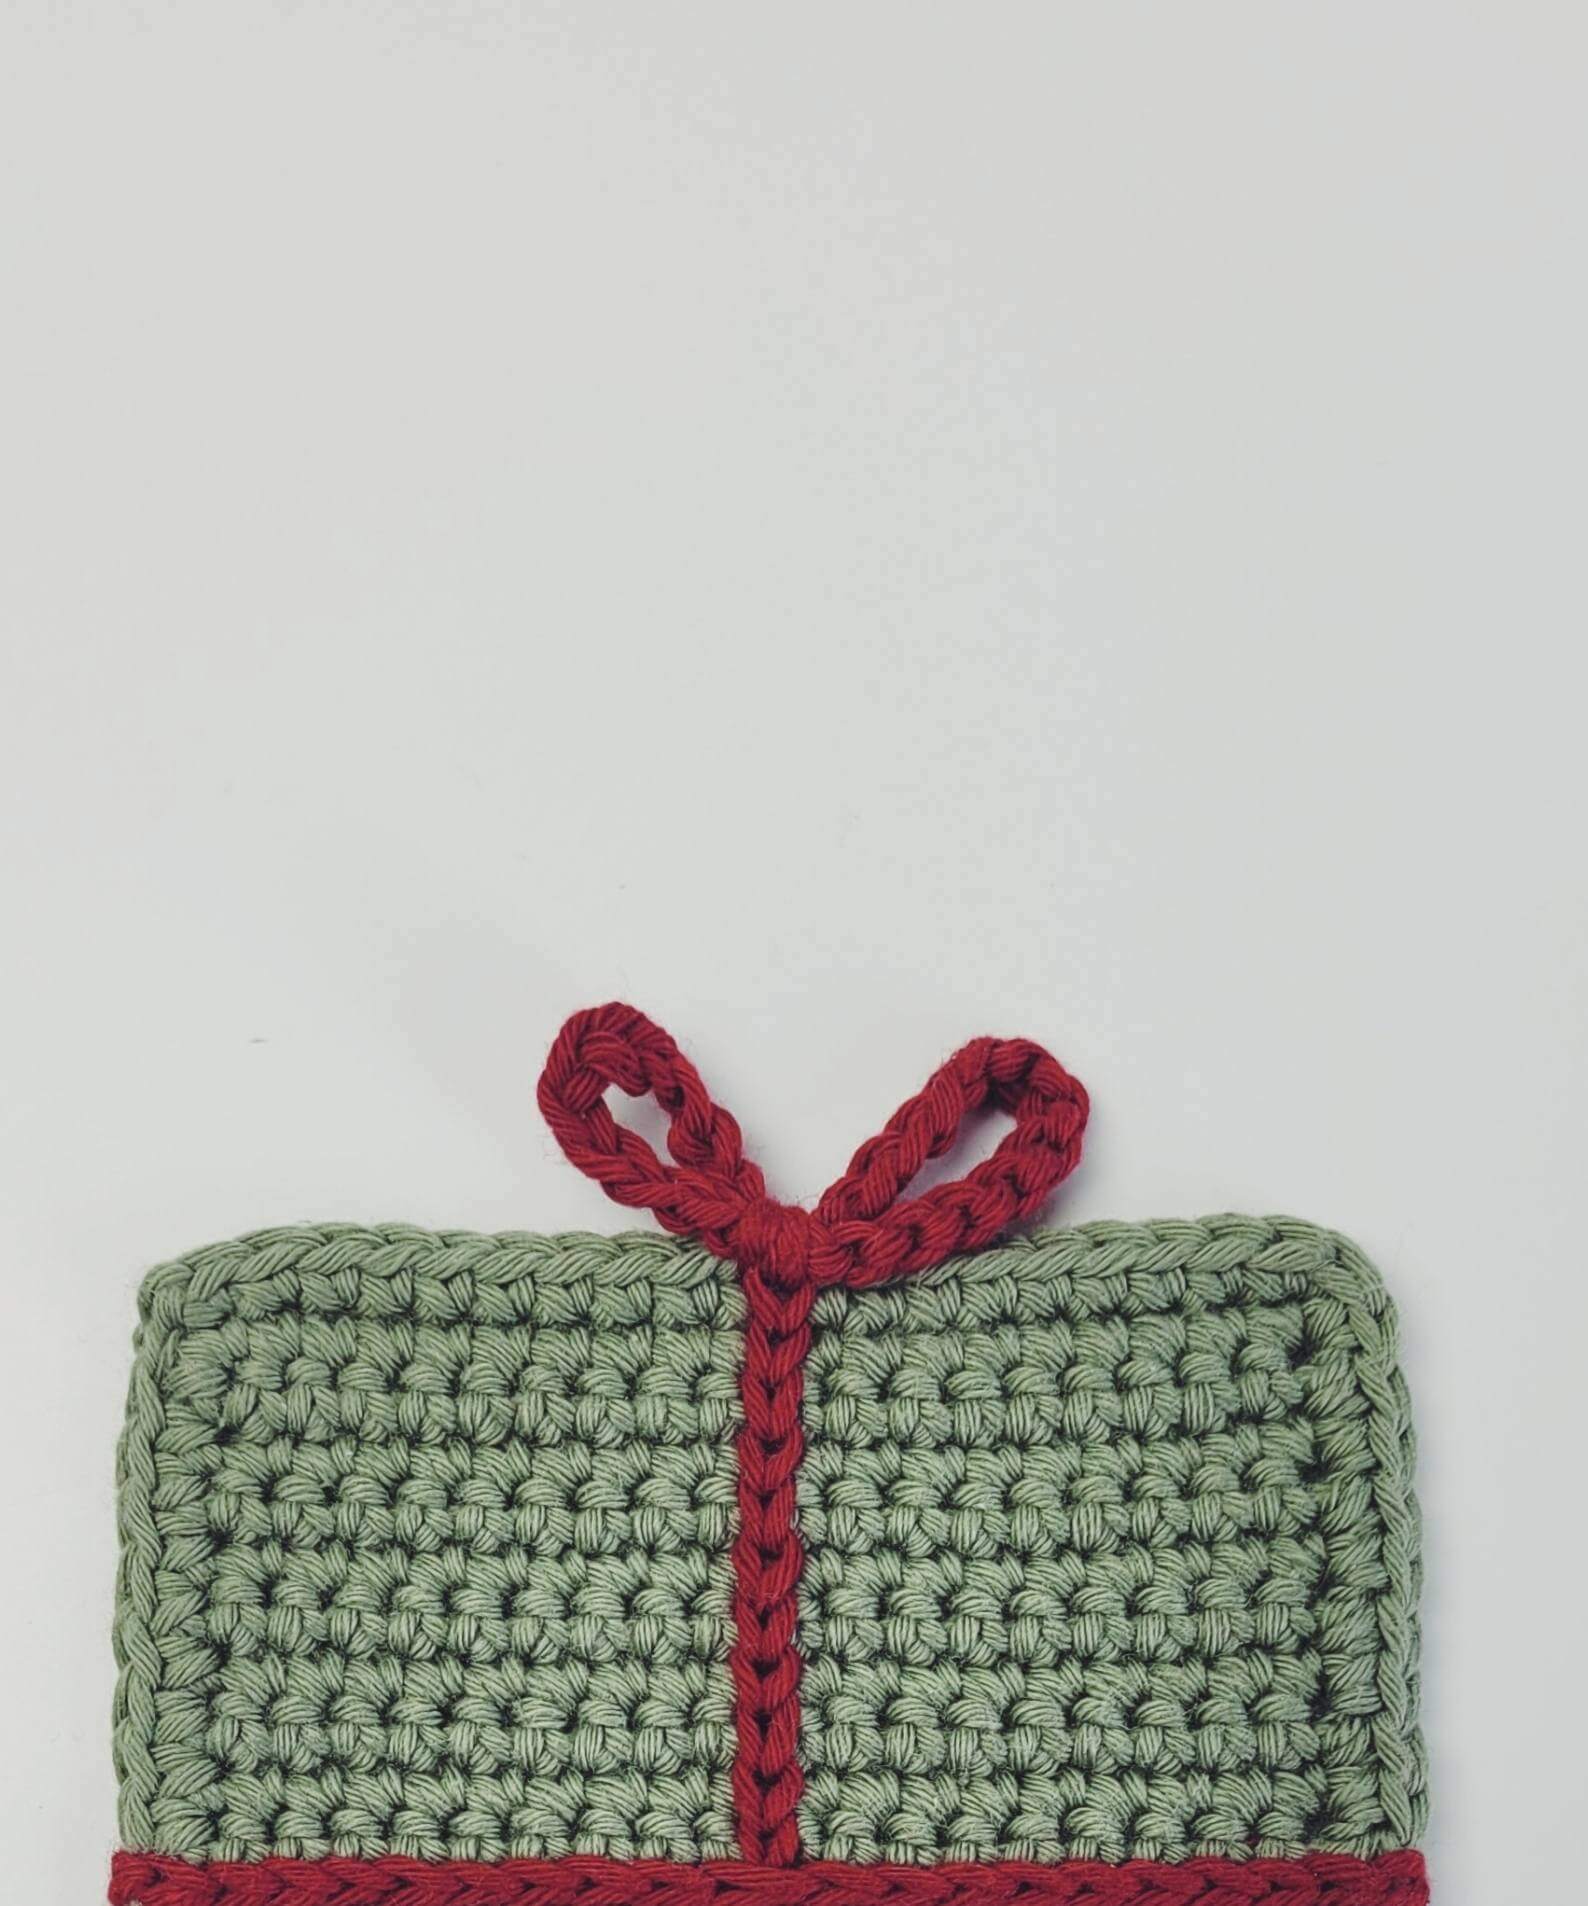
Ribbon: photo support can be found in the PDF pattern
Using red yarn (or any contrast colour)
- Insert hook through the middle stitch in the bottom row + pull up a loop.
- Traverse slst in a vertical line to the middle stitch in the top row.
- Chain 24 and pull yarn through last ch to secure as a knot + cut yarn.
- Thread the yarn through a tapestry needle and insert it into the same space the chain begins.
- Use the needle to wrap the yarn over the middle of the chain and through the top stitch a couple of times, creating the bow.
- Weave in the ends, using the starting tail to work over the edge and create a pretend slst over the border.
- Rotate the coaster so the bow is on the right hand side and your ribbon is a horizontal line.
- Insert hook through the middle stitch of what is now the bottom + pull up a loop.
- Traverse slst in a vertical line to the middle stitch at the top, working over the existing slst track.
- Work one chain at the end and pull yarn through to secure + cut yarn.
- Weave in the ends, using the tails to work over the edges.
Did you enjoy this pattern?
If so, I’d love you to tag me on Insta to share your work with me! @sarling.studio
Or even better, head here to do some feel good shopping, supporting my work AND my wonderful partner charity.
Written by:
Melanie Sarling

SAVE + SHARE
Found this article helpful?
Share with your friends or save it for later.
SIGN UP FOR GLEE-MAIL
More good stuff, delivered to your inbox
Join the mailing list for great content from the blog, updates on pattern releases, a few humble promotions and the occasional lovely offer.