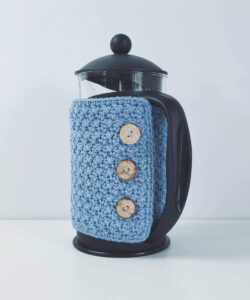
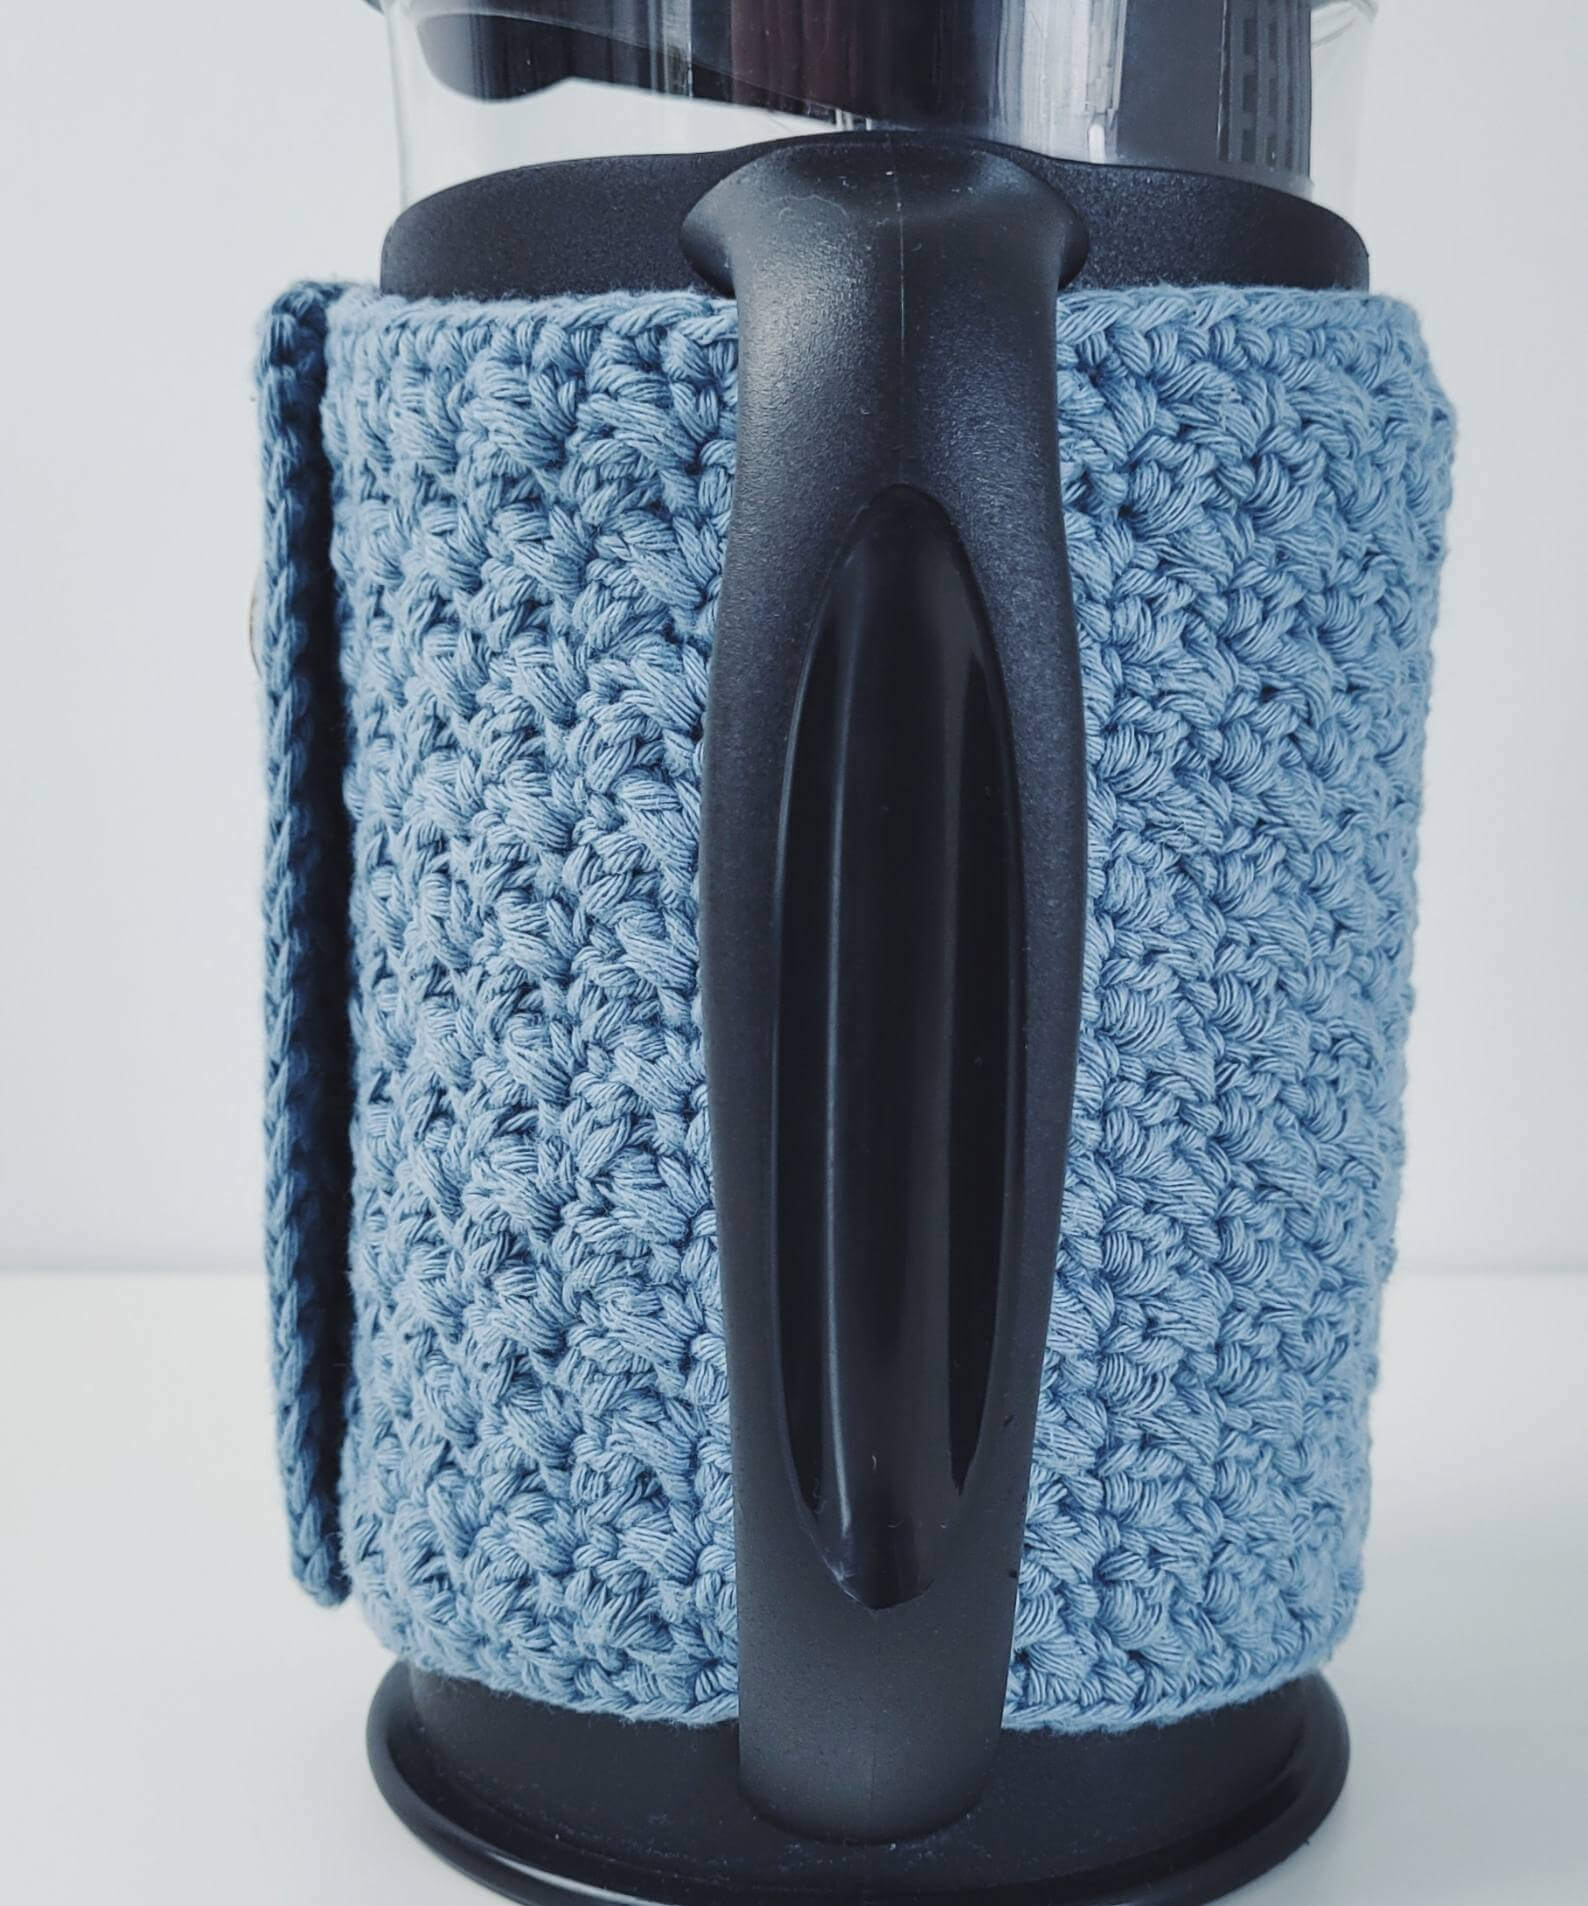
Ever find yourself sipping cold coffee cos you don’t want to waste it / need the fix? Ever look at your cafetière and think… “you look naked”? If yes, and you’re looking for a simple and stylish solution that you can make in just a few hours, allow me to introduce you to your new best pal, Kappa.
This free pattern on the Sarling Studio blog creates a cosy that fits your average 1 litre cafetiere (as pictured, approx 10cm diameter and 22cm height). Don’t worry if your coffee pot has different dimensions, you can find detailed directions to customise the shape and size of the cosy in the PDF pattern.
Making the right yarn choice
If you’ve been around the blog you’ll know I bang on about the benefits of cotton and why it’s my go-to yarn, especially for items that need to be hard-wearing and washable. In fact, all the reasons I share for using it on the Lugn coasters and Wheya dribble bib apply to Kappa too. So if you want to be further convinced to choose cotton, head over to those posts.
HOWEVER. There’s a contender yarn for this particular project. For all its many benefits, cotton isn’t the best option for heat retention. For keeping things warm, you really want to turn to natural wool fibres. A reliable sheep’s wool yarn would be a great choice for keeping your coffee hotter for longer, but do check the washing directions as some wool doesn’t do well in a machine.
Last thing on the yarn front is a quick warning against using synthetic, acrylic yarns. As they are made of plastics, they gently melt when hot and release yucky chemicals in the process, so, yeah, avoid human-made yarns for making Kappas.
Choosing your tools
Much of the next paragraph is unashamedly borrowed from the Lugn blog because it applies here too…
It can be a bit tiresome going down a hook size (sorry wrists) but I really think it’s worth it for this project. By bringing our stitches closer together not only do we create more lush texture, we also make our cosy better at being cosy. Who wants a gappy cosy that leaks heat? With that said, if you do want to proceed without sizing down, you’ll still have a lovely jacket for your cafetière as well as grateful joints and a slightly larger finished item.
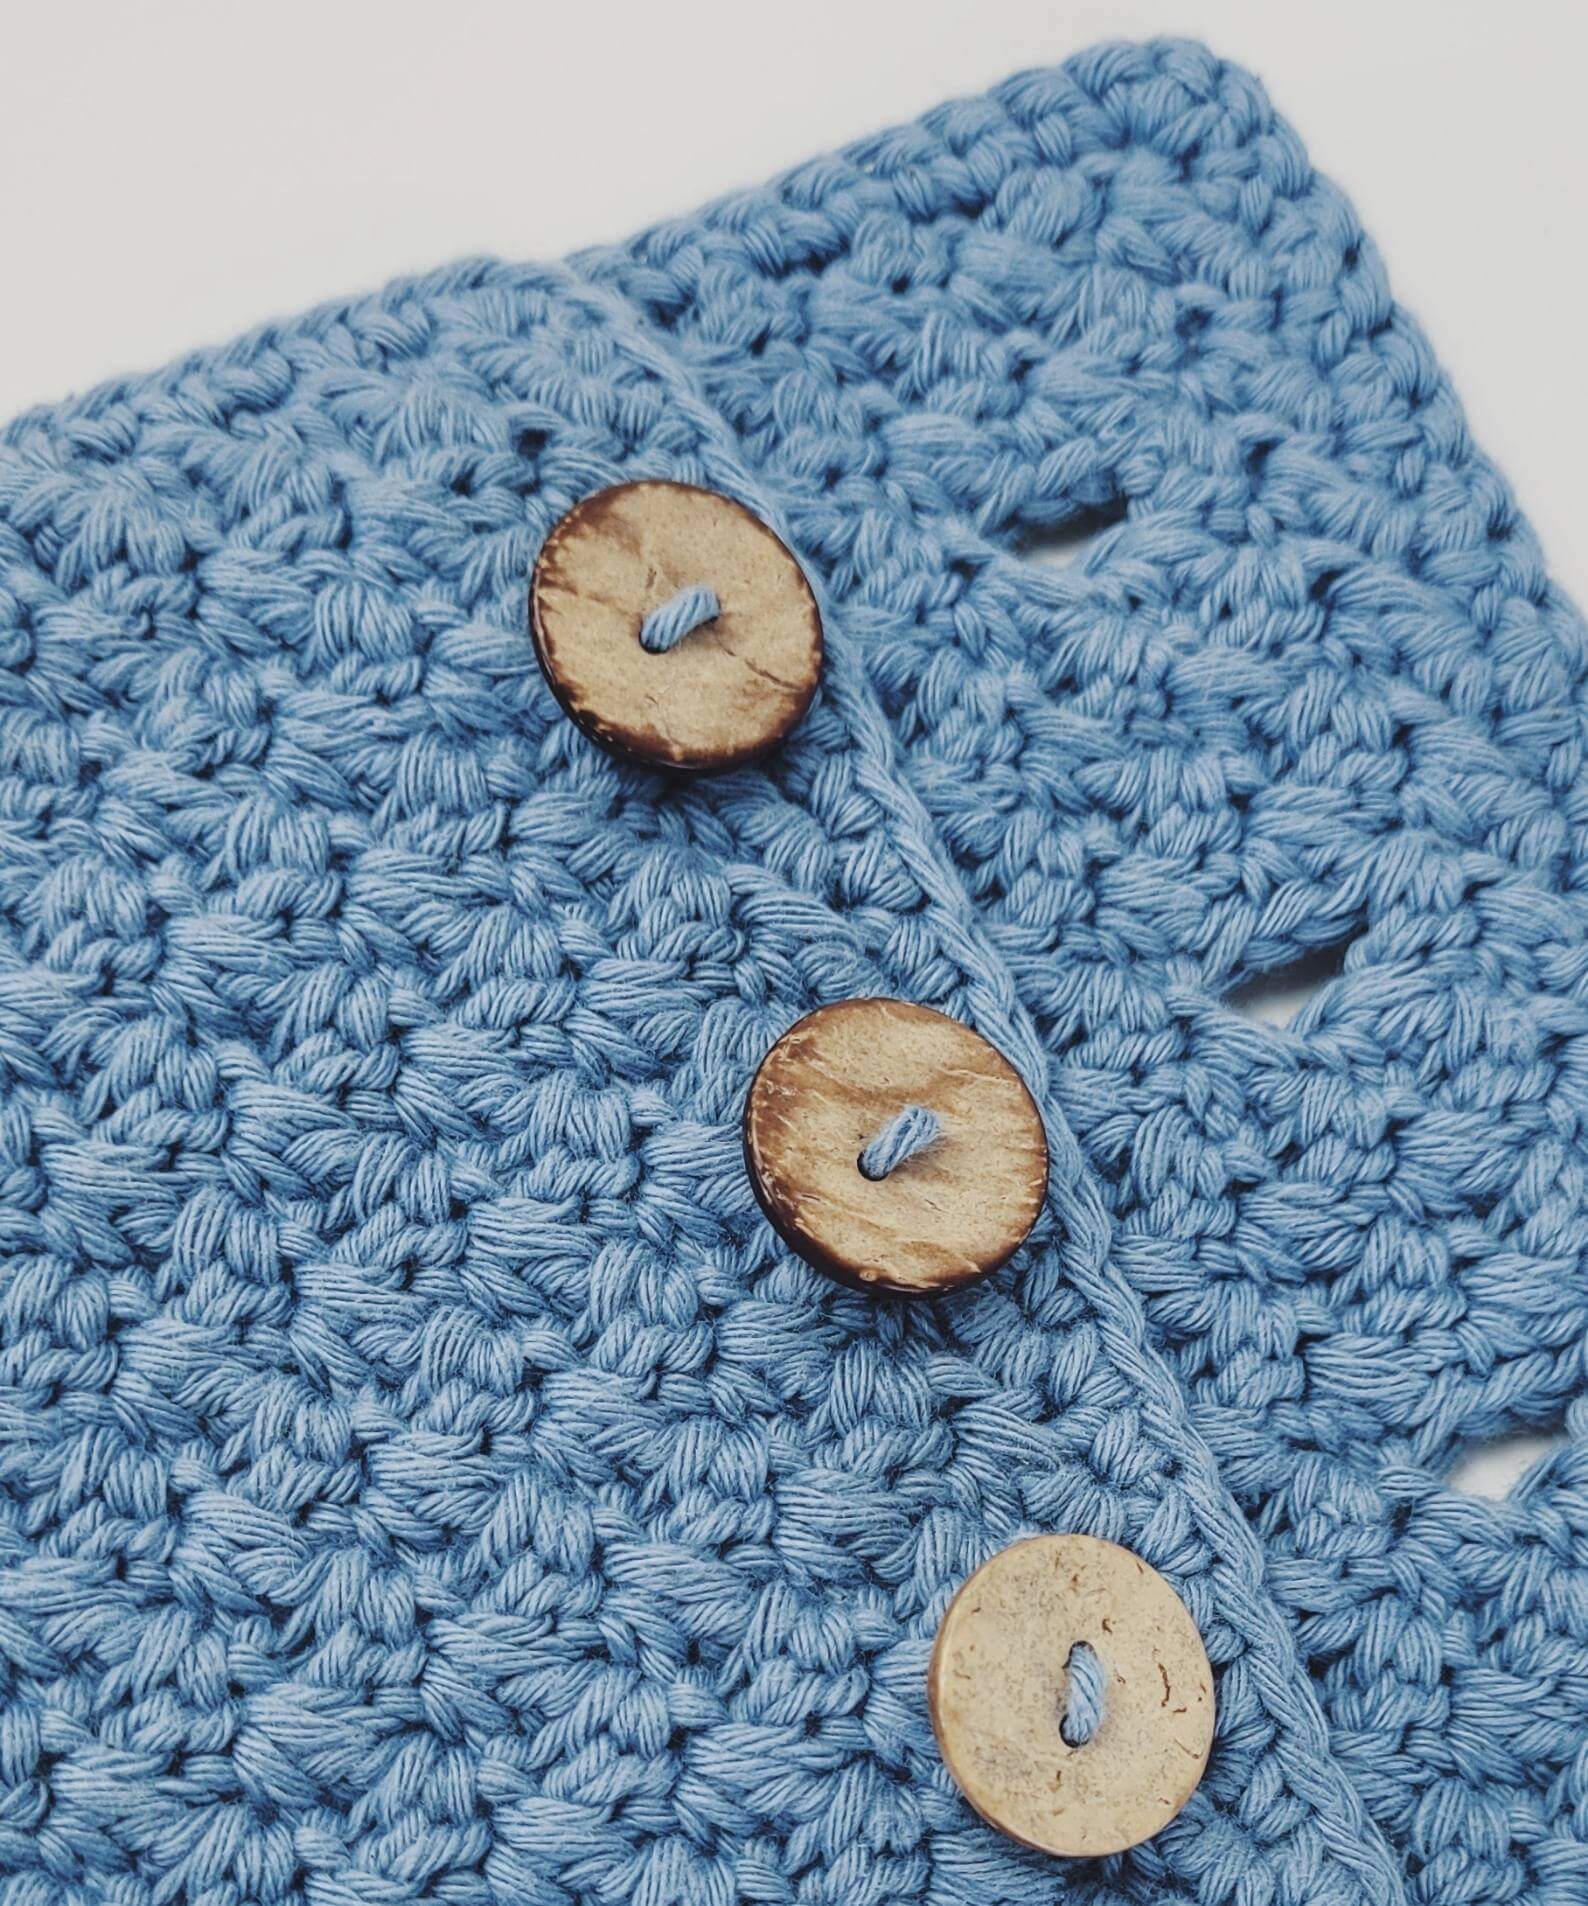
Buttons make a real difference to the overall look of an item, so don’t skimp on your consideration of this accessory. I truly love the coconut shell buttons I found (and now use on everything) but you do you boo. Why not dive into that little box of buttons you’ve got tucked away? Or pop into a charity shop and sift through the eclectic mix they have?
Shopping links:
- 90g of aran (worsted) weight cotton yarn
- 4mm crochet hook (or correct size for your preference/gauge)
- 3 buttons (2cm – 3cm diameter)
- Tapestry needle
- Stitch Markers
- Scissors

The Crochet Stitches + Techniques You’ll Need
dc – double crochet (US single crochet) : insert the hook, yarn over and pull through a loop. You’ll have two loops on your hook. Yarn over and pull through both loops.
You can click on the stitch name to view a video tutorial of the technique.
Some notes before you begin making the cafetière cosy
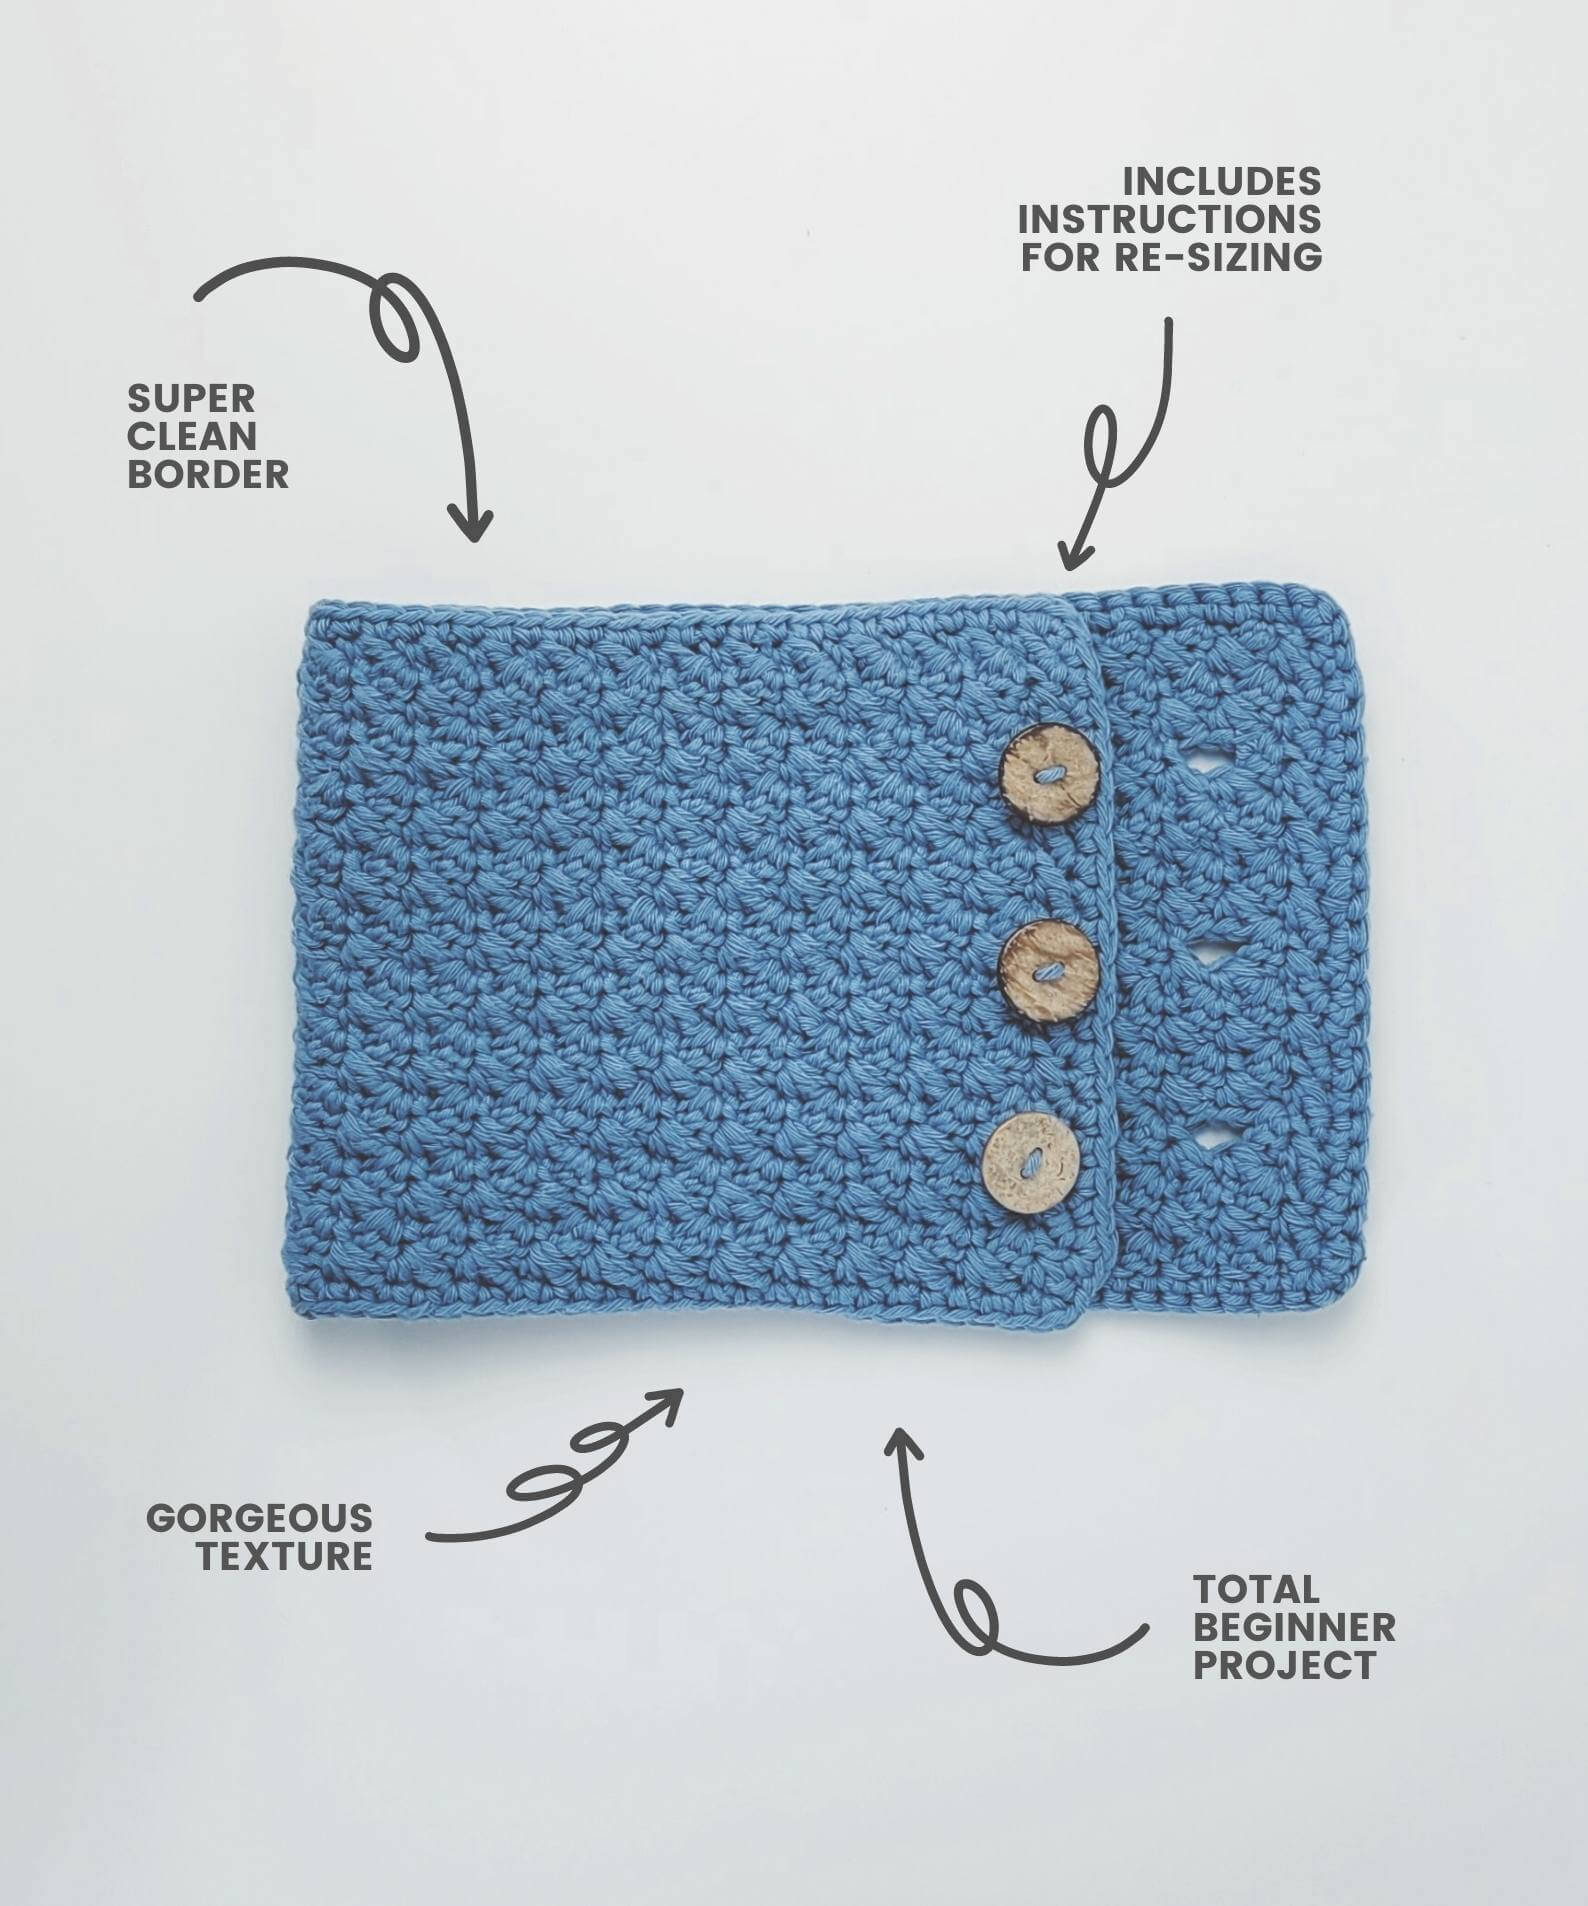
This free pattern here on the Sarling Studio blog is a sample of the full PDF pattern available here. The full pattern;
- gives detailed instructions for re-sizing your cosy
- can be downloaded in UK or US crochet terms
- includes step by step pictures
- has a link to a video pattern tutorial
- can be purchased on Etsy or on Ravelry if you prefer
On top of all those delicious bonuses, every purchase not only makes my heart jump for joy but also gives a gift of joy to children in need!
Additional Useful Pattern Info
- Just in case you missed it above, this blog pattern is written in UK crochet terminology.
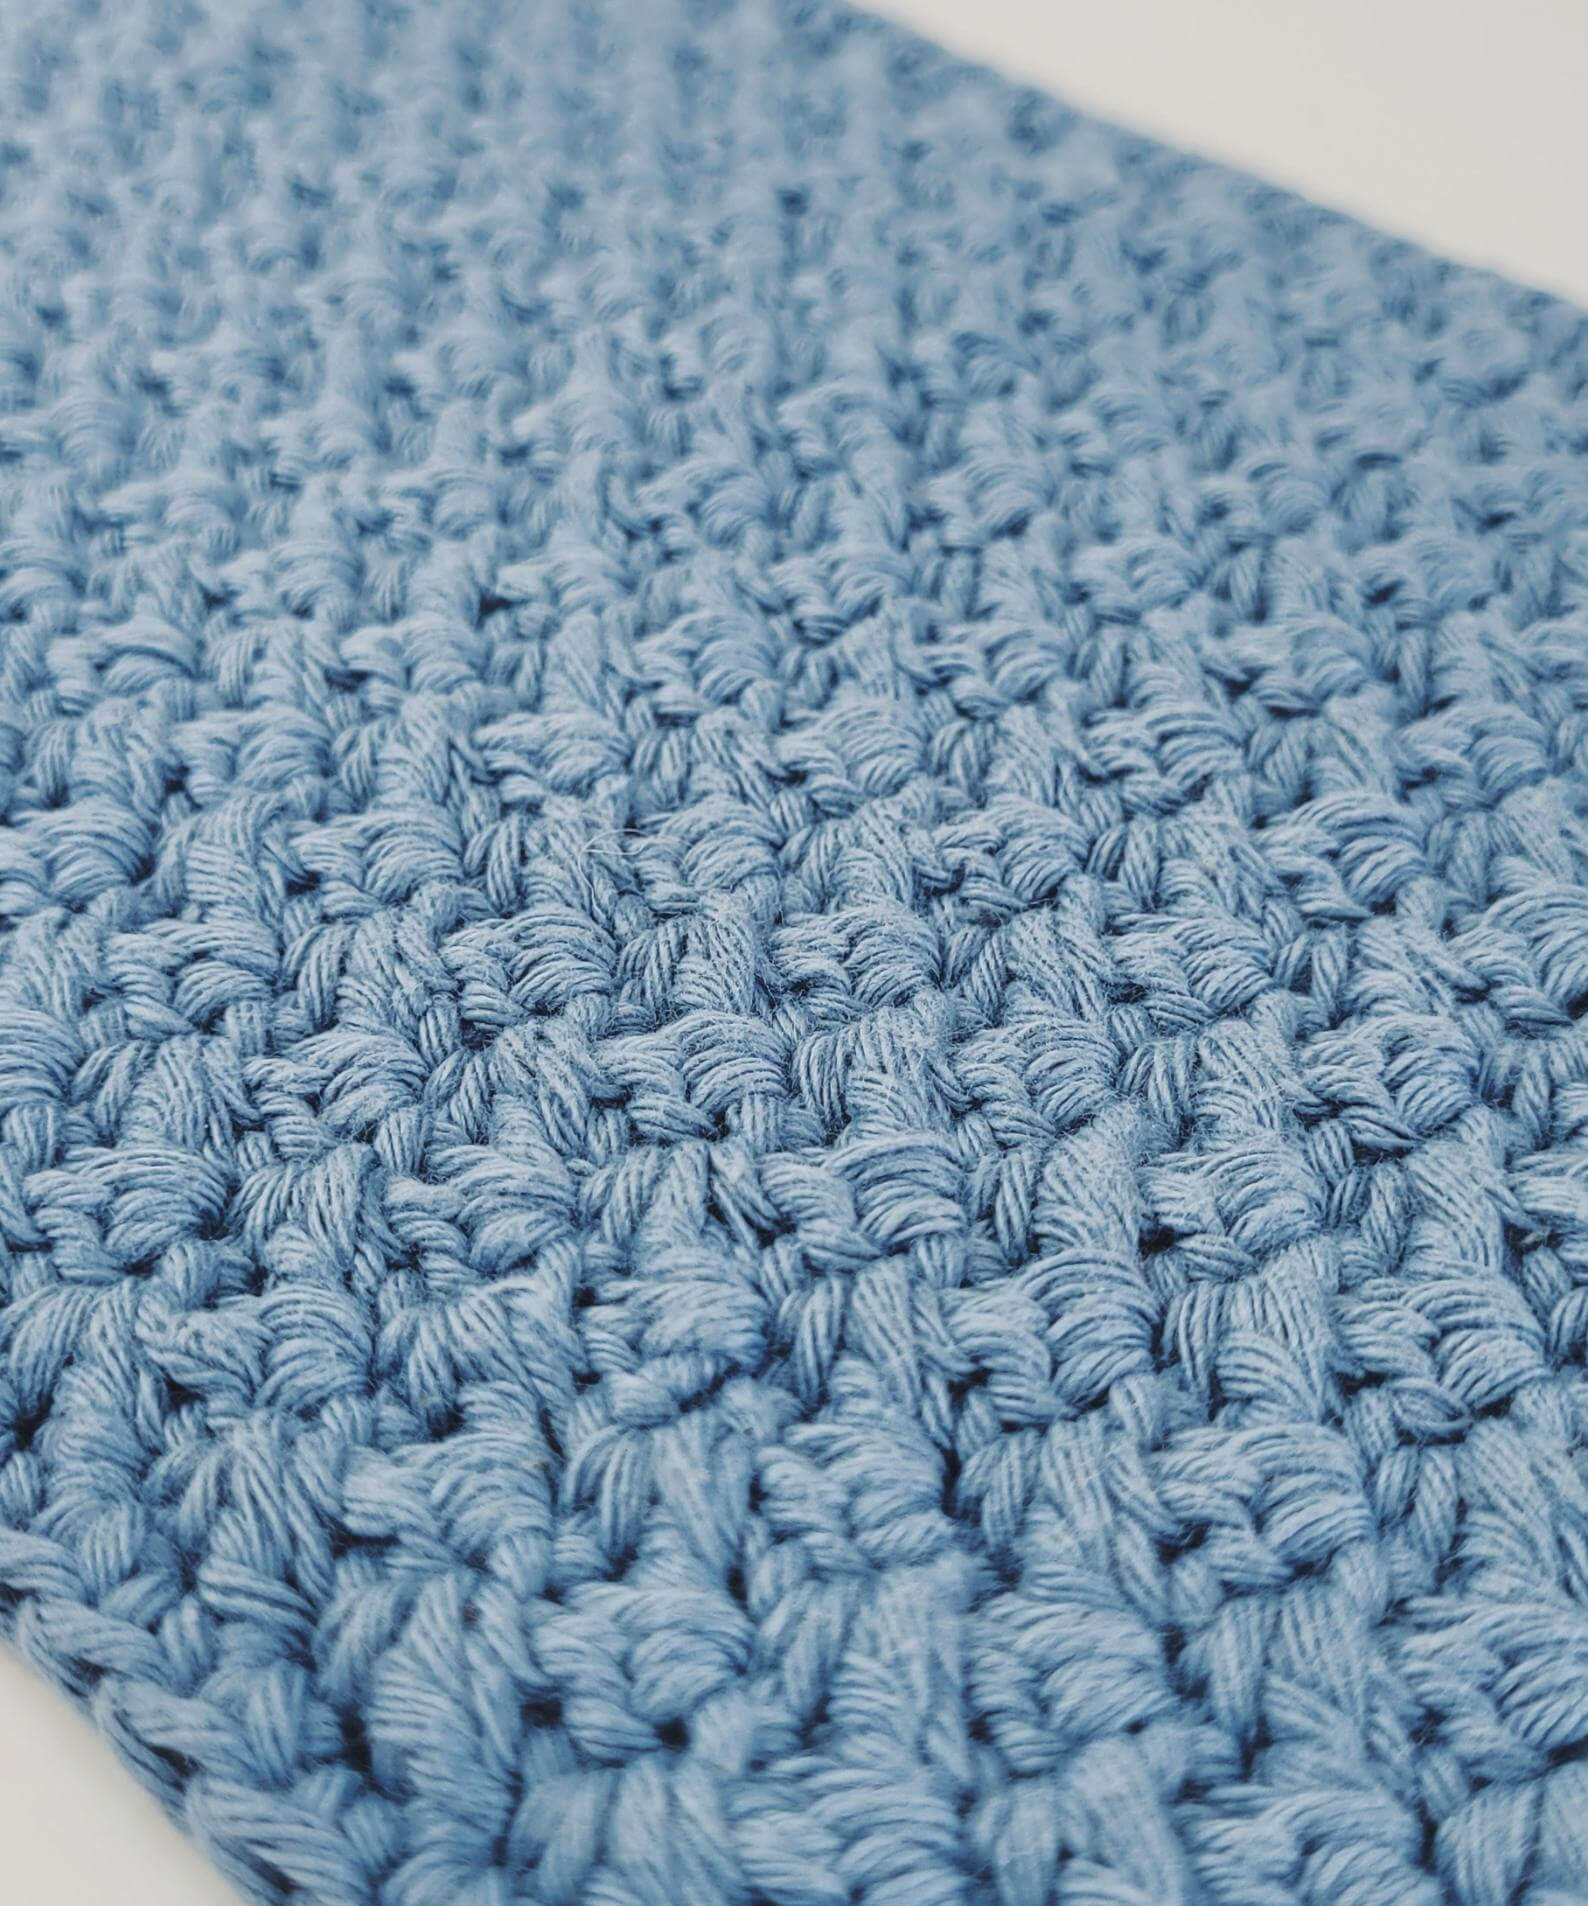
- For the sensible among us, gauge is 10cm x 10cm = 18 stitches (9 suzettes) x 16 rows
- In the pattern below, the number in brackets is how many stitches each row should have.
- Turning chains are not counted as stitches and are not included in the row stitch totals
- When completing your suzette stitches, you should be working into the (tighter) double crochet loops from the row below, and skipping the (larger) trebles
- Keep your rows straight by placing a marker in the first st of a row. This technique requires 2 markers as you can move one up at each row end.
- The pattern uses shorthand, where “2 dc” means to work a double crochet in each of the next 2 stitches and “dc2” means to work 2 double crochets in the next stitch.
Cafetière Cosy Crochet Pattern
FOUNDATION: ch 60, turn. (60)
ROW 1: dc into second ch from hook (stitch 59 in your starting ch), suzette stitch 29 times, dc into last. note: this means you miss the skip in the 29th repeat. ch1 turn. (60)
ROW 2: dc, sk1, suzette stitch 29 times, dc in last. note: this means you miss the skip in the last suzette. ch1 turn. (60)
ROW 3 – 4: repeat row 2. (60)
ROW 5: dc, sk1, suzette, ch2, sk3, suzette stitch 27 times, miss the last skip and dc into final stitch. ch1 turn. (60)
ROW 6 – 10: repeat row 2. note: the 28th suzette in row 6 will be worked into the ch sp of row 5. (60)
ROW 11: repeat row 5. (60)
ROW 12 – 16: repeat row 2.(60)
ROW 17: repeat row 5. (60)
ROW 18 – 20: repeat row 2. (60)
ROW 21: repeat row 2, pm in final st, then work 2 more dc in the same space (total of 3 dc in this space). (62)
ROW 22: dc along the side of your cosy, dc3 into the corner, dc along the bottom, dc3 into the corner, dc along the other side, dc3 into the corner before dc across the top to meet your marker. (162)
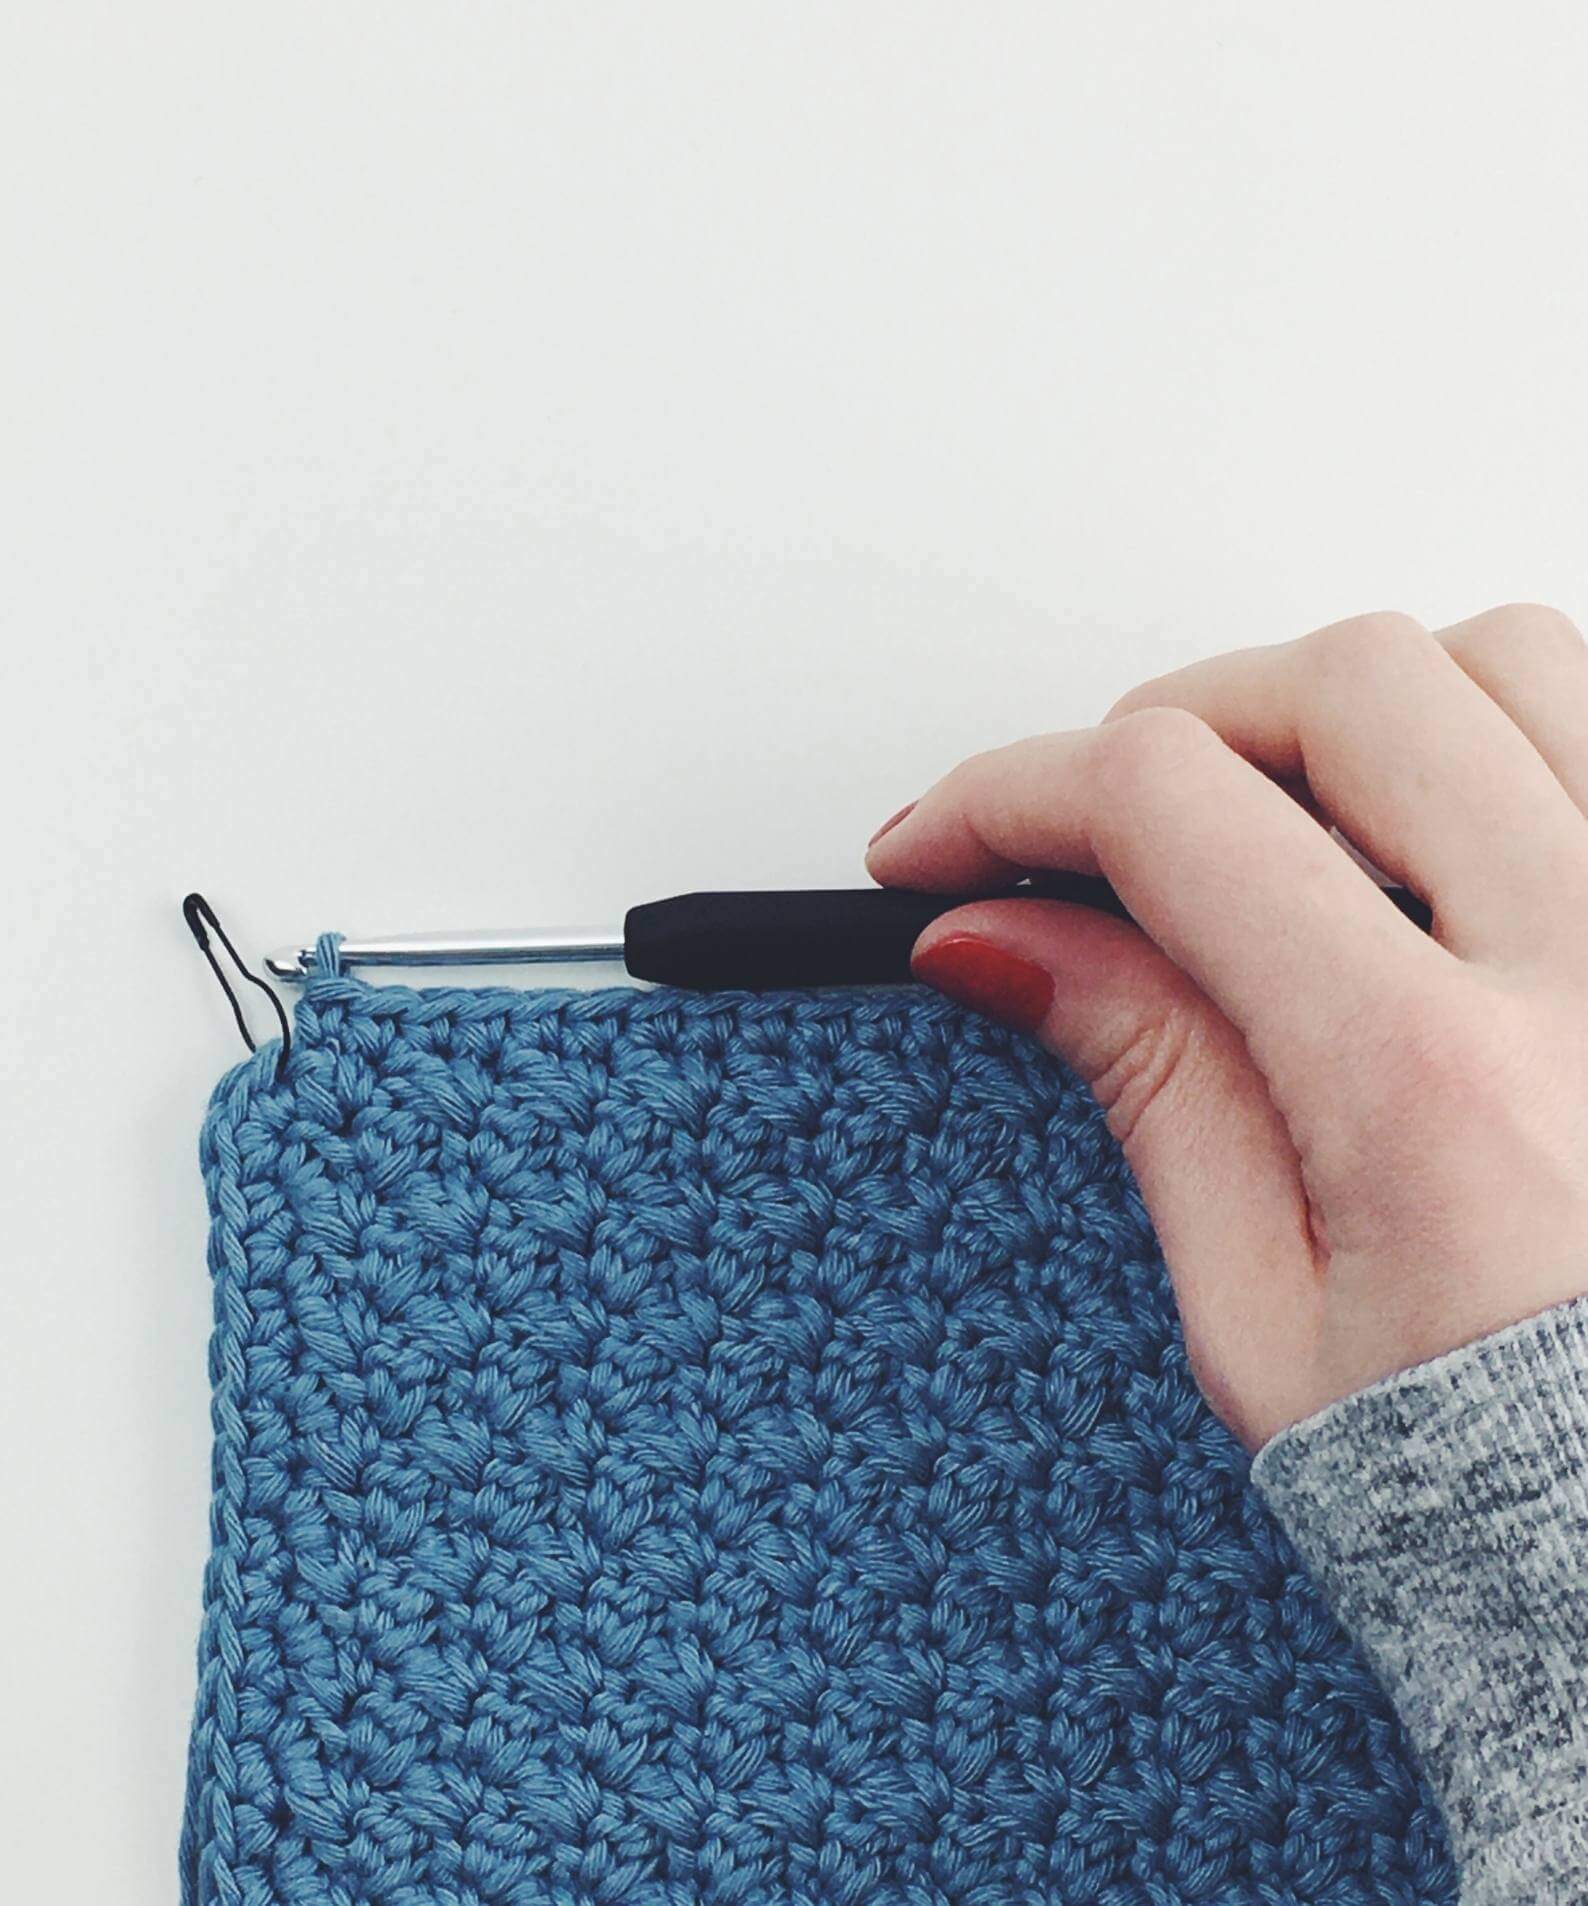
FINISH: fasten off, work an invisible finish and weave in end.
–
ADD BUTTONS:
- wrap your cosy around your cafetière + pm through each of your buttonholes.
- place buttons in position of your stitch markers + secure with a bow* at the back or weave in ends.
* PRO TIP: secure delicate buttons with bows so they can be removed when washing the cosy. Keep the yarn attached through the wash so you know where to reattach the buttons once dry.
Did you enjoy this pattern?
If so, I’d love you to tag me on Insta to share your work with me! @sarling.studio
Or even better, head here to do some feel good shopping, supporting my work AND my wonderful partner charity.
Written by:
Melanie Sarling

SAVE + SHARE
Found this article helpful?
Share with your friends or save it for later.
SIGN UP FOR GLEE-MAIL
More good stuff, delivered to your inbox
Join the mailing list for great content from the blog, updates on pattern releases, a few humble promotions and the occasional lovely offer.