
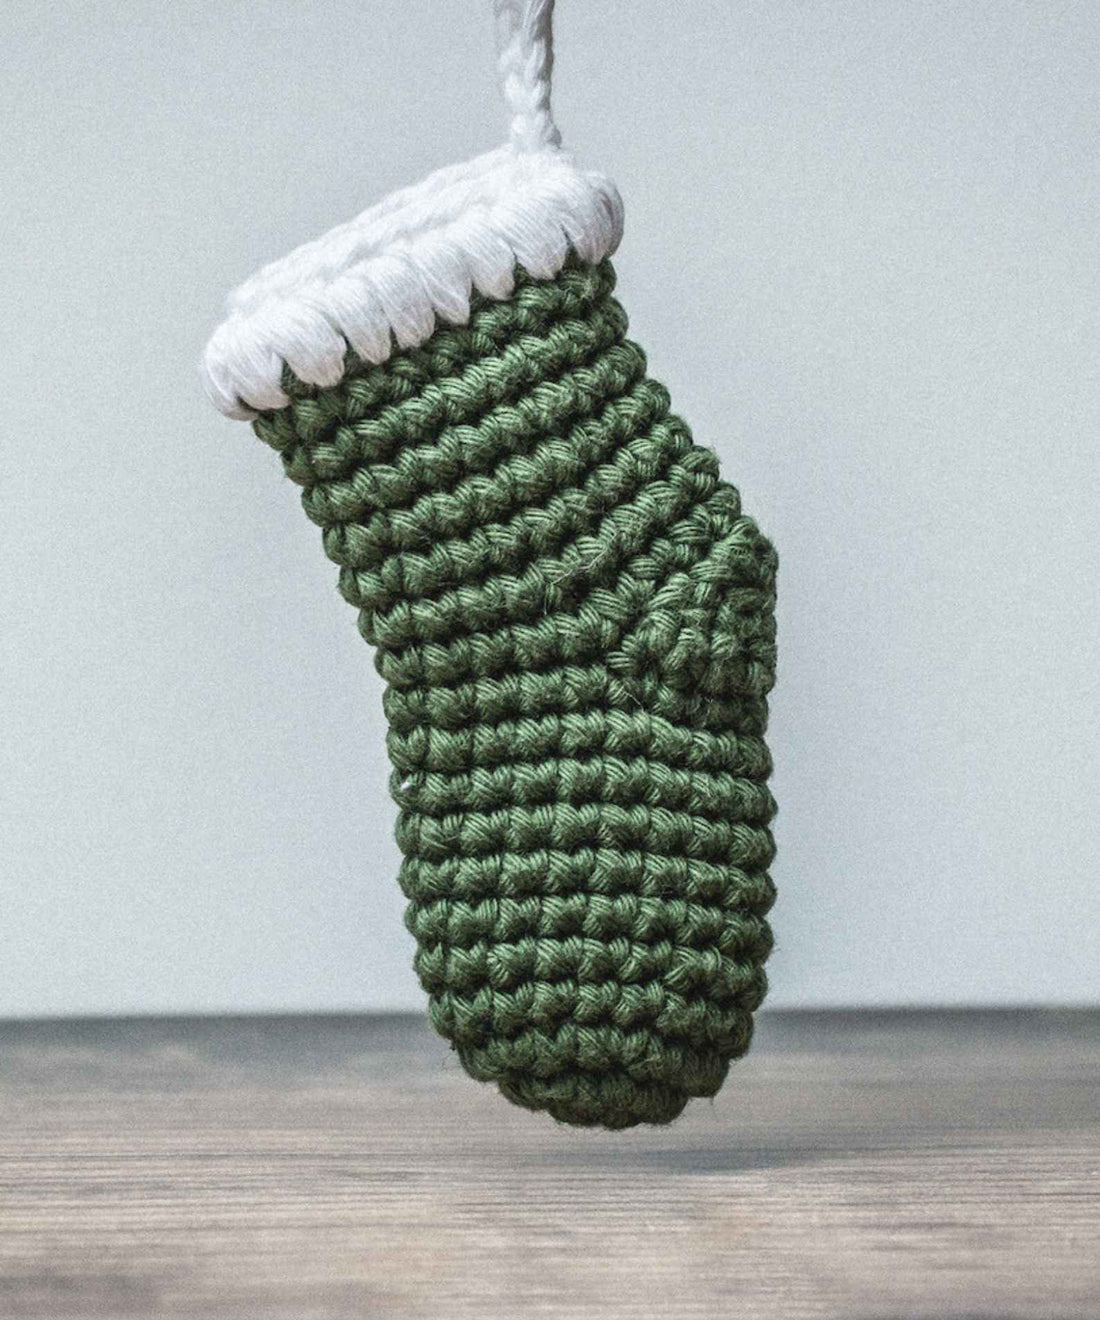
The Keckie Mini Stocking - Crochet Pattern
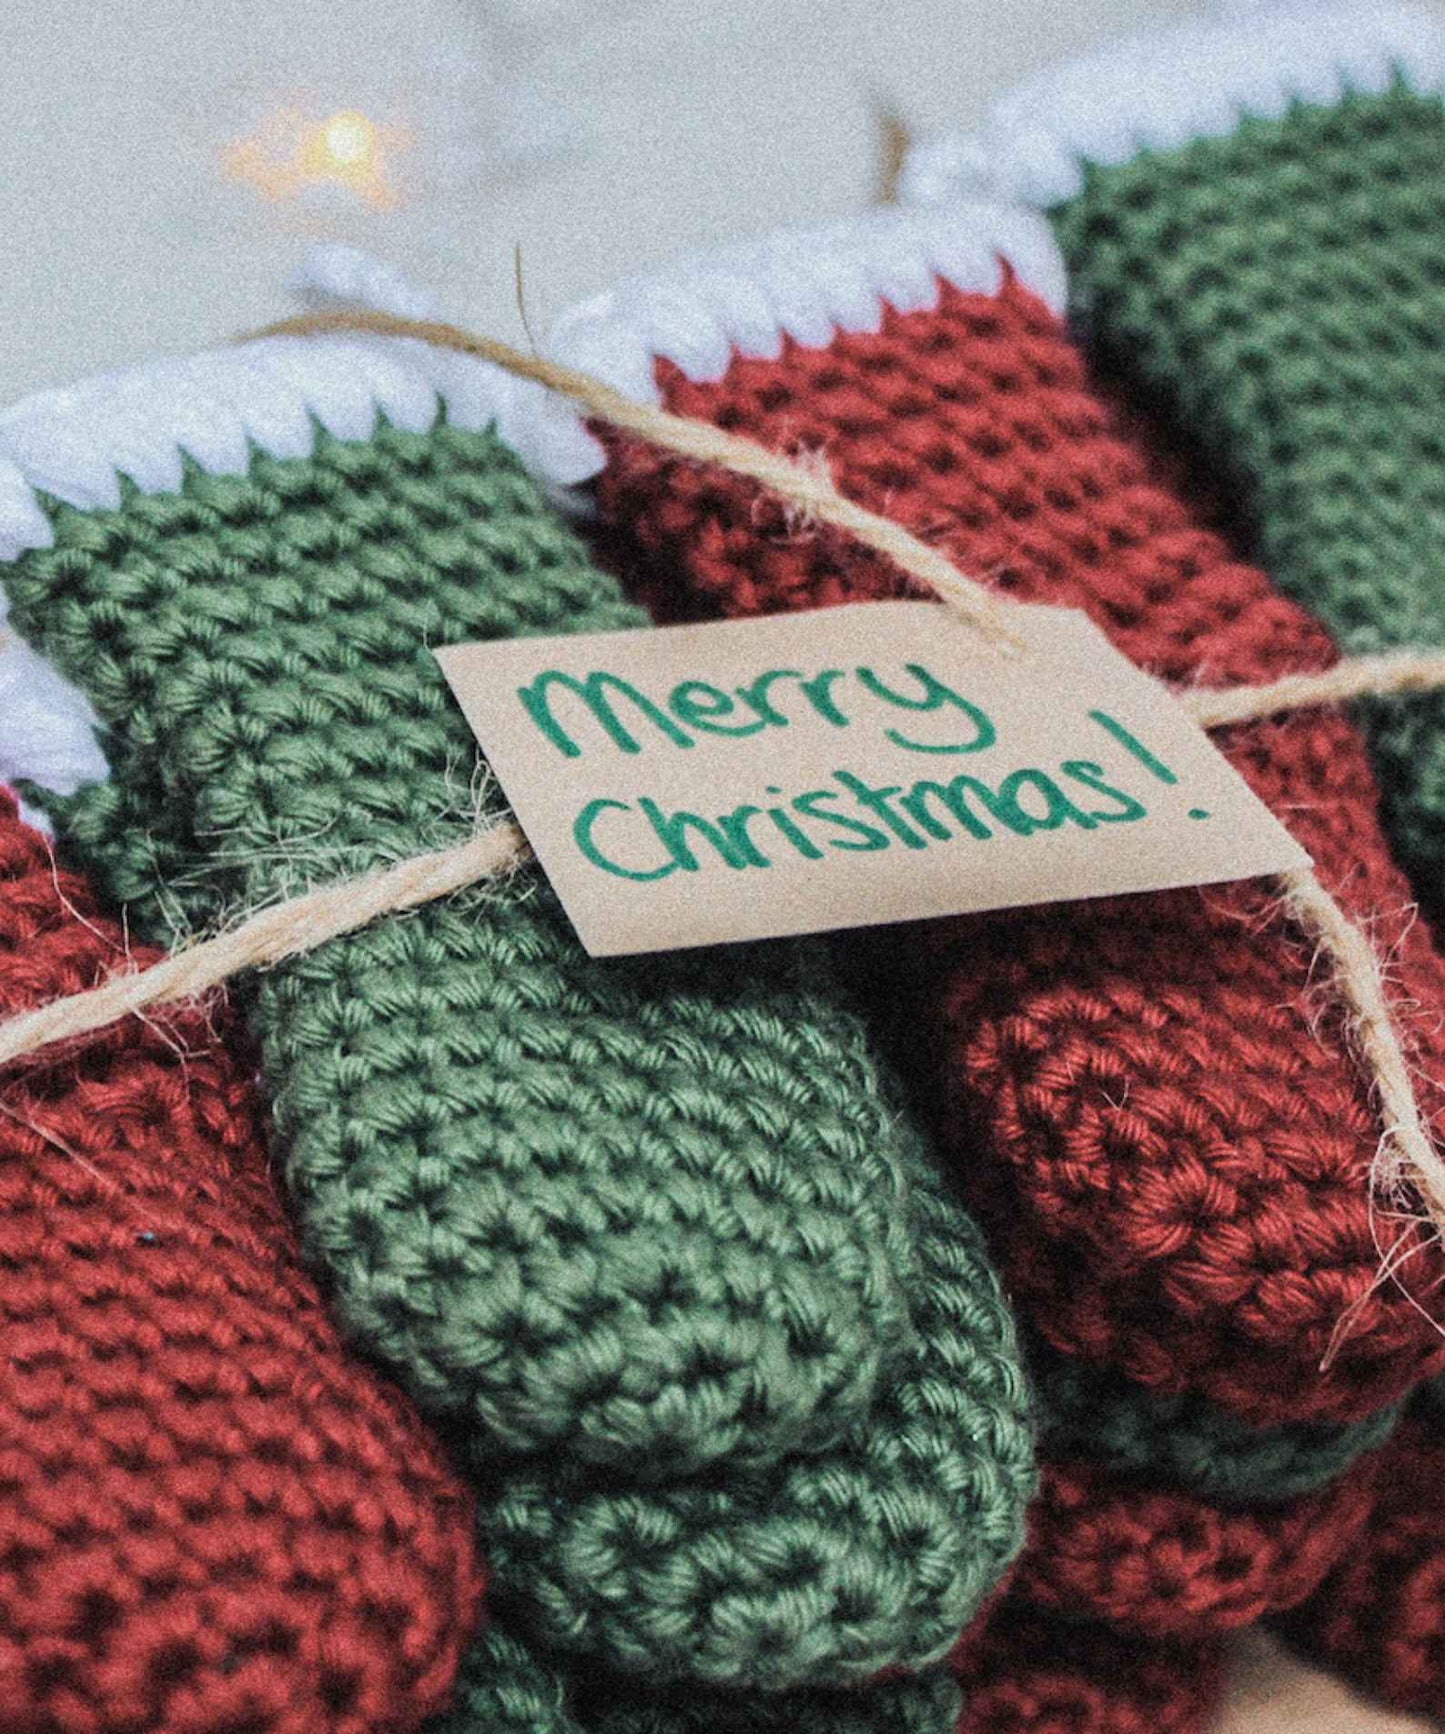
A handmade Christmas mini stocking is just … special. All handmade decorations ooze a cozy comfort that comes only with Tradition. They smile back at you when they re-surface each year before reliably performing their festive duty. When given as a gift, you know they’re going to be treasured and loved and become part of someone else’s seasonal merriment. You, lovely maker, are a magical Christmas elf.
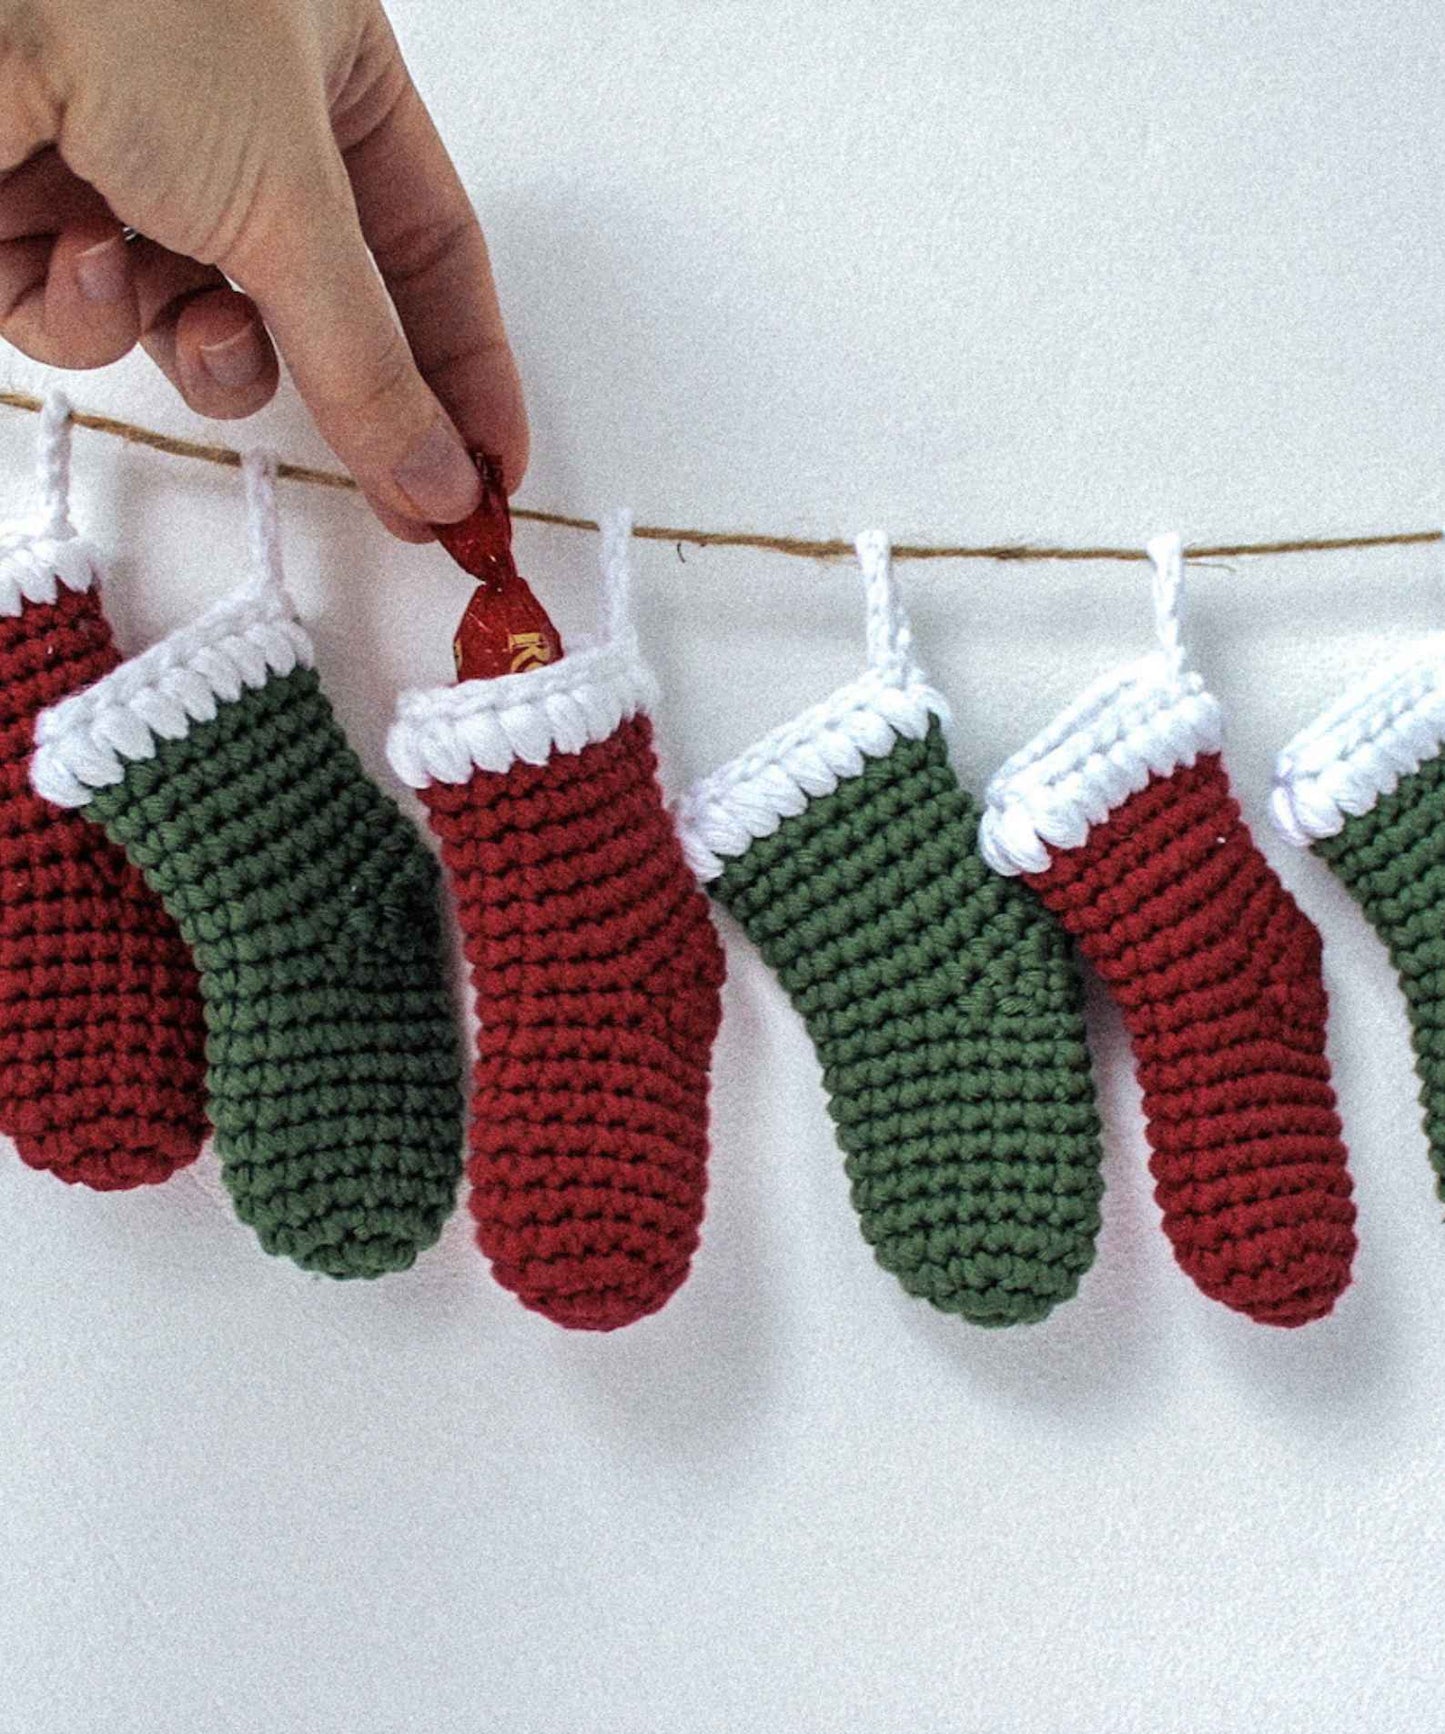
Crochet mini stockings make perfect advent calendars. And when you whip up a casual 24 of them you won’t even need the pattern after a few! My niece and nephew each have a Keckie advent calendar and they absolutely ADORE them. Fill them with goodies, hang them along a string and hey-jingle-presto you have a gorgeous gift and treasured heirloom.
Before you skip down and dive into making 24 stockings, let me quickly draw your attention to the fact that the design shared below is for a large mini stocking. There’s an additional finish size (I’d say more traditionally mini) outlined in the PDF pattern. The bonus “jumbo mini” shared here is my Christmas gift to you *kiss*.
Yuletide yarn + tool trimmings
(My apologies, tool trimmings was a reach… if you can think of a better Christmas word beginning with T, please let me know.)
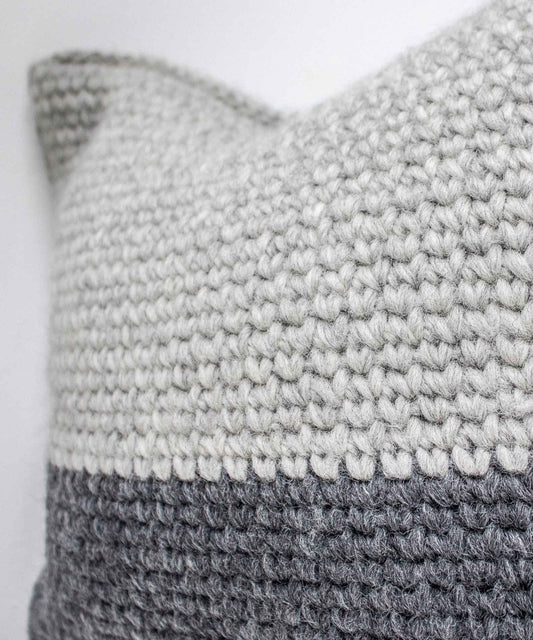
You can really use any yarn for these stockings. Fluffy yarn or boucle yarn would look adorable if you’re up for the challenge! Or use these feature yarns just for the bobble cuff for a textured treat. I chose to use cotton yarn for it’s hard-wearing nature and fabulous colour selection.
For projects that start with a foundation ring and use double crochet stitches (single crochet to friends in the States), I typically size down at least one hook size. This ensures whatever you plan to store inside the item (often craft filling for stuffed toys) is safely hidden inside as there are no gaps between your stitches. For these stockings, however, I chose to only size down half a hook size. It gives the stocking a sturdy but not too stiff finish, it’s kinder on the wrists (important when making literally dozens of them) AND it makes the heel section easier to work.
Some links are affiliate, meaning I may make a small commission if you make a purchase, but this is at no cost to you.


Materials you'll need:
Each mini stocking requires:
- 4.5mm crochet hook – or correct size for yarn/gauge
- Tapestry needle
- Scissors
- Stitch markers
- 30g of aran (worsted) weight yarn in main stocking colour (e.g. red or green)
- 10g of aran (worsted) weight white yarn for the cuff
The stitches + techniques you’ll need:
If you're a total beginner to crochet, you may like to check out my Getting Started playlist. It's designed to show you the absolute basics to get you going with any project.
Please note this blog uses UK crochet terminology.
Click on the stitch name to view a video tutorial of the technique.
dc - double crochet (USA = single crochet)
dc2tog – double crochet two together (USA = sc2tog)
Some notes before you begin making your stockings
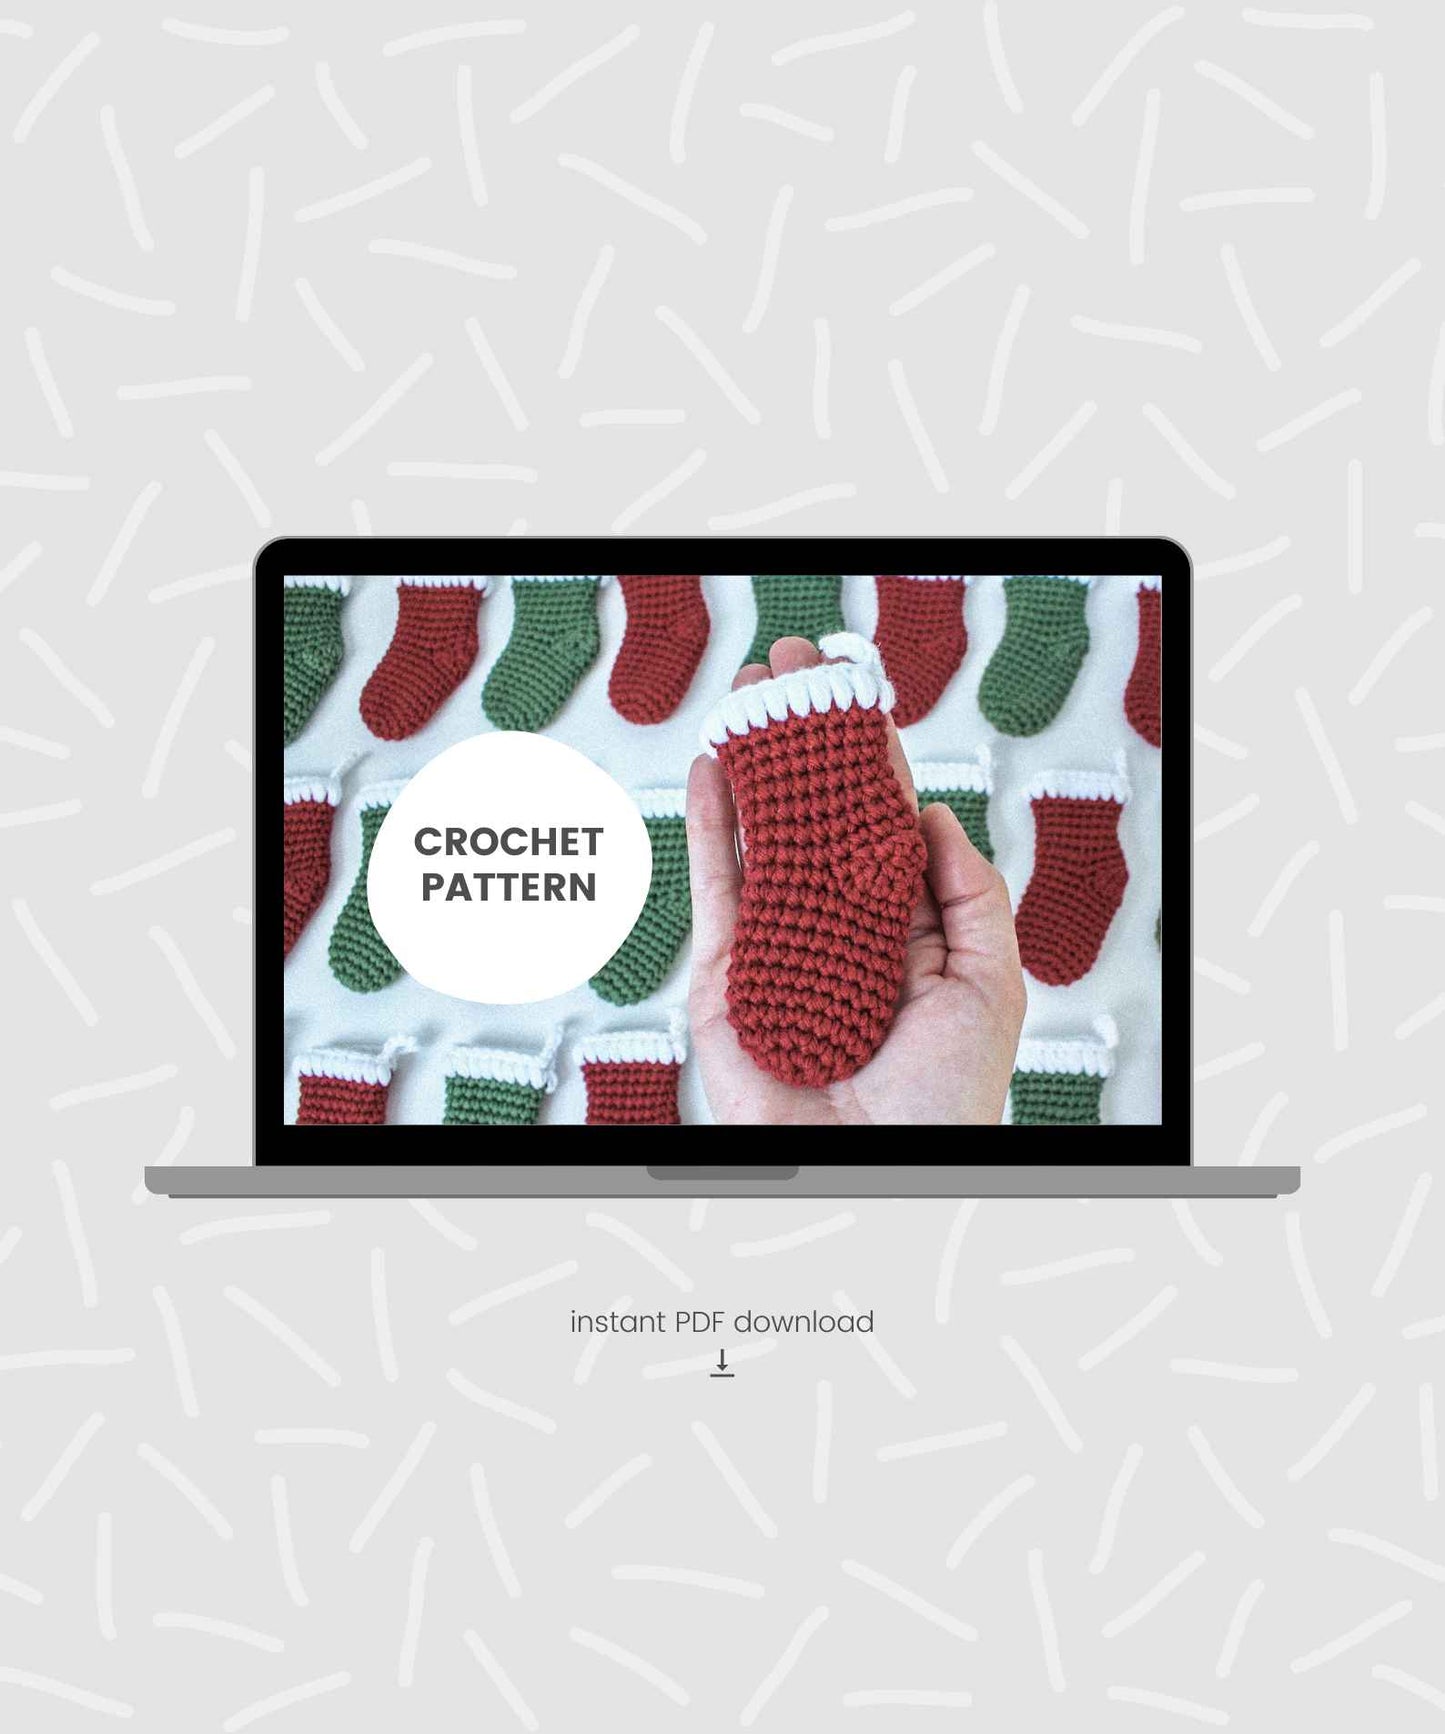
This free pattern here on the Sarling Studio blog is a bonus size version of the mini stocking PDF pattern available here. The full pattern;
- gives instructions for a mini-er stocking
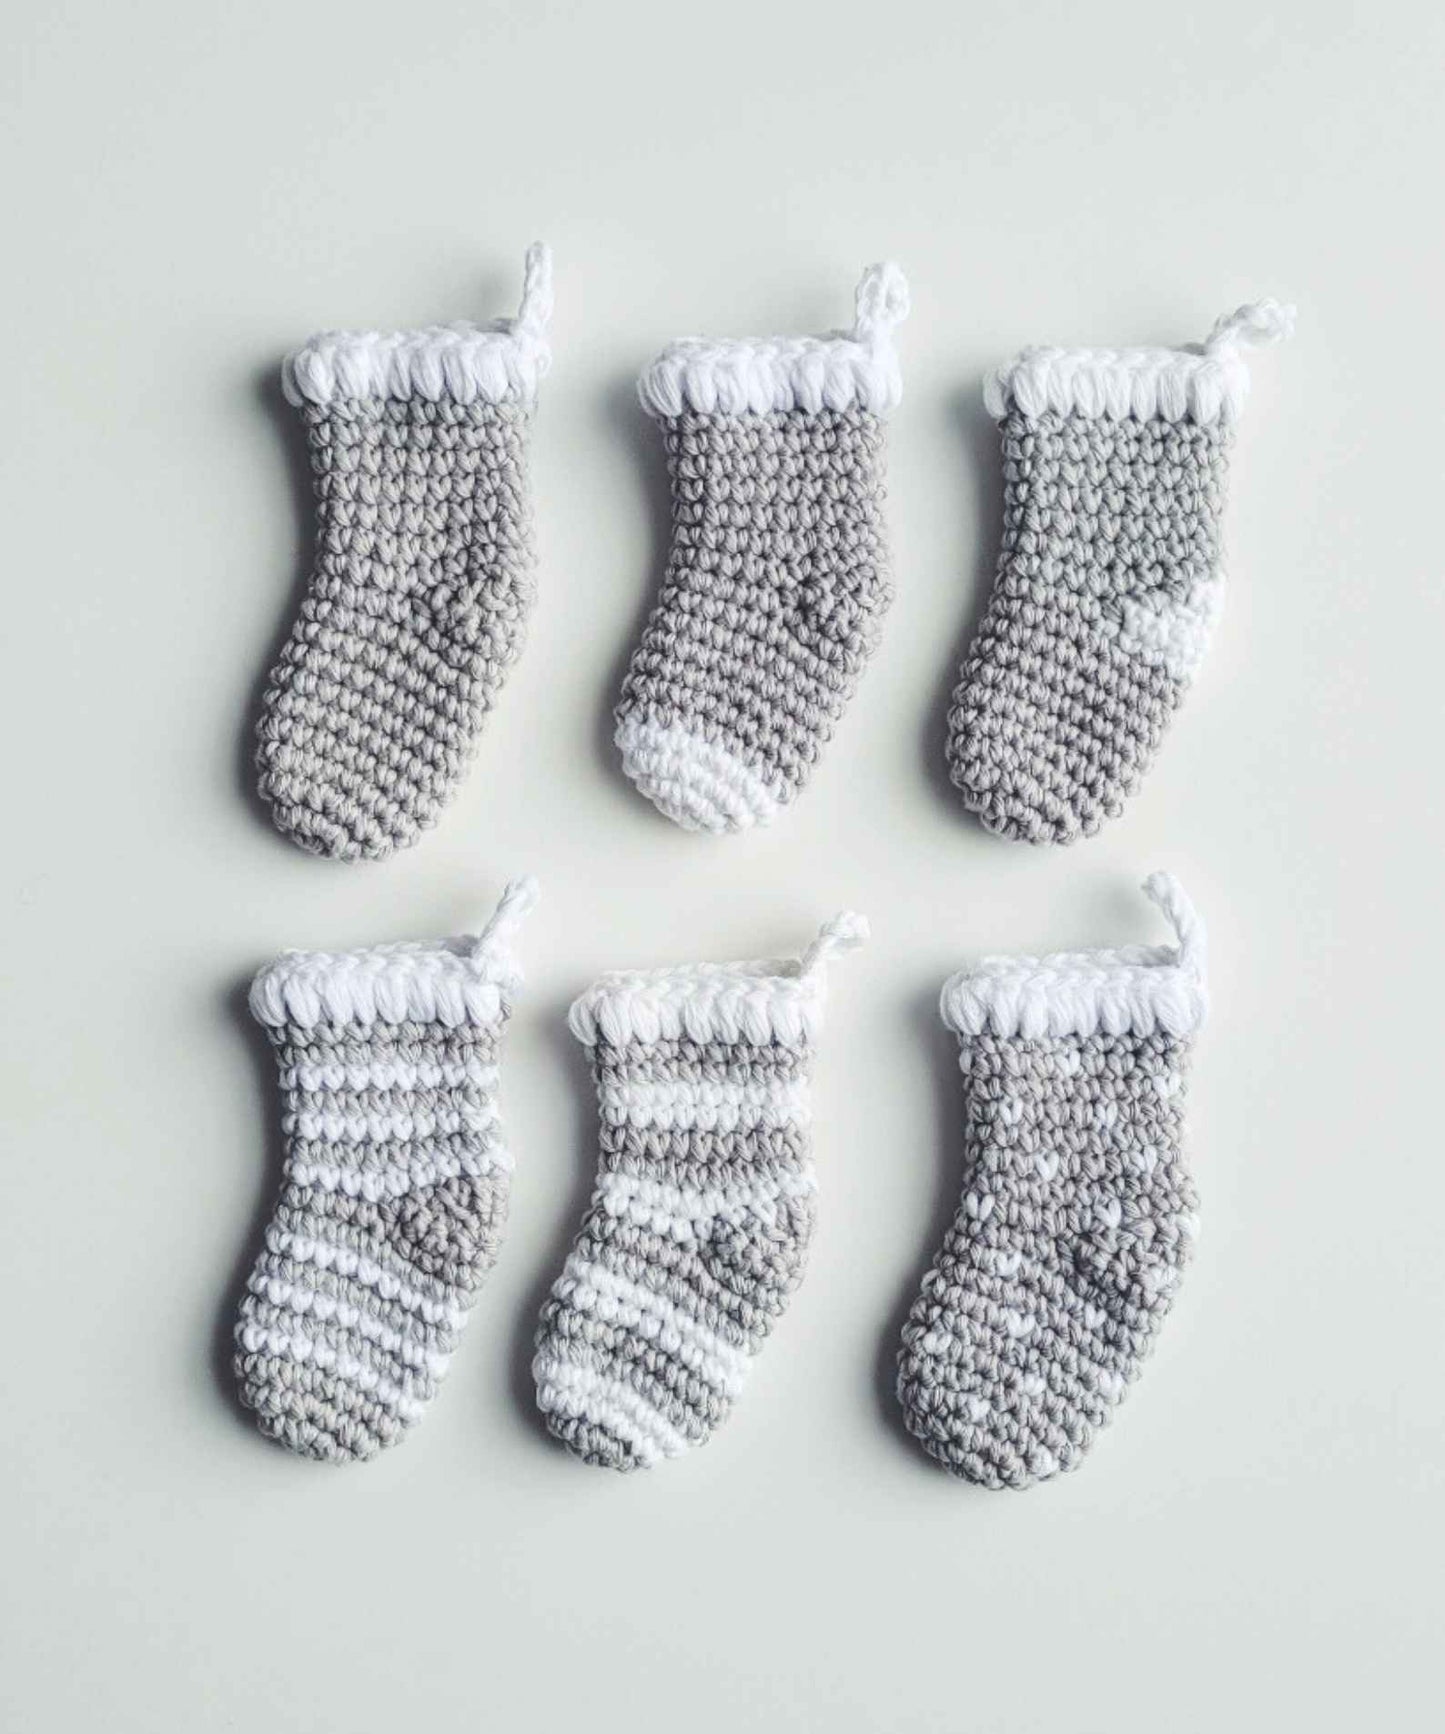
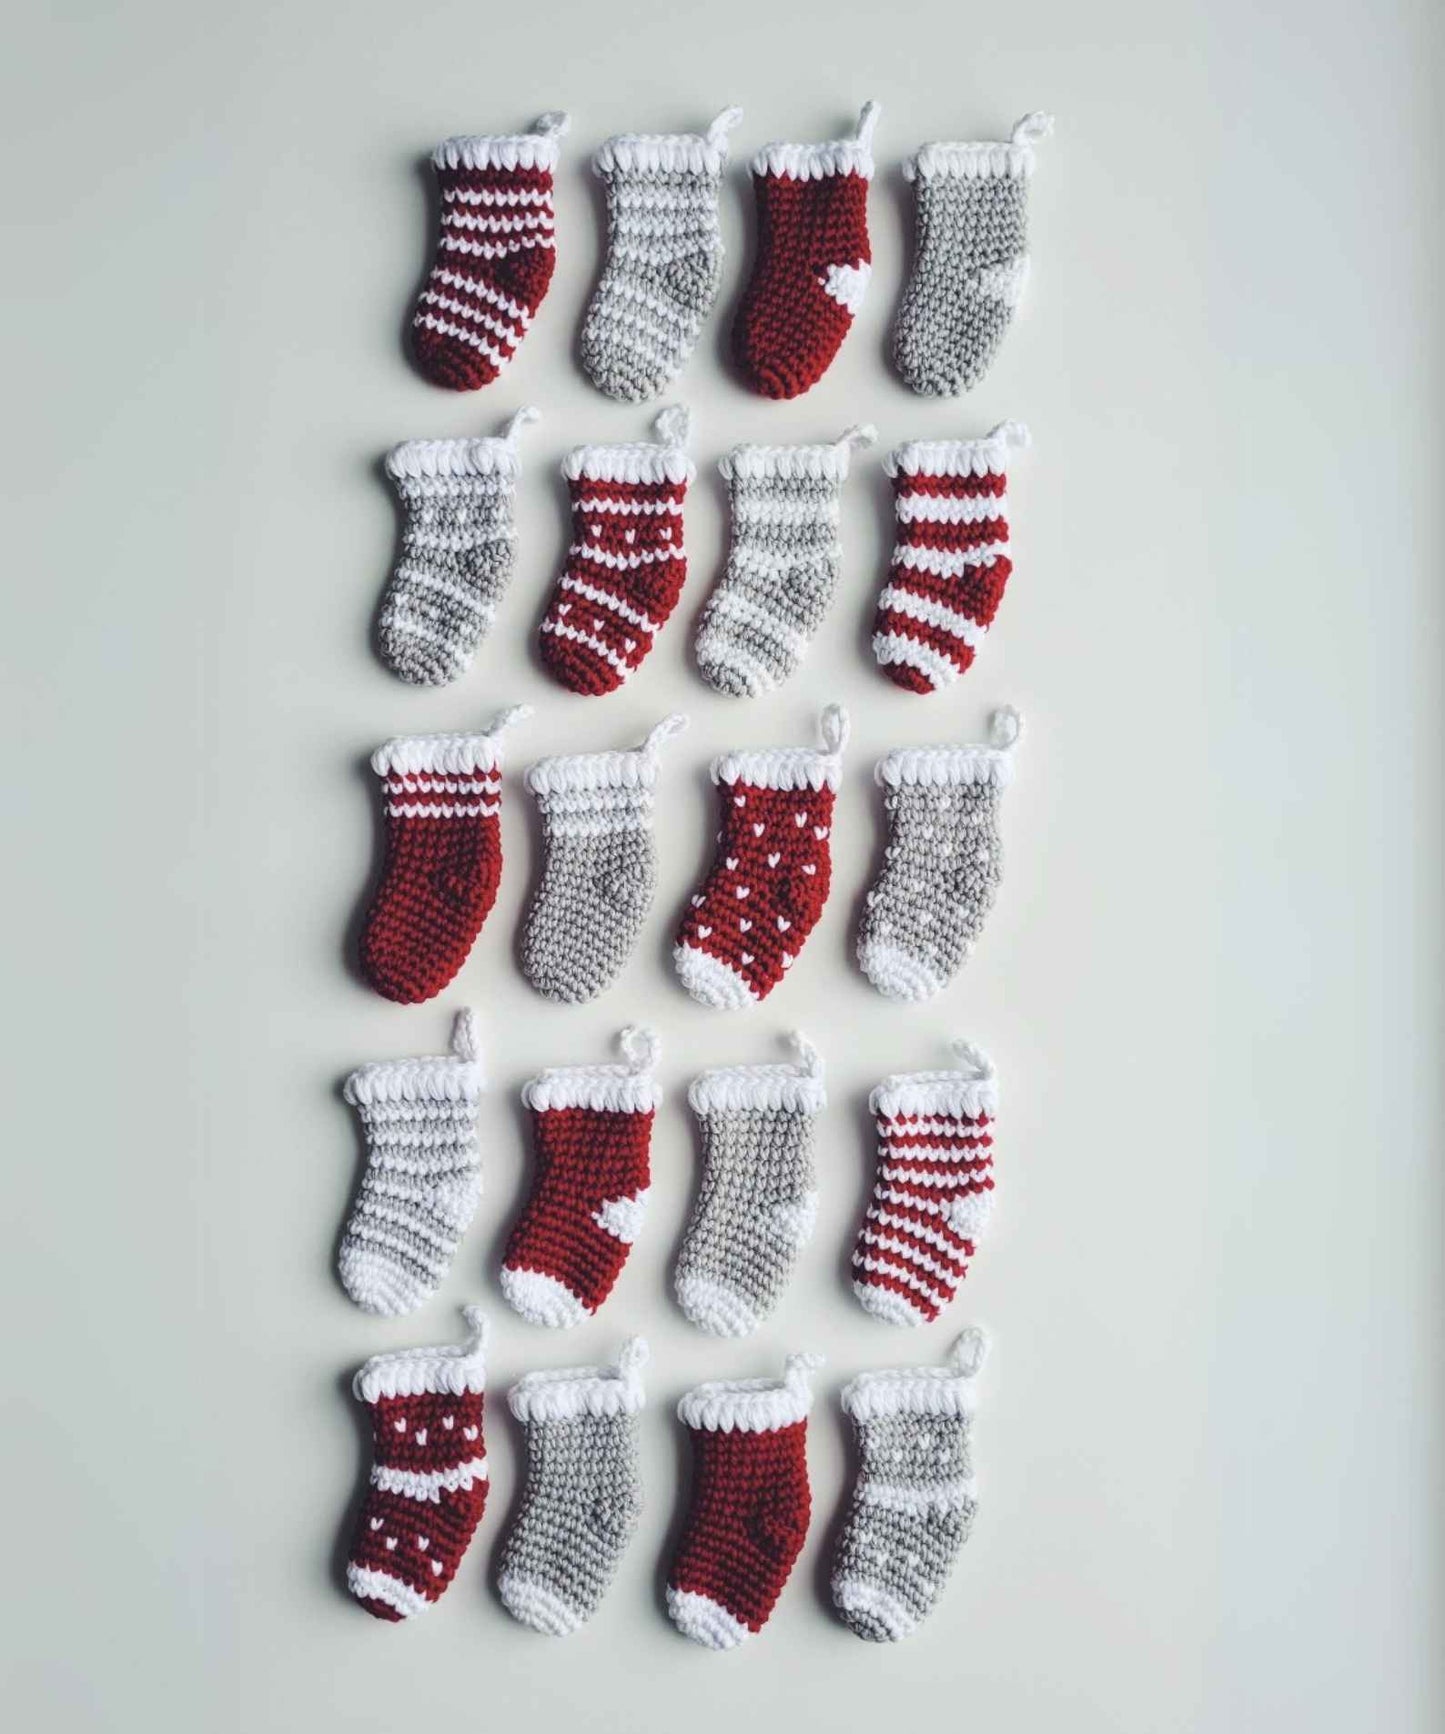
- gives details for adding variations to your stockings, e.g. thick stripes, thin stripes, spots, contrast heel or toe and some gorgeous combinations (see pictures below)
- can be downloaded in UK or US crochet terms
- includes detailed step by step pictures
- has a link to a full video pattern tutorial
- can be purchased on Etsy or on Ravelry if you prefer

Additional Useful Pattern Info
- Just in case you missed it above, this blog pattern is written in UK crochet terminology.
- When using similar yarn + hook, your stocking will measure approx. 14cm outer circumference, 7 cm width, 15cm height (+ 3cm hanging chain).
- In the pattern table, the column on the right is the number of stitches each row should have. Where more than one row is listed together (e.g. Rows 15- 20) each row has that same stitch count, it’s not a cumulative total!
- Each mini stocking is made in one complete piece, including the hanging loop.
- We begin working in a continuous spiral, before briefly working in rows to complete the heel, then we continue in a spiral.
- While working in rows, do not include the turning chains in the stitch count.
- Be sure to move your stitch marker after working the heel section, as the spiral resumes from the other side of the work.
- This free pattern here on the Sarling Studio blog is a bonus size version of the mini stocking PDF pattern available here.
Christmas Mini Stocking Crochet Pattern
| Foundation | Chain 2. Work 6dc into second chain from hook. | 6 |
| Row 1 | Dc2 into each stitch around. | 12 |
| Row 2 | (Dc, dc2 into next) 6 times. | 18 |
| Row 3 | (2 dc, dc2 into next) 6 times. | 24 |
| Rows 4 – 13 | Dc. | 24 |
| Row 14 |
We’re now going to create the heel, for which we will work in rows, turning the work.
12 dc, ch1 turn. |
12 |
| Row 15 | 12 dc, ch1 turn. | 12 |
| Row 16 | dc2tog, 8 dc, dc2tog, ch1 turn. | 10 |
| Row 17 | dc2tog, 6 dc, dc2tog, ch1 turn. | 8 |
| Row 18 | dc2tog, 4 dc, dc2tog, ch 1 turn. | 6 |
| Row 19 | dc2tog, 2 dc, dc2tog, ch 1 turn. | 4 |
| Row 20 | dc. | 4 |
| Row 21 |
We’re now beginning to work in a spiral again, so do not turn the work after row 20. Work 4 dc along the side of the heel, then work 12 dc across the top of your stocking, work 4 dc along the other side of the heel, and then finish the row with 4 dc across the top. |
24 |
| Rows 22 – 32 |
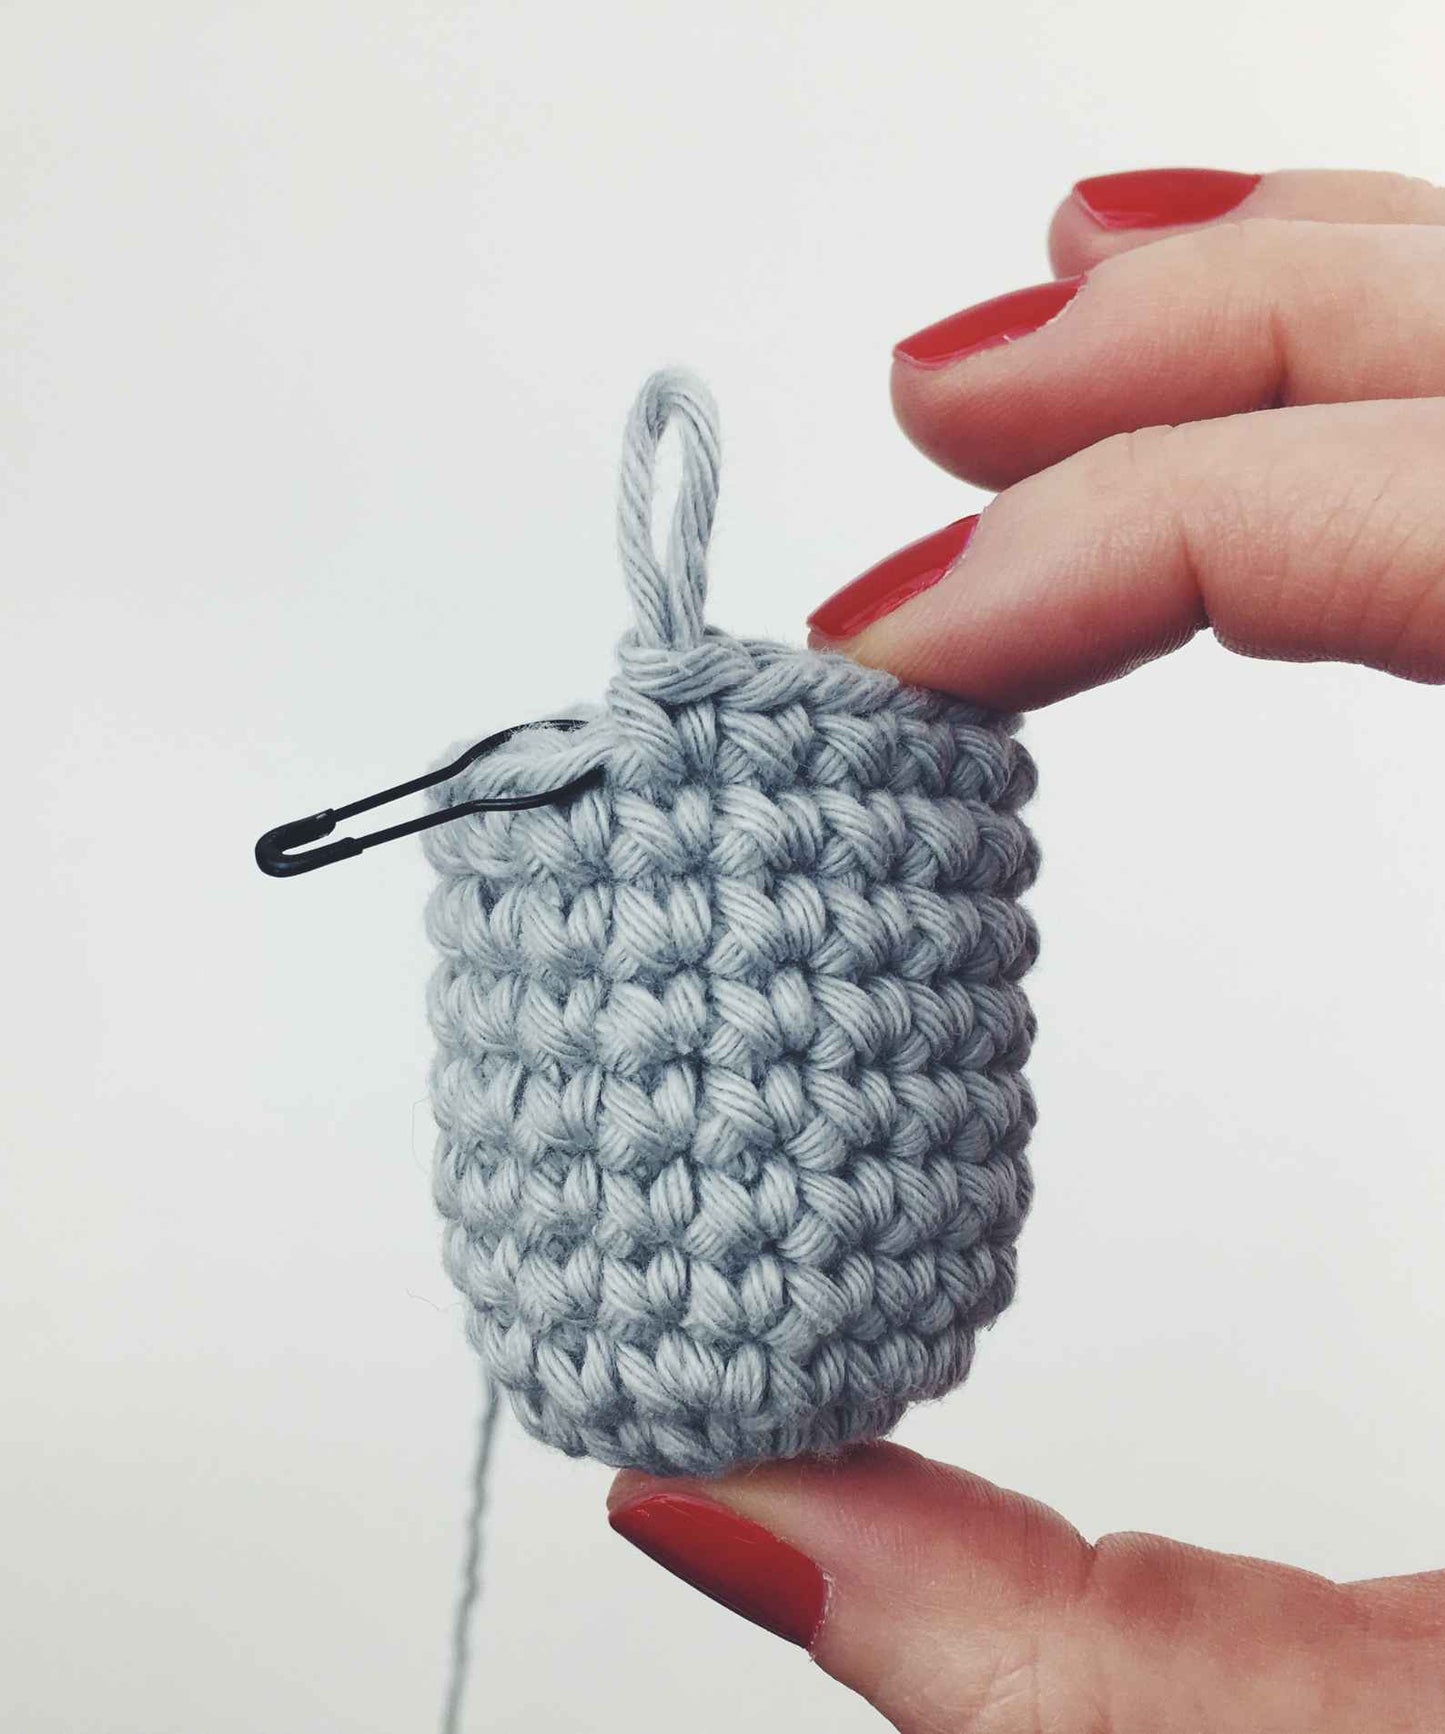
Be sure to move your stitch marker to the first stitch of row 22. Dc (11 rounds). In last stitch of row 32, switch to white yarn. Leave the tail loose for now (don’t stitch or sew it in). |
24 |
| Row 33 | Bobble into each stitch around. | 24 |
| Row 34 |
We’re now going to create the hanging loop. Slst to join the last bobble to the first. Ch12. Slst into the same space again to complete the loop. |
14 |
| Row 35 | Slst into each stitch around. | 23 |
| Finish | Fasten off and secure. Pull firmly on the tail from where you joined your white yarn to close the gap. Weave in ends. |
Did you enjoy this pattern?
If so, I’d love you to tag me on Insta to share your work with me! @sarling.studio