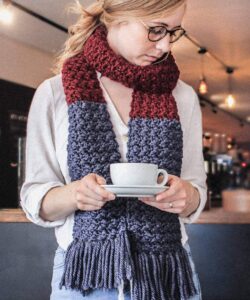
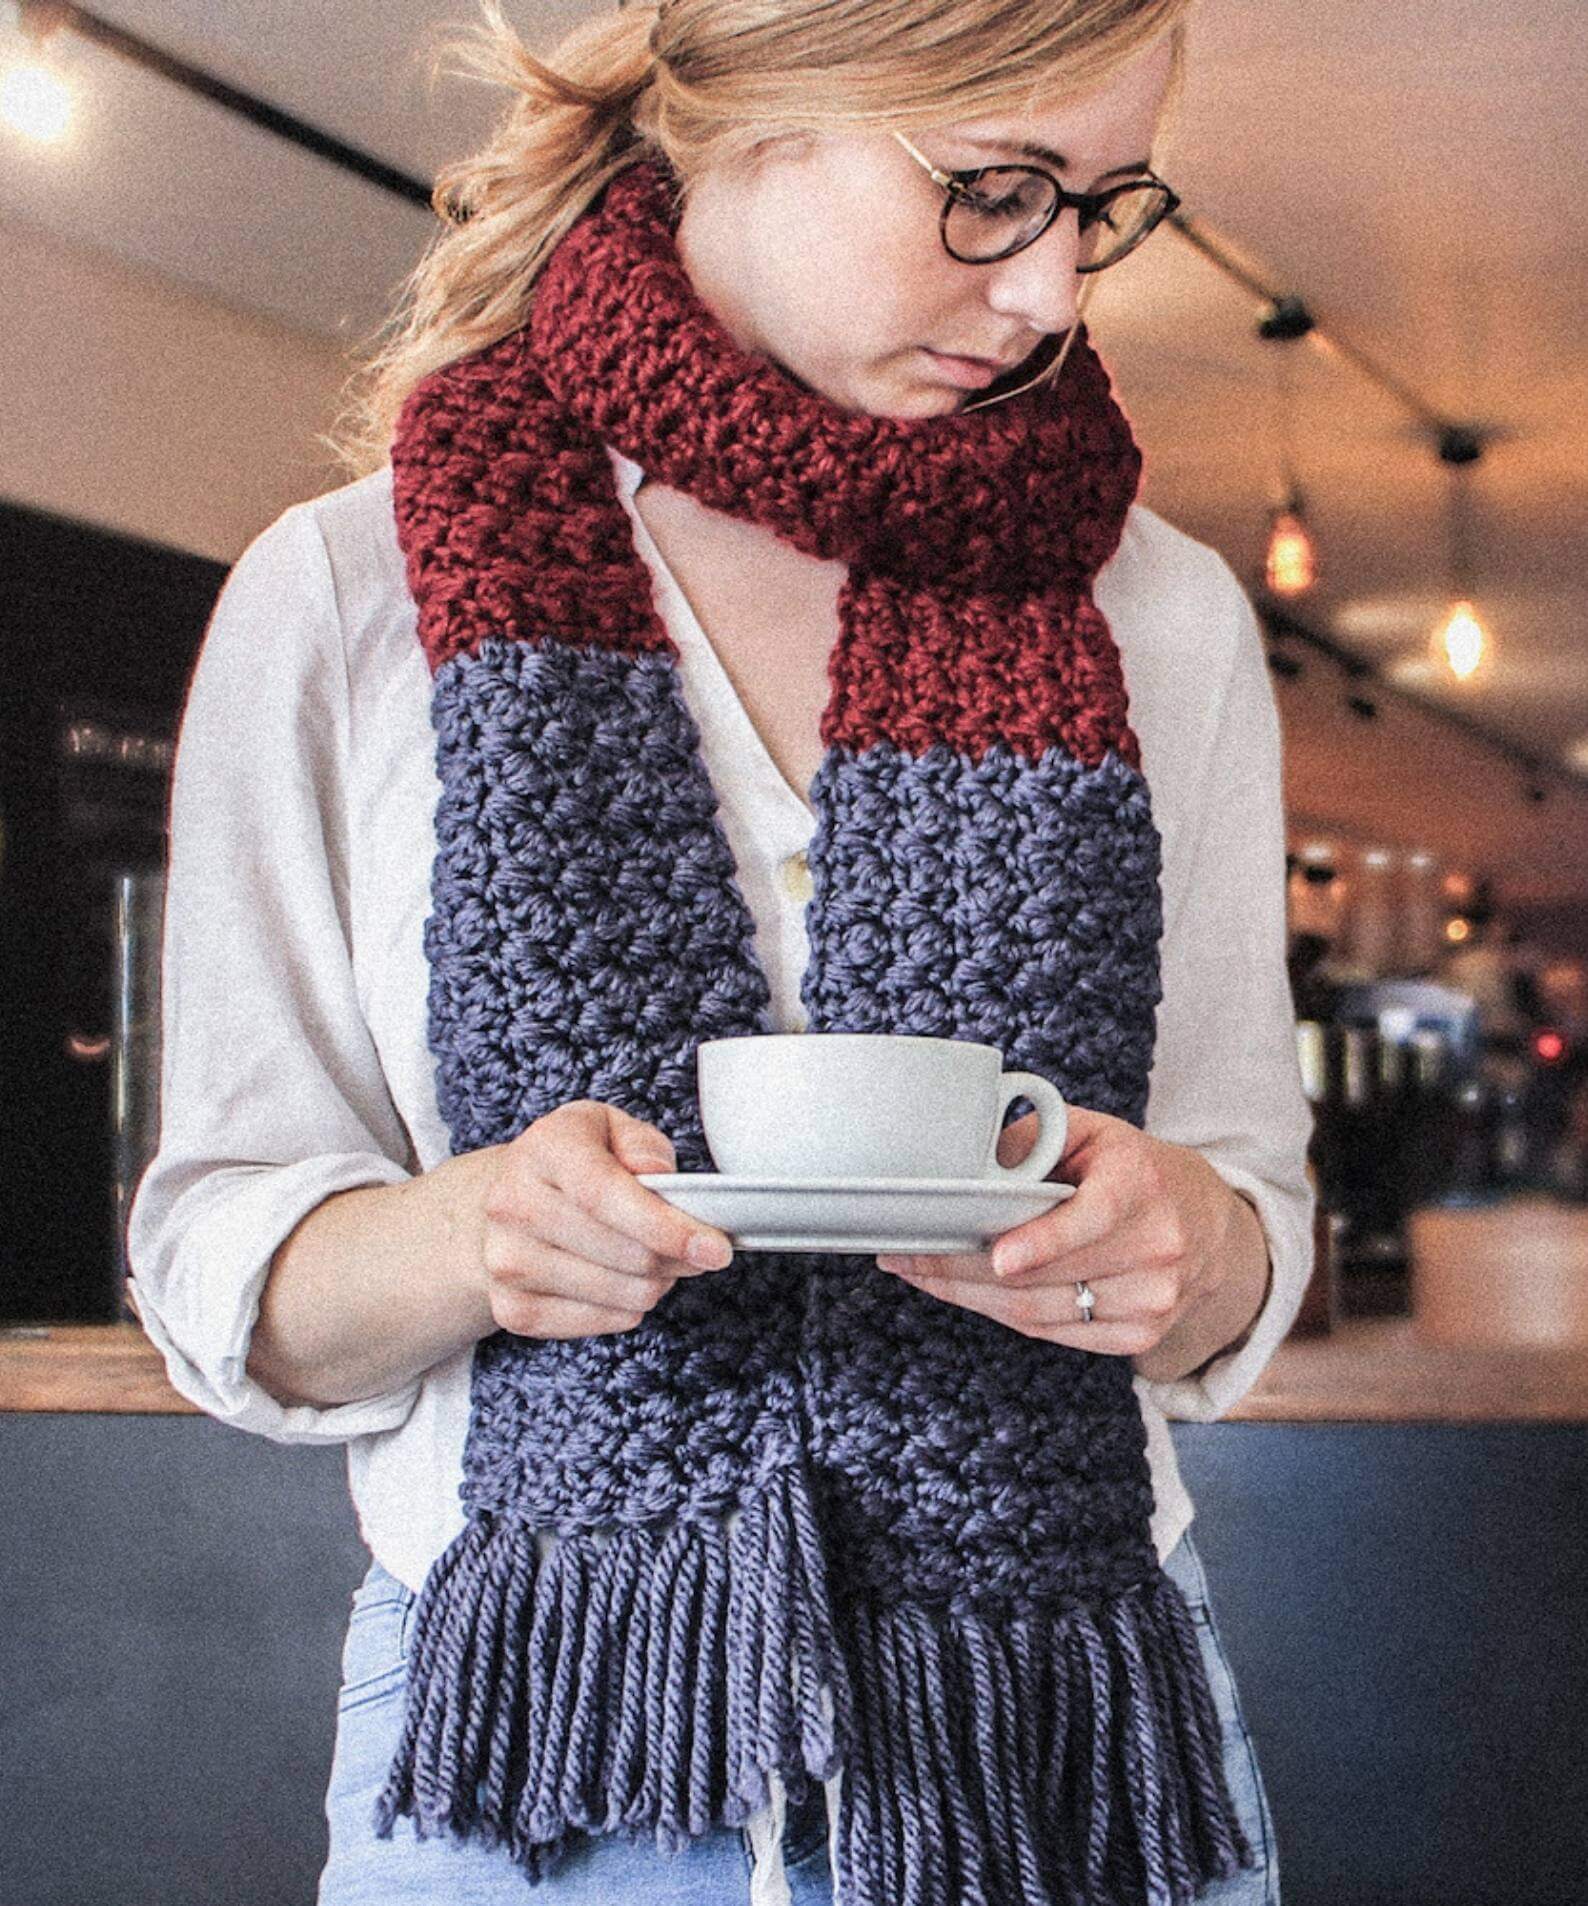
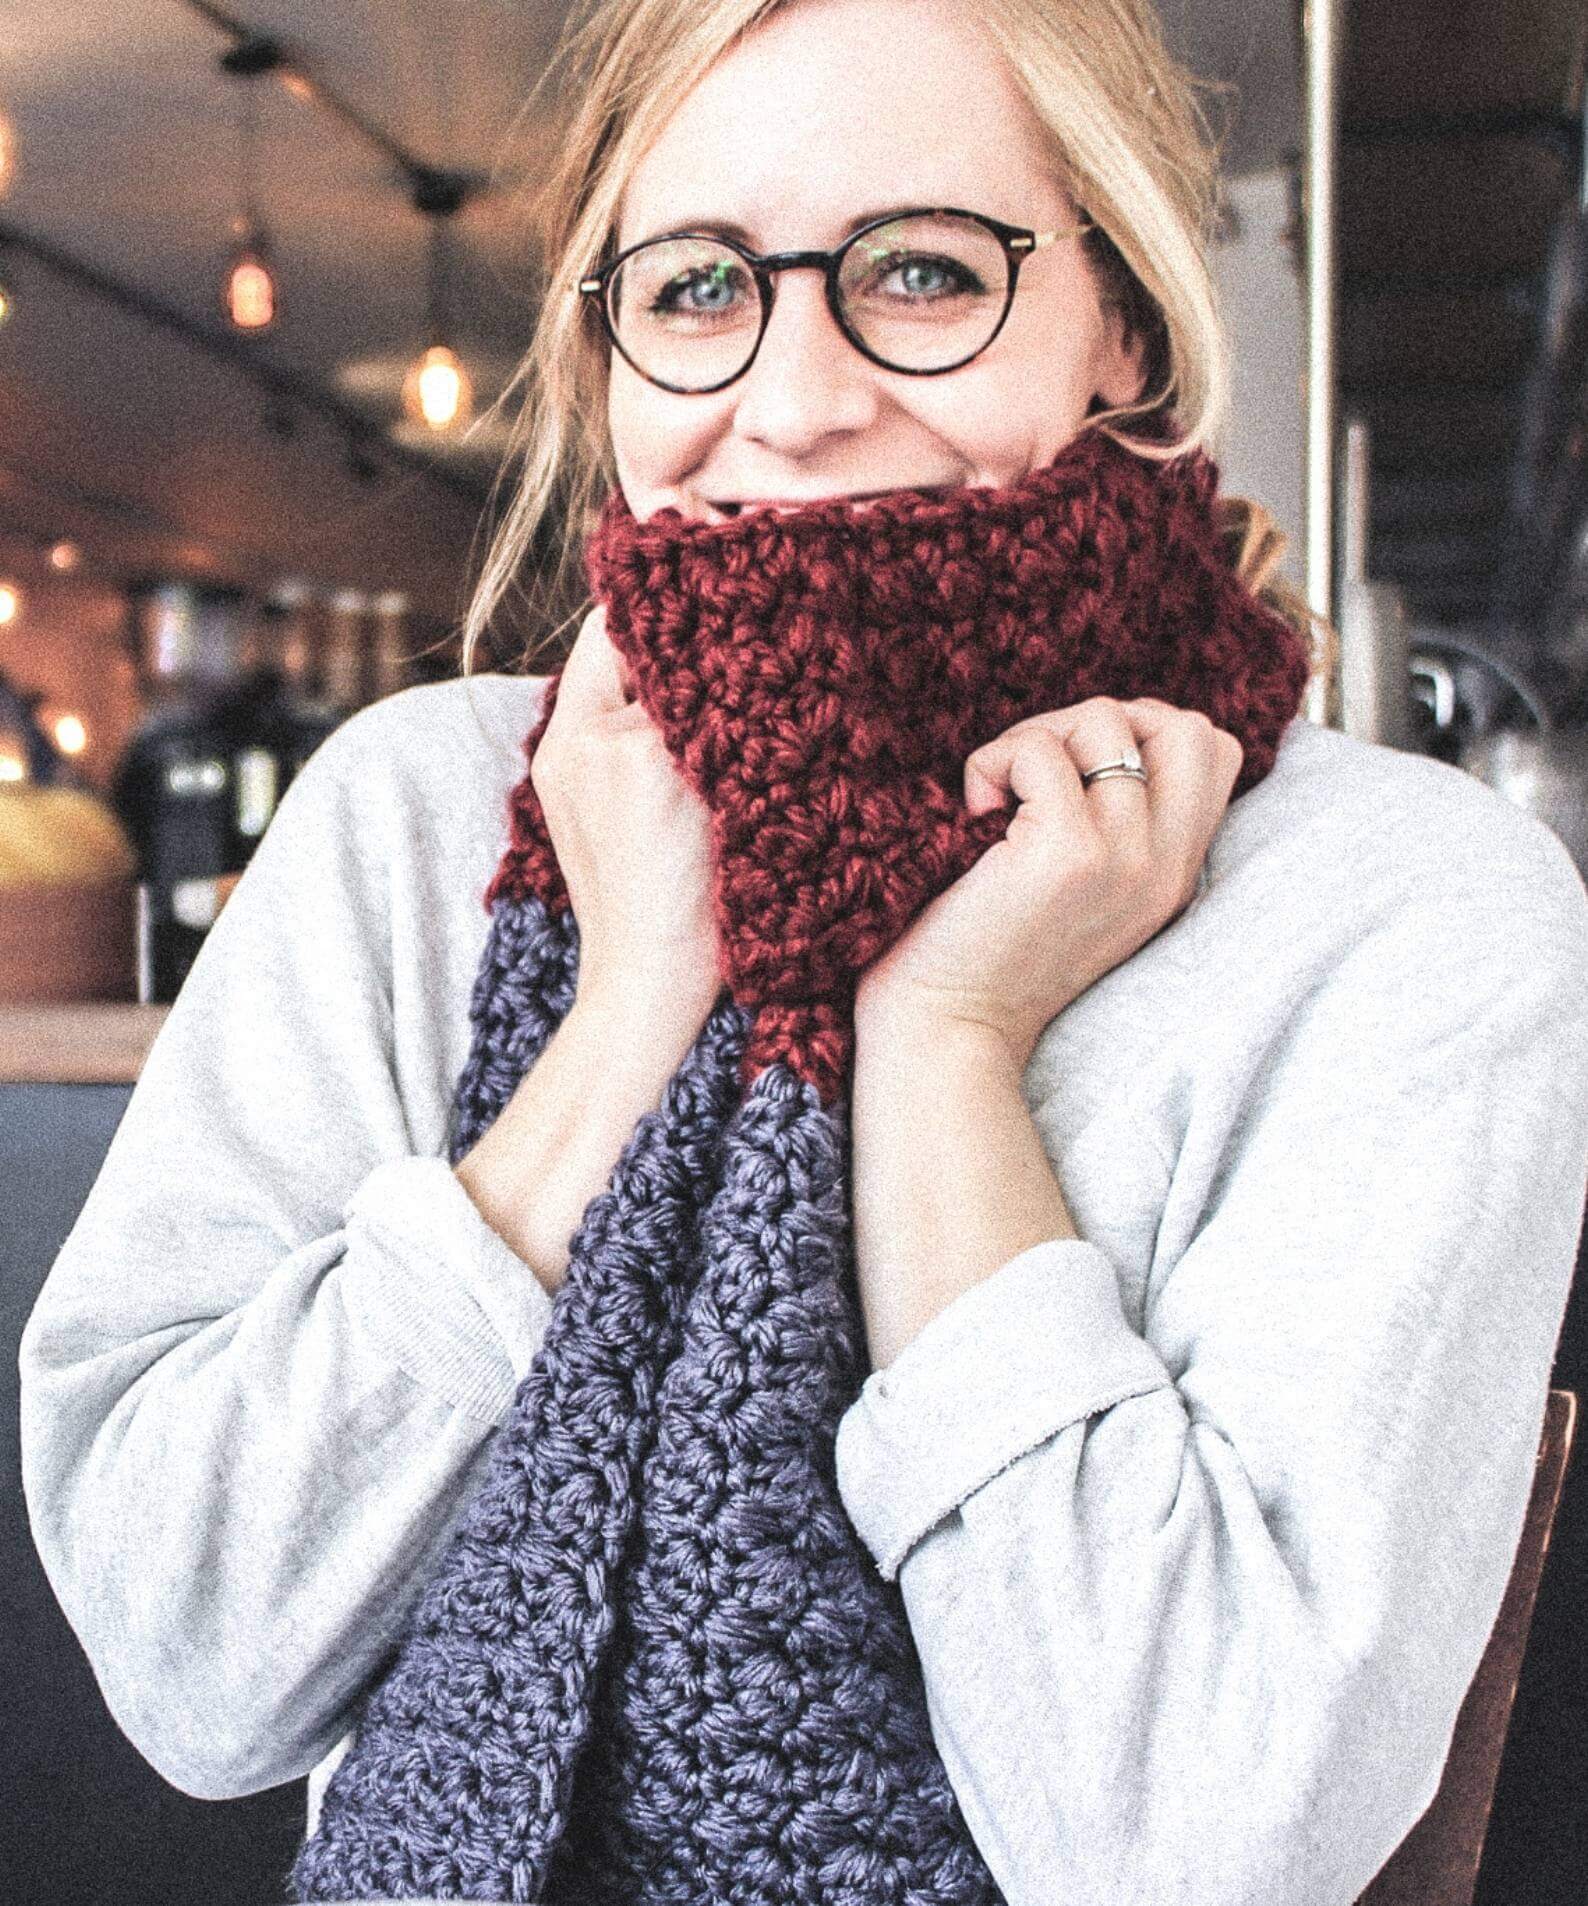
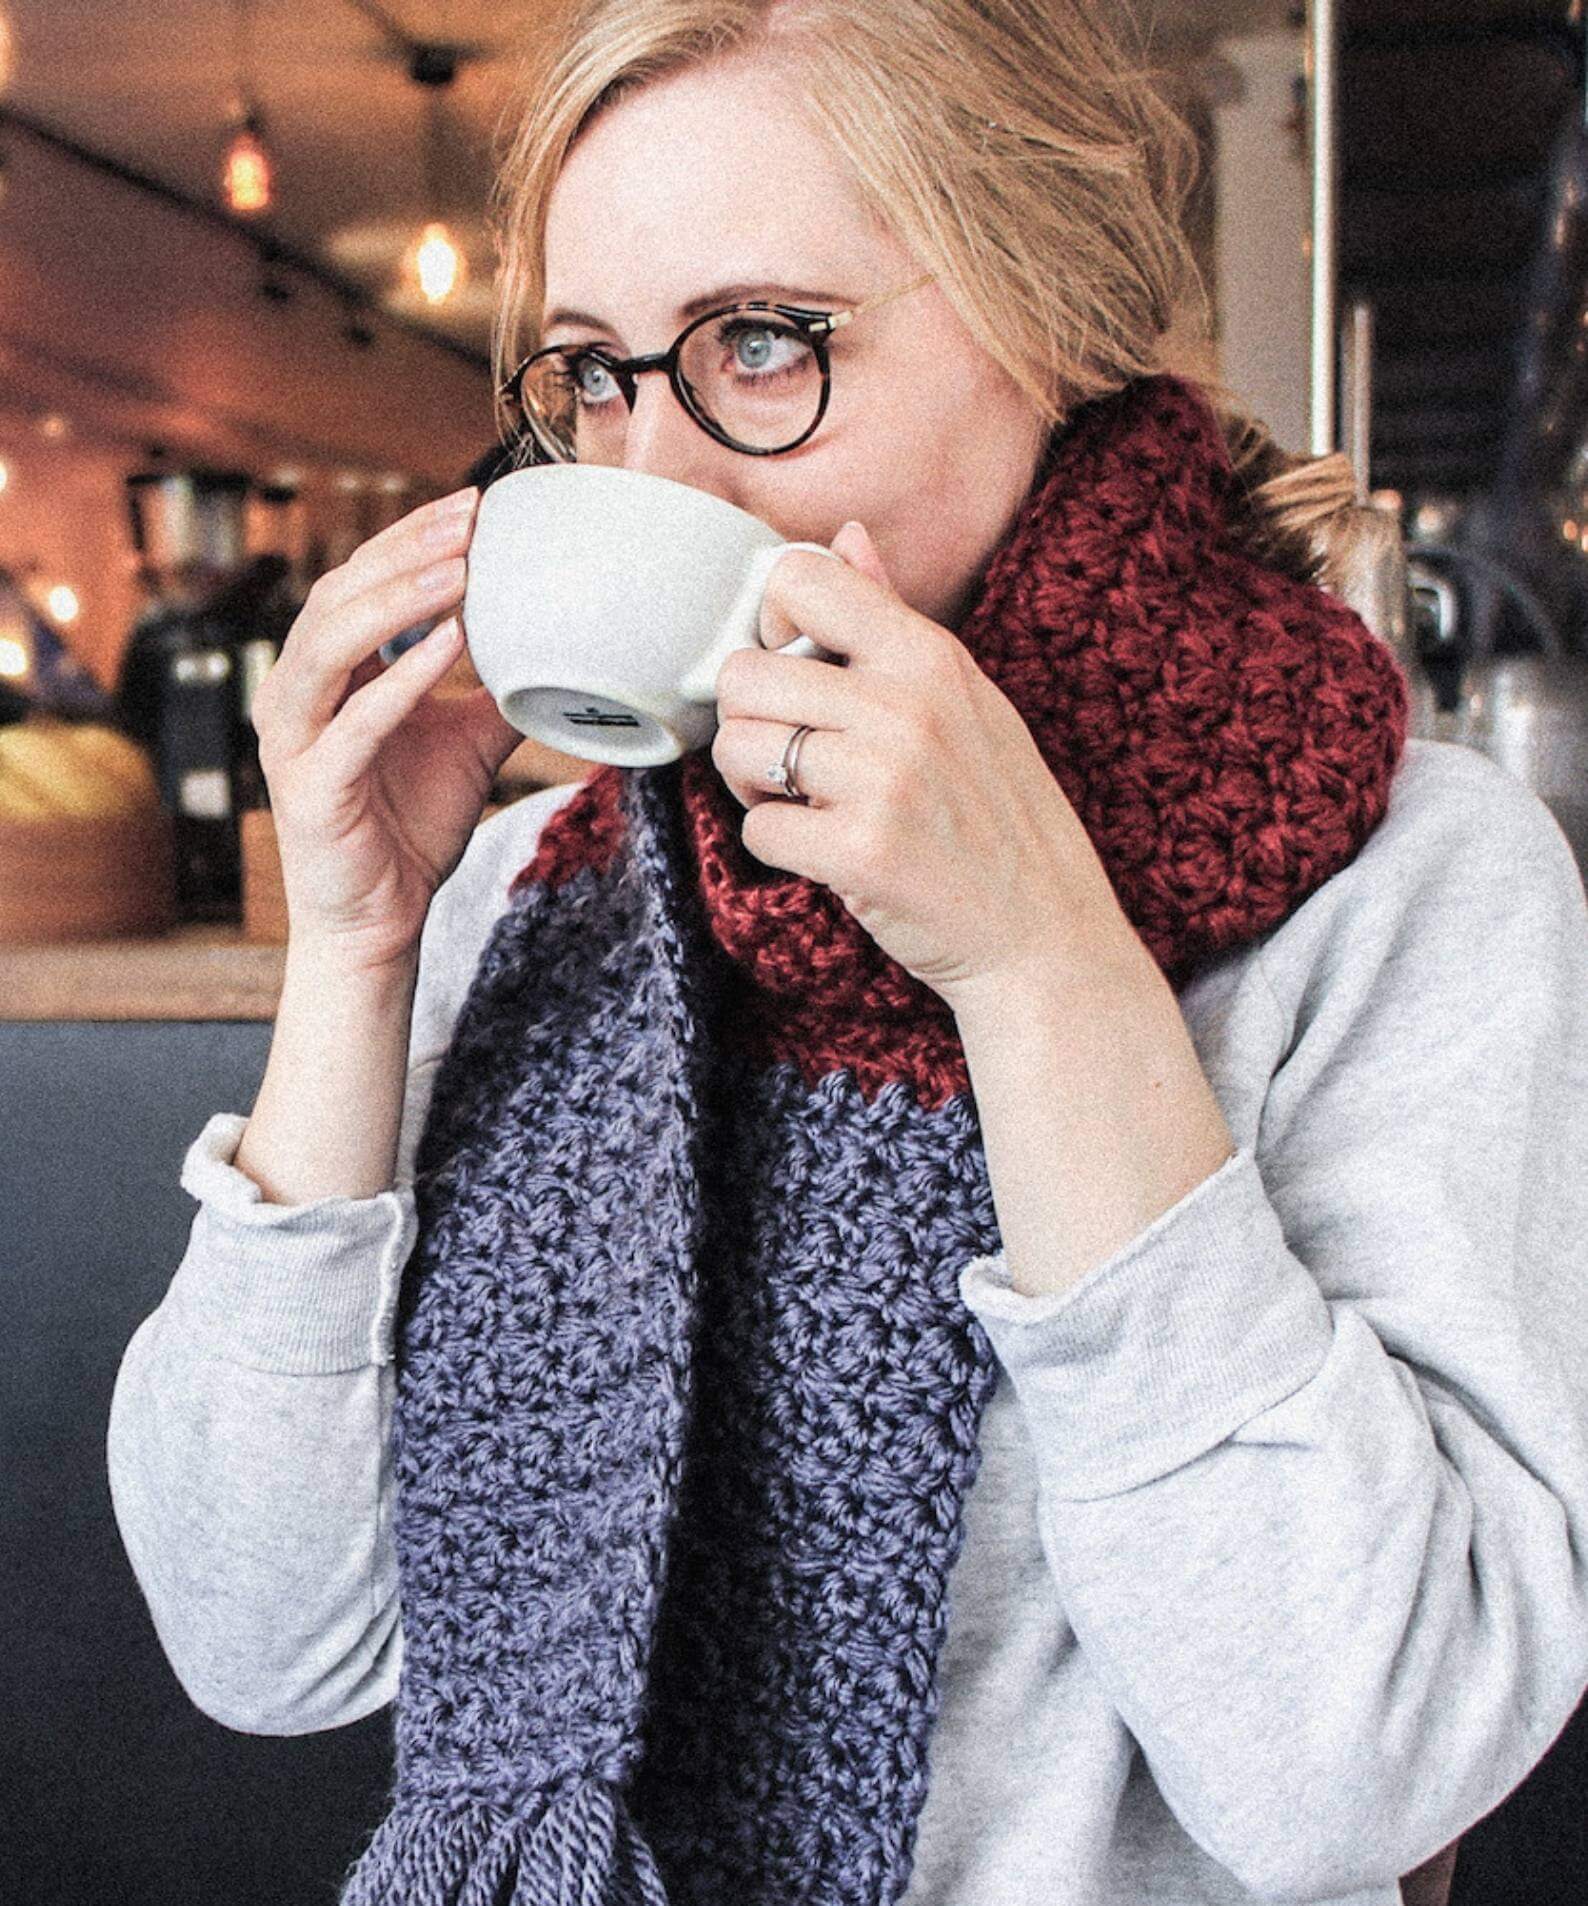
This long tasseled scarf features a classic shape and a subtle texture, which makes it very versatile. The coloured ends give it a retro vibe, making it feel like a treasure you uncovered in the depths of a kitsch vintage shop in a funky part of town. AND YET, it’s a quick DIY crochet project you can whip up from a couple of balls of super chunky yarn.
Dodds is constructed from many short rows of suzette stitch. There’s a satisfying rapidity of reaching row ends, meaning not only does it grow quickly, but you get a huge sense of accomplishment very quickly!
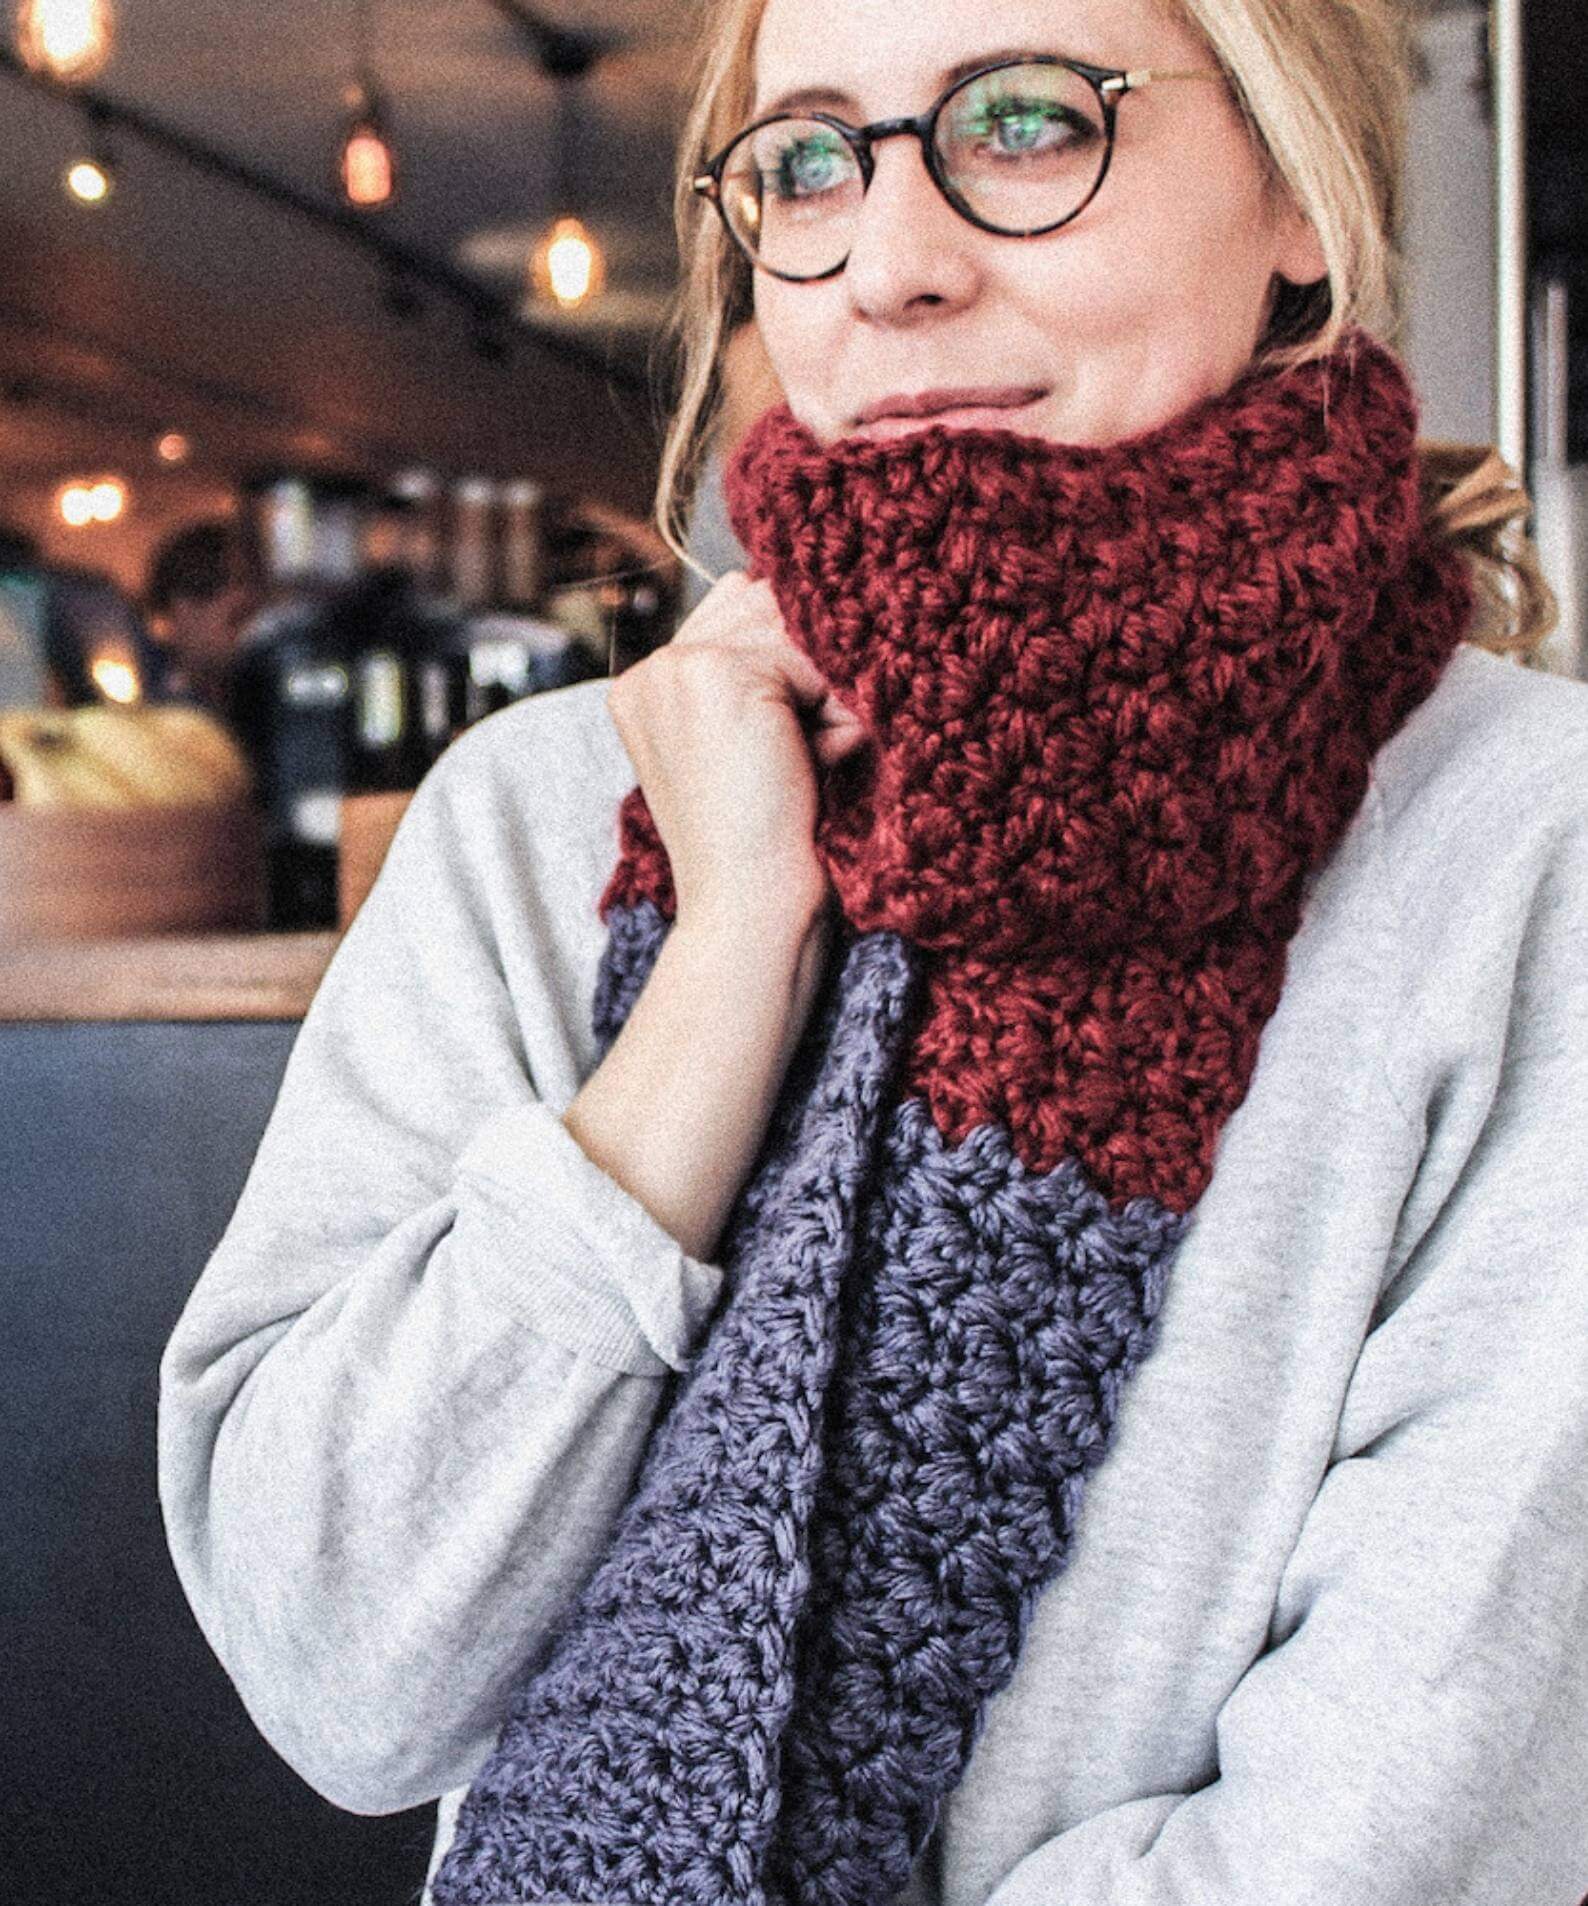
Some notes on yarn, tools and tassels
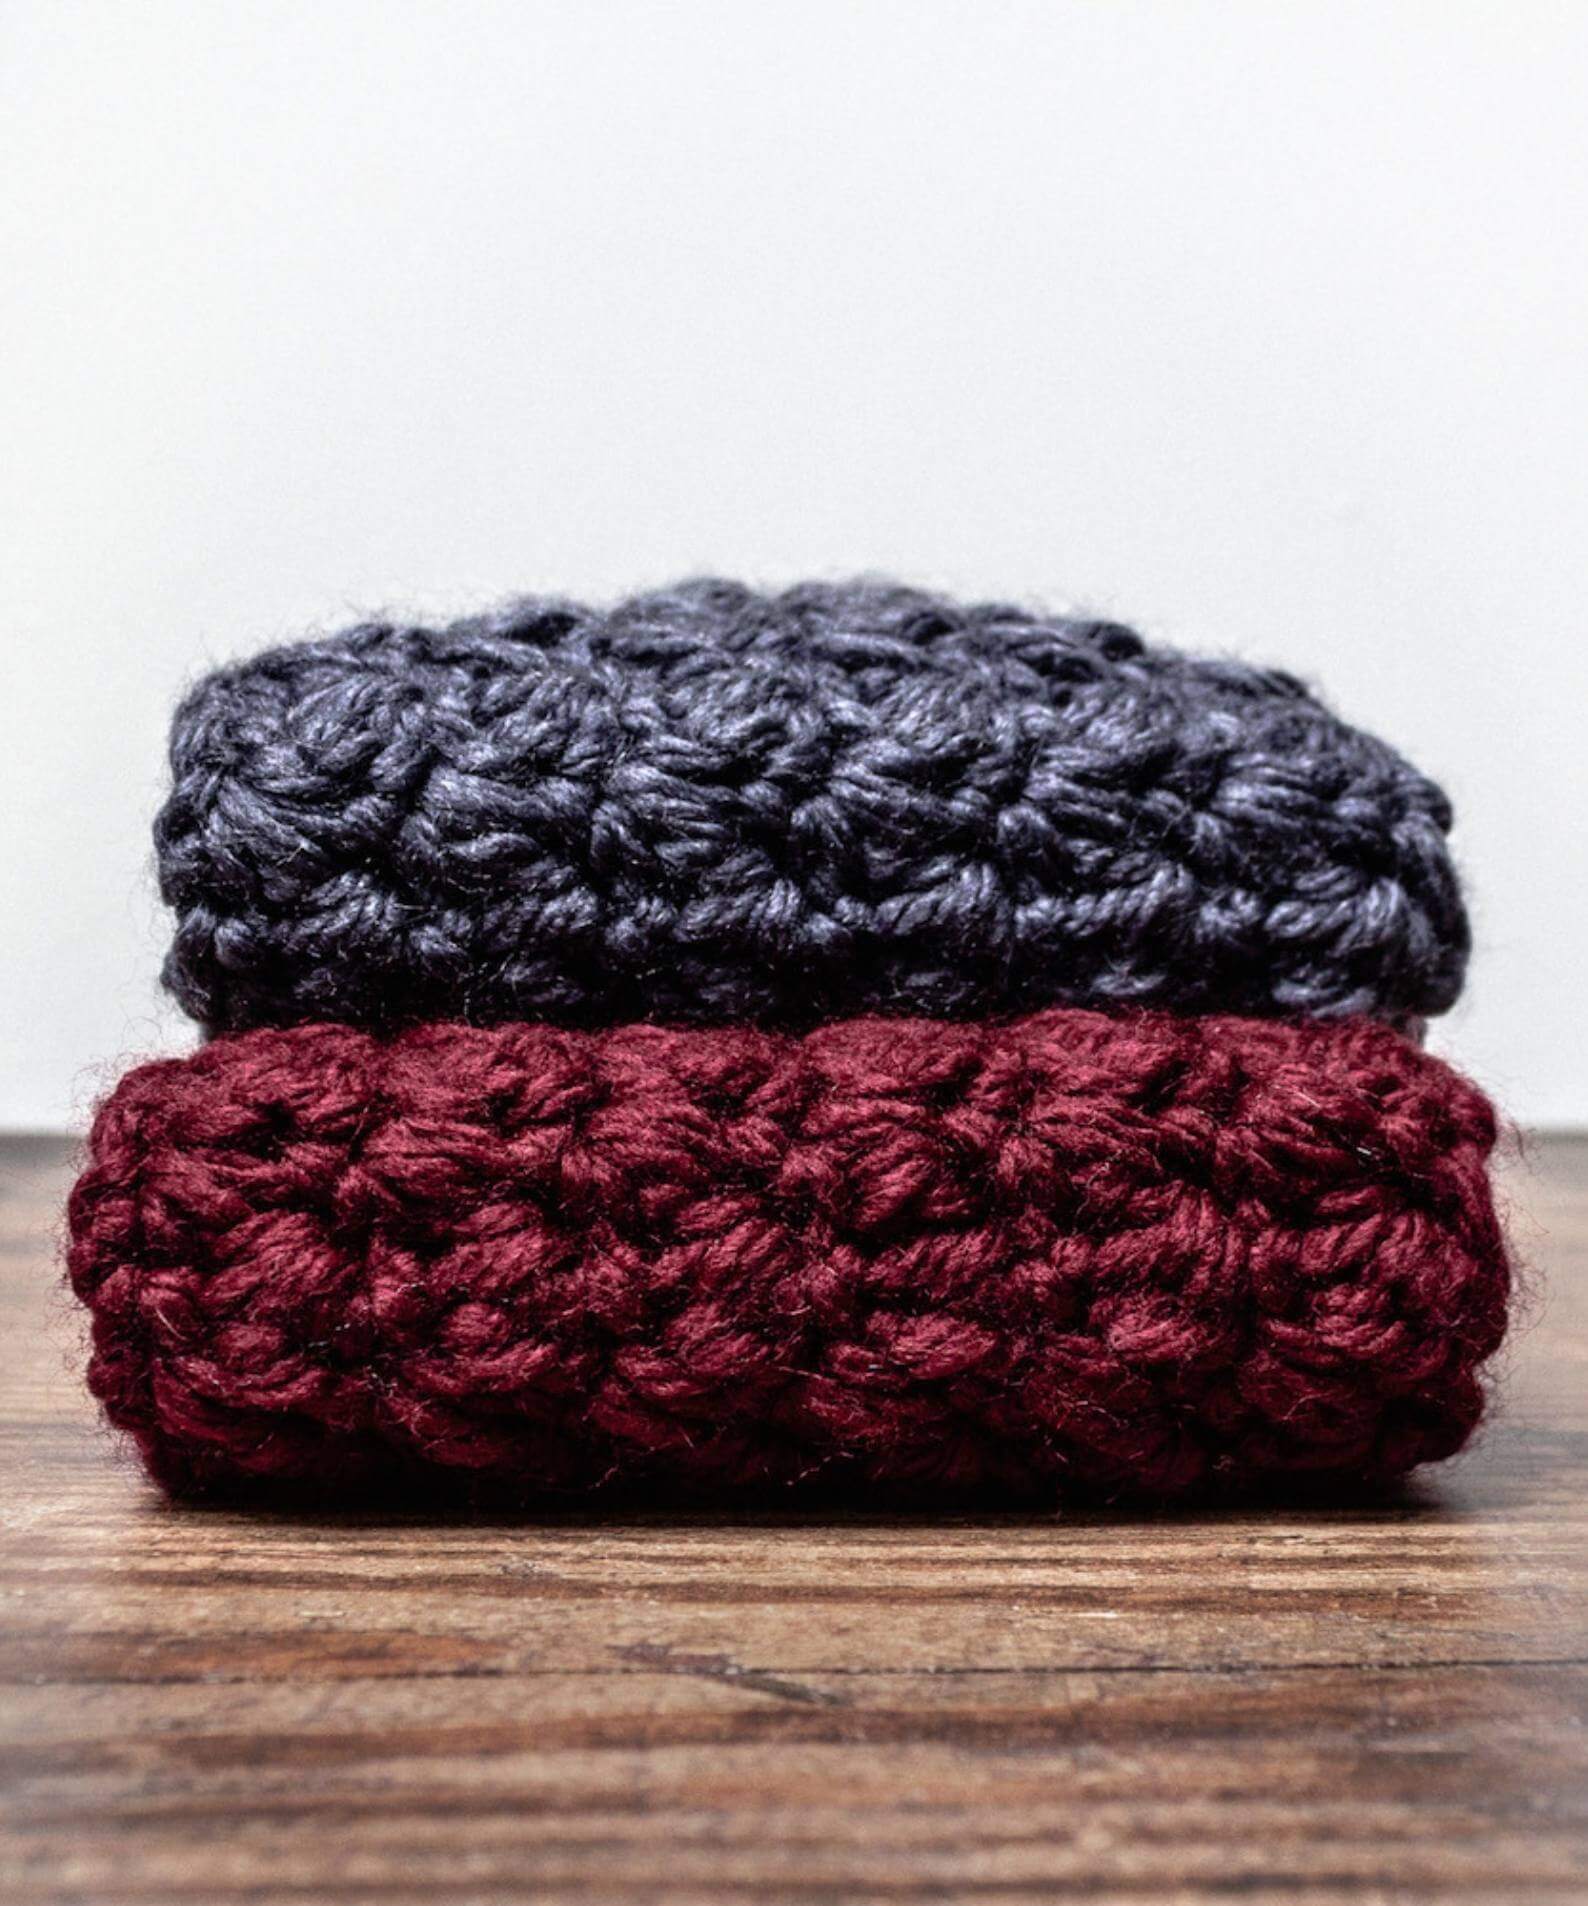
You’re going to want a super chunky weight, soft-feeling yarn for this project. A wool and alpaca blend is ideal for a warm winter scarf as animal fibres are naturally insulating, and wool brings the cost down from pure alpaca which can be on the pricey side. Having said that, this is a rare occasion where human-made yarn could also be a good option as it washes well and gives you loads of colour options.
As for hooks – I’ve tried so many and always come back to my KnitPro soft grips. If you haven’t had your “these are my hooks” moment yet, give these a try.
Tassels are optional (though encouraged) for this scarf!
Shopping links:
- 130g of super chunky yarn in colour A (blue, pictured)
- 220g of super chunky yarn in colour B (red, pictured)
- 9mm crochet hook– or correct size for gauge
- Tapestry needle
- Stitch Markers
- Scissors
The Crochet Stitches + Techniques You’ll Need
dc – double crochet (US single crochet) : insert the hook, yarn over and pull through a loop. You’ll have two loops on your hook. Yarn over and pull through both loops.
If you’re a total beginner to crochet and the list above intimidates you, please don’t panic! Head over to my “getting started” playlist and let me guide you through the basics first.
Some notes before you begin making your long scarf
- Just in case you missed it above, this blog pattern is written in UK crochet terminology.
- This pattern produces a scarf which measures approximately 15cm x 180cm (204cm including tassels).
- In the pattern table, the column on the right is the number of stitches each row should have. When more than one row is listed together (e.g. Rows 3- 26) each row has that same stitch count, it is not a cumulative total!
- We’ll never work into the turning chains, and we don’t count them in the stitch rows.
- When you turn the work, place the double crochet and treble crochet into the (tighter) double crochet loops from the row below, and skip the trebles. Don’t worry if this sounds confusing, if you follow the pattern, you’ll be doing it right!

Dodds Long Scarf Crochet Pattern
| Foundation | Begin with a chain of 14 in Colour A | 14 |
| Row 1 | Turn the work and dc into second chain from hook (stitch 13 in your starting chain) and each stitch across. ch1 turn. | 13 |
| Row 2 | (Dc and tr in same stitch, sk1) 6 times, dc. ch1, turn. | 13 |
| Row 3 – 26 | Repeat row 2. In last st of row 26, change to Colour B. | 13 |
| Row 27 – 116 | Repeat row 2. In last st of row 116, change to Colour A. | 13 |
| Row 117 – 141 | Repeat row 2. | 13 |
| Finish | Fasten off and weave in all ends. Add 7 tassels to each end in Colour A. |
Adding Tassels:
- Extend a piece of yarn in Colour A to the length you’d like your tassel to be (mine are 12cm). Pinch the top and fold the yarn over so you have two equal lengths.
- Fold back up and add another fold into your pinched fingers so you have three equal lengths.
- Repeat until you have six equal lengths and cut the yarn at the bottom of the sixth length.
- Work the ends in your pinched fingers through a space at the end of your scarf where you’d like the tassel to hang, so there’s a couple of cm pulled through.
- Pull the ends through the loops so they knot around the end of your scarf and pull tight.
- Snip through the loops at the bottom so each length hangs individually.
- Attach all tassels before trimming the ends to create a nice even finish.
–
Did you enjoy this pattern?
If so, I’d love you to tag me on Insta to share your work with me! @sarling.studio
Or even better, head here to do some feel good shopping, supporting my work AND my wonderful partner charity.
Written by:
Melanie Sarling

SAVE + SHARE
Found this article helpful?
Share with your friends or save it for later.
SIGN UP FOR GLEE-MAIL
More good stuff, delivered to your inbox
Join the mailing list for great content from the blog, updates on pattern releases, a few humble promotions and the occasional lovely offer.