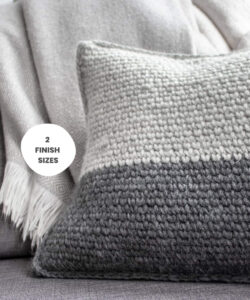
Handmade crochet cushion covers are one of life’s special luxuries. If you’re looking for a plush, squishy, simple and stylish throw cushion you can make in just a few hours, allow me to introduce you to Berriedale.
Now, before we buy the bits, learn to waistcoat stitch and dive into making, let me quickly draw your attention to the fact that the design shared below is for a rectangular 30cm x 50cm cushion. There’s an additional finish size (a square, 50cm x 50cm) outlined in the PDF pattern.
Let’s talk yarn, tools + cushion pads
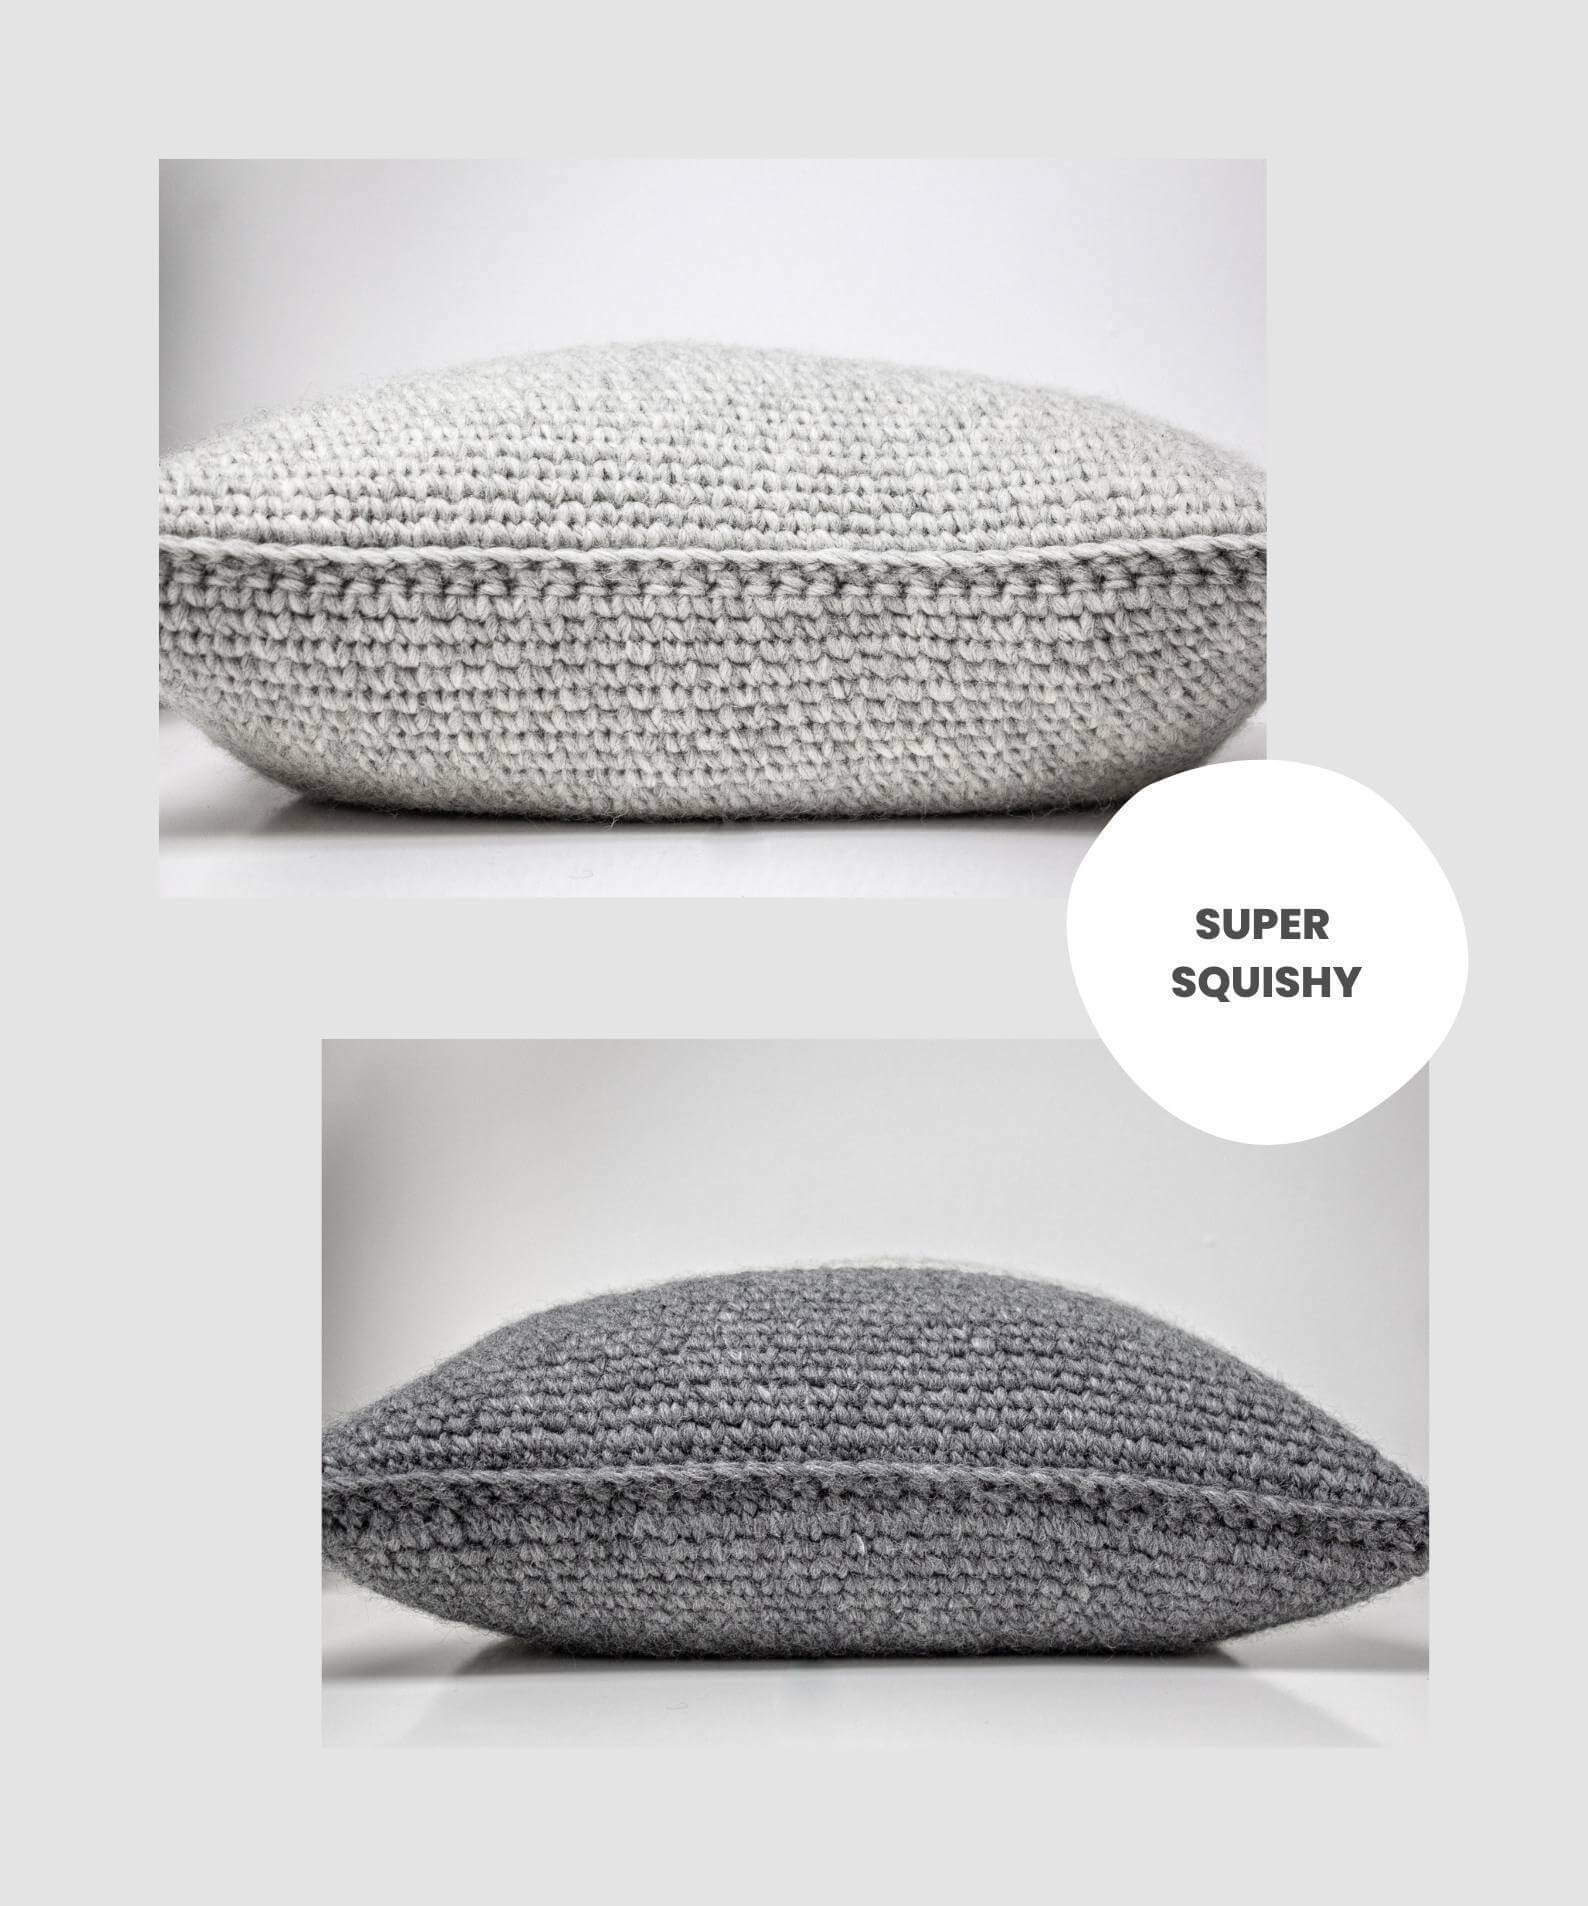
The luxury feel of this cushion comes partly from the yarn, and partly from the cushion itself. Get the combination right and you’ll have yourself a very fancy feeling home accessory.
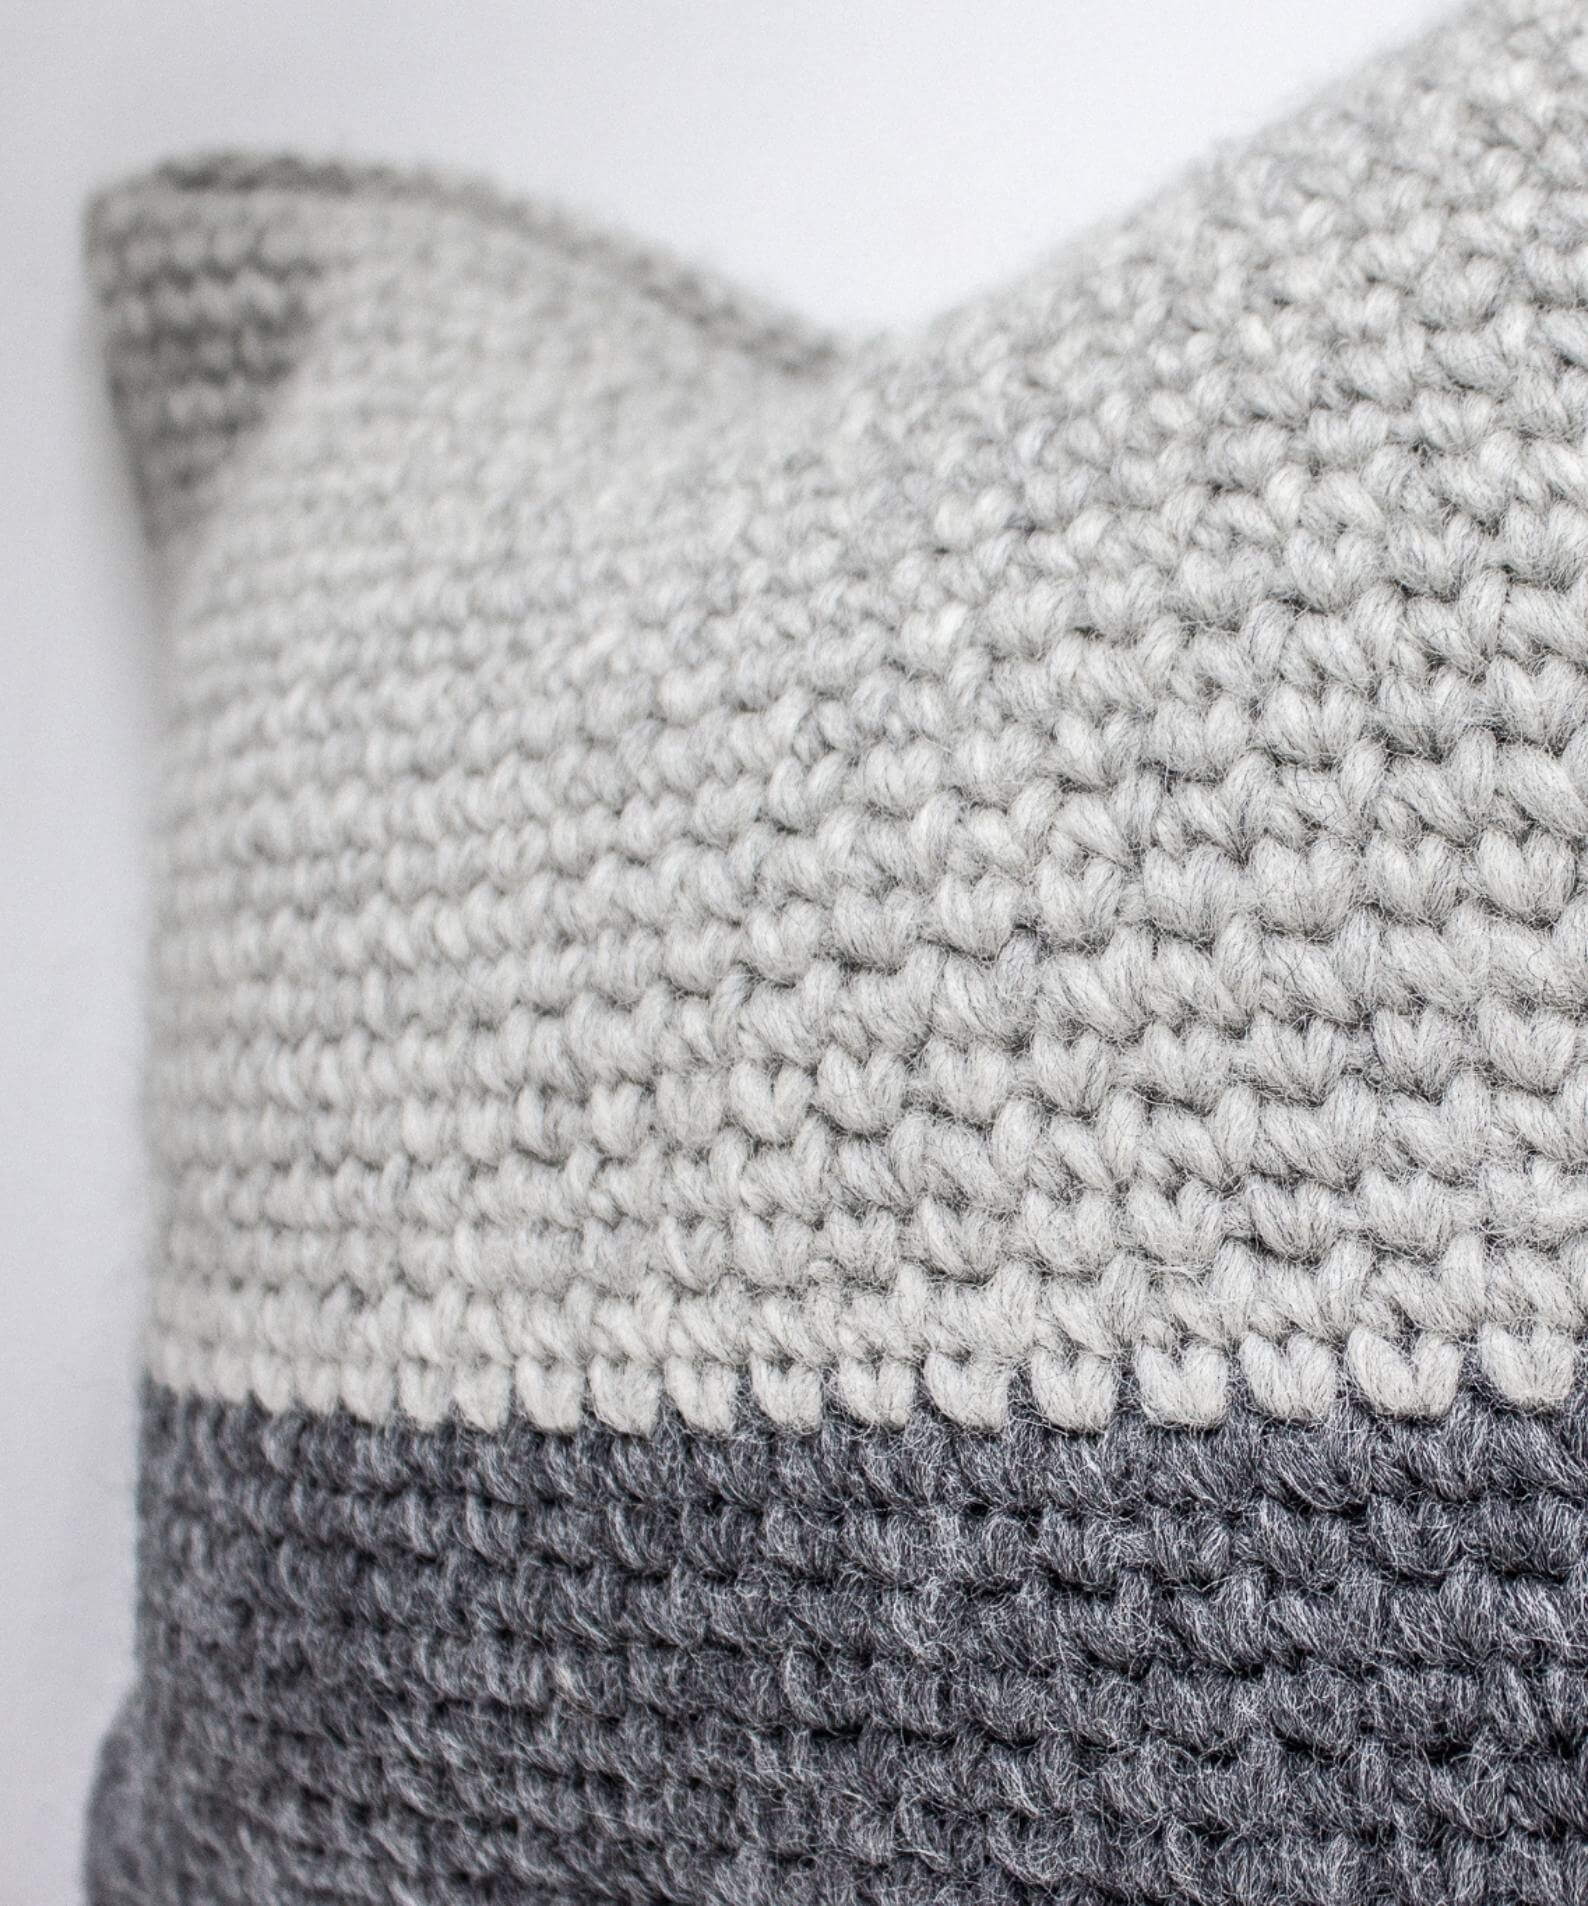
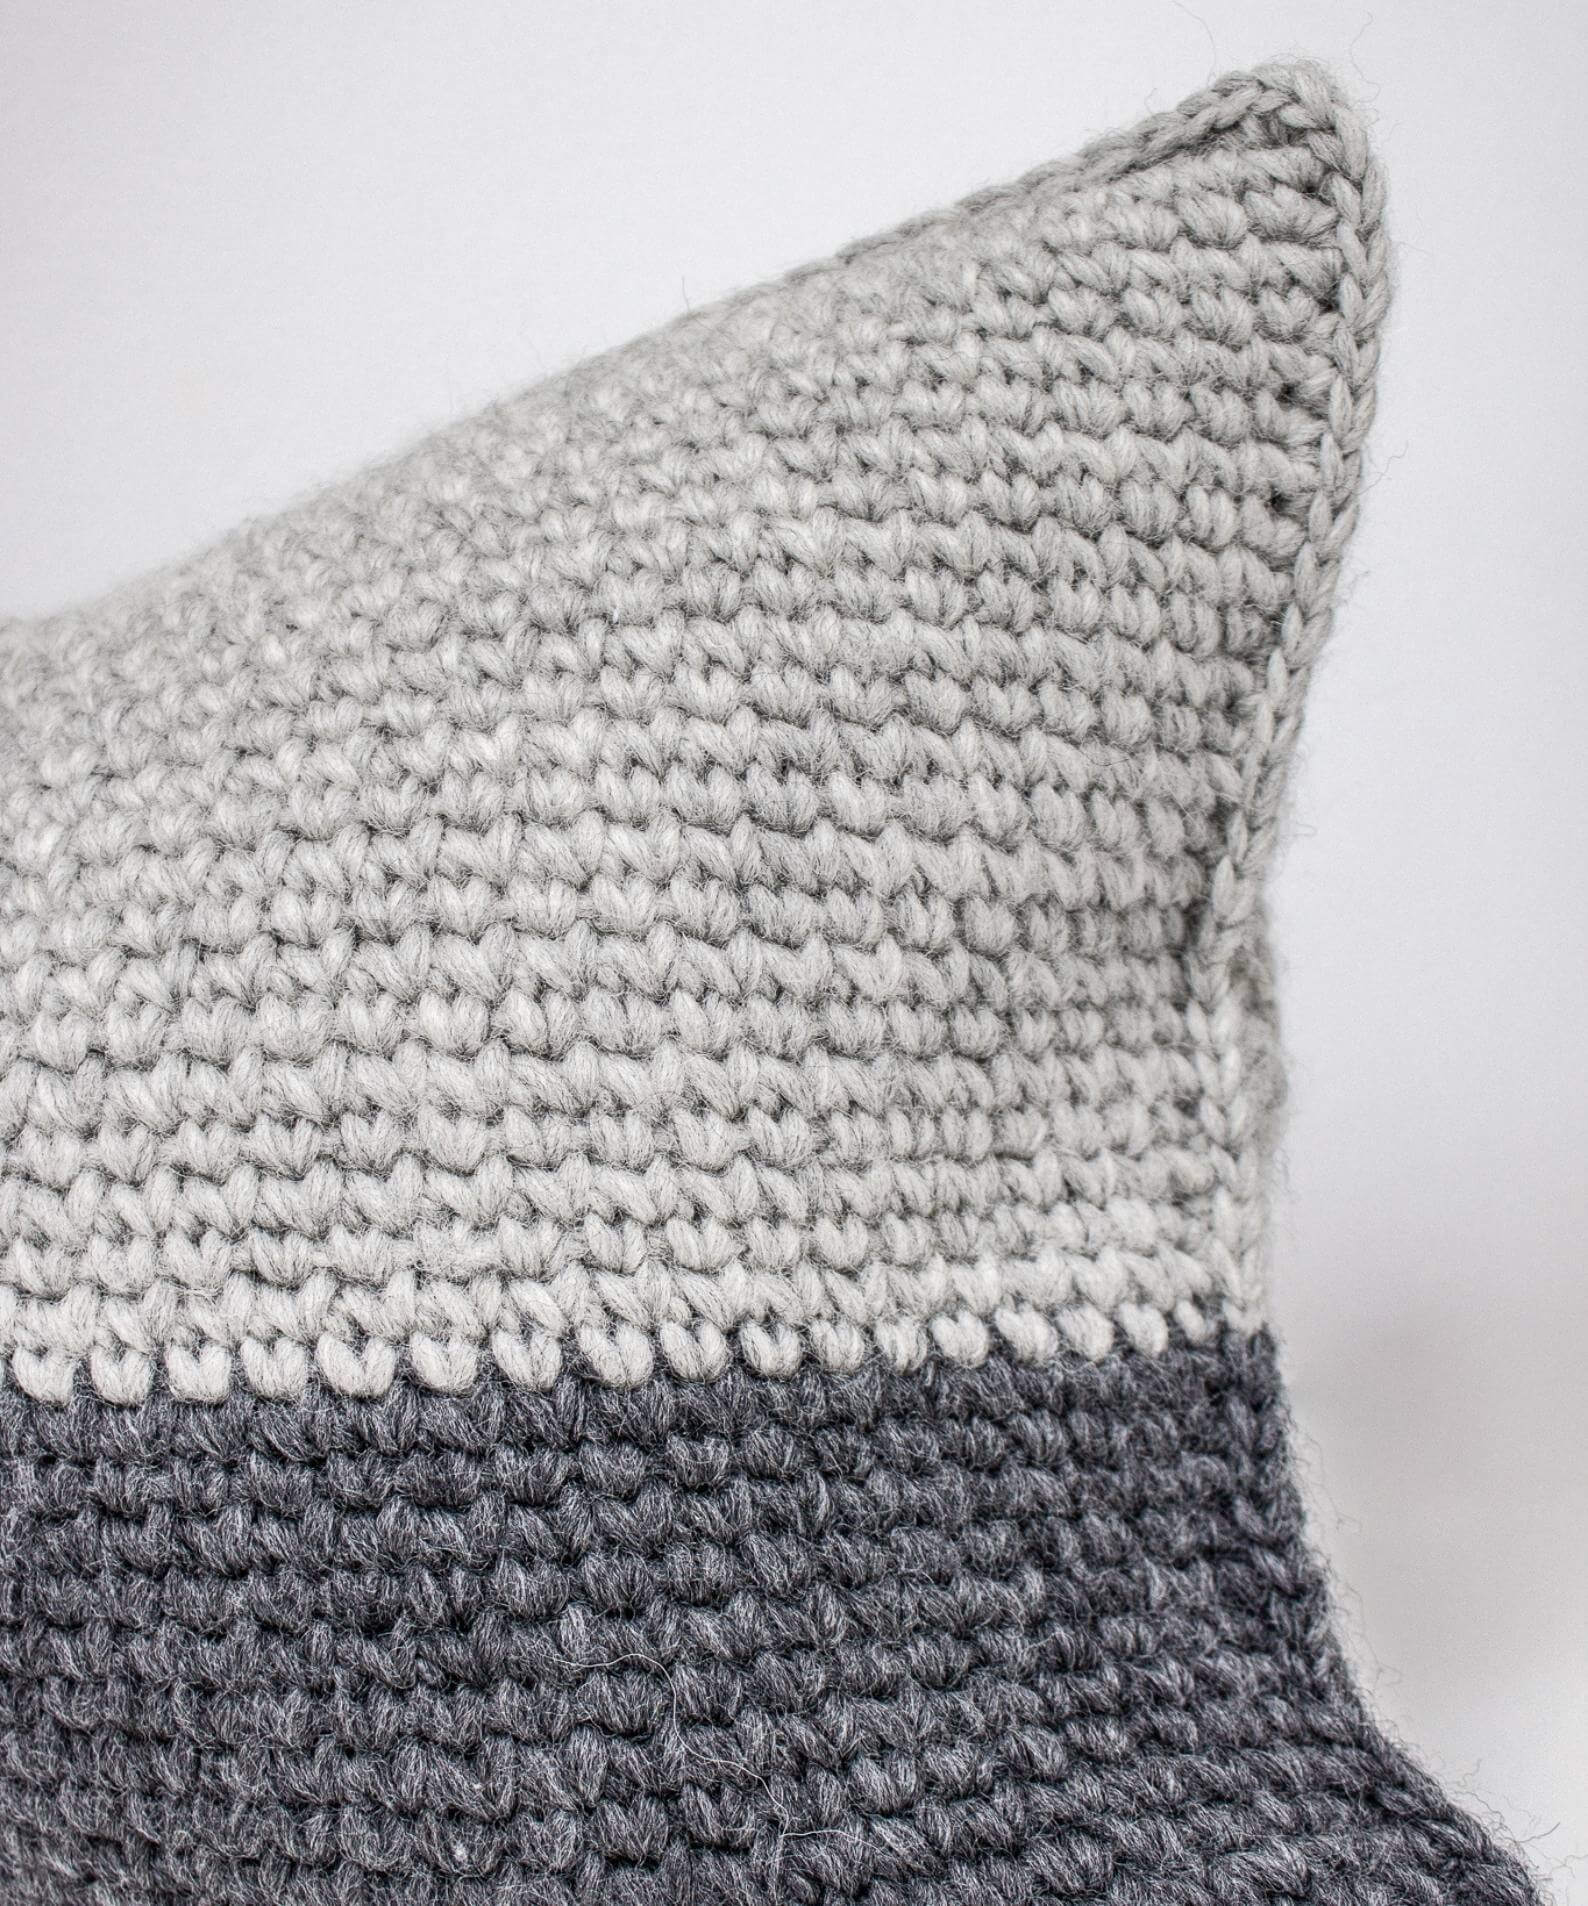
You’ll need a chunky yarn. I highly recommend choosing 100% wool with felting properties for this project. It’s luxuriously thick, very huggable, lush to work with and provides beautifully defined stitches. It shows off the unique knit-look of this crochet stitch and BONUS – it looks good as it wears over time.
For your hook – some folk say you should size-up and use a larger hook when working waistcoat stitch. Personally, I’ve not found it useful or necessary to do so, and so haven’t advised this in the pattern. However if you’re finding it tricky to work between the posts of your stitches, try consciously relaxing your tension and if that doesn’t work, grab the next hook size up.
The cushion pad used in the pictures here was purchased from a high street store, so I can’t link you to the exact product online, but I have spent more hours than I’d like to admit looking for the very closest match. Which you can find here. It’s full of duck feathers, so it might not be suitable for allergy sufferers, and also consider where a feather cushion is made, as some countries treat birds horrifically when farming their feathers. Polyester filled cushions with the same dimensions are a dandy alternative, but will lack a little of the luxury and plumpness.
Shopping links:
- 145g category 6 super chunky 100% wool yarn in Colour A (dark grey, pictured)
- 220g category 6 super chunky 100% wool yarn in Colour B (light grey, pictured)
- 8mm crochet hook– or correct size for gauge
- Cushion pad (30cm x 50cm)
- Tapestry needle
- Stitch Markers
- Scissors
The Crochet Stitches + Techniques You’ll Need
dc – double crochet (US single crochet) : insert the hook, yarn over and pull through a loop. You’ll have two loops on your hook. Yarn over and pull through both loops.
wc – waistcoat stitch : work double (US single) crochet stitches but instead of working under the previous stitch, work through the two posts of the stitch
I hope those links haven’t sent you down a youtube rabbit hole time warp black hole.
Some notes before you begin making the cushion cover
This free pattern here on the Sarling Studio blog is a sample of the full PDF pattern available here. The full pattern;
- also gives instructions for a square 50cm x 50cm cushion cover
- can be downloaded in UK or US crochet terms
- includes detailed step by step pictures
- has a link to a video pattern tutorial
- can be purchased on Etsy or on Ravelry if you prefer
On top of all those delicious bonuses, every purchase not only makes my heart jump for joy but also gives a gift of joy to children in need!
Additional Useful Pattern Info
- Just in case you missed it above, this blog pattern is written in UK crochet terminology.
- For the sensible among us: gauge is 10cm x 10cm = 10 stitches x 15 rows.
- In the pattern below, the number in brackets is how many stitches each row should have.
- This pattern does not use turning chains (I find it creates neater edges) which may feel a little strange at first. Simply keep your stitches relaxed, particularly at the start + end of rows.
- We make three shapes and stitch them together with a double crochet border. Careful placement of stitch markers helps us match the pieces together and makes the joining process straight-forward and fun, so do pay attention to when the pattern asks you to place a marker.
- The pattern uses shorthand, where “2 dc” means to work a double crochet in each of the next 2 stitches and “dc2” means to work 2 double crochets in the next stitch.

Cushion Cover Crochet Pattern
PIECE A
Foundation: Chain 50 in Colour A (50)
» Pm in first ch + last ch
Row 1: Dc into each back bump across (50)
Row 2 – 16: Wc into each stitch across (50) – in last stitch of row 16, change to Colour B yarn but do not cut off
Row 17 – 44: Wc into each stitch across (50)
Row 45: Wc into each stitch across (50) » Mark each end of row 45
Finish: Leave final loop open for assembling the pieces and creating the border.
PIECE B
Foundation: Chain 50 in Colour B (50)
Row 1: Dc into each back bump across (50) » Mark each end of row 1
Row 2 – 9: Wc into each stitch across (50)
Row 10: Wc into each stitch across (50) » Mark each end of row 10
Row 11 – 28: Wc into each stitch across (50)
Row 29: Wc into each stitch across (50) » Mark each end of row 29
Finish: Fasten off + weave in ends.
PIECE C
Foundation: Chain 50 in Colour A (50)
» Pm in first ch + last ch
Row 1: Dc into each back bump across (50)
Row 2 – 16: Wc into each stitch across (50)
Row 17: Wc into each stitch across (50) » Mark each end of row 17
Row 18 – 25: Wc into each stitch across (50)
Row 26: Wc into each stitch across (50) » Mark each end of row 26
Finish: Fasten off + weave in ends.
ASSEMBLY
Note: each piece is reversible so there are no right or wrong sides.
- Lay Piece A down (the side facing up towards you will be inside the cushion).
- Place Piece C on top of Piece A, lining the bottom edges up + ensuring your overlap markers are at the top (the side facing up towards you will be the outside of the cushion).
- Place Piece B on top of both Piece A and Piece C, lining the top edges up (the side facing up towards you will be the outside of the cushion). Note: the overlap markers on Pieces B + C should line up on top of one another.
- Use safety pins to join the pieces where stitch markers meet (the four corners + the overlap of Pieces B + C).
- Using a smaller hook (I used 5mm), pick up the loop from the final stitch of Piece A. We’re now working through this Piece AND Piece B.
- Dc2 into the marked corner, and continue to dc along the first side.
- When you reach the overlap section, dc through all 3 pieces. Change to Colour B in the final stitch worked through all 3 pieces, picking up the yarn you left attached in Piece A.
- Continue to dc around, working dc3 into the corners and changing back to Colour A when you reach the second overlap section.
- Work through all 3 pieces, then continue to dc around (dc3 into final corner) until you return to where you started.
- Fasten off and securely weave in ends.
Did you enjoy this pattern?
If so, I’d love you to tag me on Insta to share your work with me! @sarling.studio
Or even better, head here to do some feel good shopping, supporting my work AND my wonderful partner charity.
Written by:
Melanie Sarling

SAVE + SHARE
Found this article helpful?
Share with your friends or save it for later.
SIGN UP FOR GLEE-MAIL
More good stuff, delivered to your inbox
Join the mailing list for great content from the blog, updates on pattern releases, a few humble promotions and the occasional lovely offer.